Love this? Save it for later!
Share the inspiration with your friends
The office potluck was in three hours and I’d completely forgotten. Everyone else would be bringing elaborate casseroles, store-bought cake pops, and those perfectly arranged veggie platters that look like they belong on a magazine cover. I had a half-empty jar of peanut butter, a bag of oats that was about to expire, and maybe twenty minutes before I had to leave. Honestly, I almost just grabbed a bag of chips from the gas station on the way. But something stopped me—maybe stubbornness, maybe the memory of a similar panic I’d gotten out of a few years back with a no-bake recipe. I threw some things in a bowl, rolled them into little balls, and tossed them in a container. Let me tell you, I walked in feeling like a total fraud. By the end of the potluck, three people had asked for the recipe, and my container was completely empty. That’s the thing about these Easy No-Bake Peanut Butter Protein Balls. They sound too simple to be good, but they’re the kind of snack that wins without even trying. Maybe you’ve been there—scrambling for something to bring that doesn’t look like you forgot. If so, this recipe is your secret weapon. I’ve been making them ever since, and they’ve never let me down.
Why You’ll Love This Recipe
Let’s be real for a second. There are a million snack recipes out there, but most of them either taste like cardboard or take an hour of dirtying every dish in your kitchen. These Easy No-Bake Peanut Butter Protein Balls are different. I’ve tested this recipe more times than I can count, tweaking the ratios until they hit that perfect sweet spot—firm enough to hold their shape, soft enough to melt in your mouth, and packed with enough protein to actually keep you full.
- Quick & Easy: These come together in under 5 minutes. No oven, no stovetop, no excuses. Just mix, roll, and go. Perfect for those days when you need a snack five minutes ago.
- Simple Ingredients: You probably already have everything in your pantry. No fancy protein powders or obscure superfoods required. Just good, honest ingredients that work.
- Perfect for Busy Days: Great for post-workout refueling, afternoon slumps, road trips, or packing in lunchboxes. They travel like a dream and don’t get squished.
- Crowd-Pleaser: I’ve served these to kids, picky eaters, fitness enthusiasts, and grandmas. Every single person has gone back for seconds. They’re that good.
- Unbelievably Delicious: The texture is what gets me every time. It’s like a soft, chewy cookie dough that actually has nutritional value. No joke.
What sets this recipe apart is the balance. I’ve tried versions that were too dry, too sticky, or just plain bland. This one uses a trick I learned after a few failed batches—letting the mixture rest for a minute before rolling. It sounds small, but it makes the world of difference in texture. Plus, the honey and peanut butter combo creates this deep, rich sweetness that doesn’t need any refined sugar. It’s comfort food you can feel good about.
What Ingredients You Will Need
This recipe uses simple, wholesome ingredients to deliver bold flavor and satisfying texture without the fuss. Most of these are pantry staples, so you can whip up a batch anytime the craving hits. Here’s what you’ll need:
- 1 cup rolled oats (use certified gluten-free if needed) – These provide the hearty base and chewy texture. I prefer old-fashioned oats over quick oats for a better bite.
- ½ cup creamy peanut butter (natural, no-stir works best) – The star of the show. It binds everything together and adds that unmistakable nutty flavor. I recommend using a brand like Skippy Natural or Justin’s for consistent results.
- ¼ cup honey (or maple syrup for vegan option) – This adds natural sweetness and helps the balls hold their shape. Local honey is great if you have it.
- ¼ cup chocolate chips (semi-sweet or dark) – Little bursts of melty chocolate in every bite. Use mini chips if you want them more evenly distributed.
- 2 tablespoons ground flaxseed (optional, but recommended) – Adds omega-3s and helps with binding. You can also use chia seeds.
- 1 scoop vanilla or chocolate protein powder (about 30g) – This is what makes them protein balls. I use a whey-based powder, but plant-based works too. If you don’t have protein powder, you can substitute with an extra ¼ cup of oats.
- ½ teaspoon vanilla extract – Enhances all the flavors and makes them taste more like a treat.
- Pinch of sea salt – Don’t skip this! It balances the sweetness and makes the peanut butter pop.
For the best texture, make sure your peanut butter is at room temperature. If it’s been in the fridge, let it sit out for 10 minutes so it’s easier to mix. Also, check the consistency of your honey—if it’s crystallized, warm it up slightly in the microwave for 10 seconds.
Equipment Needed
The beauty of this recipe is that you don’t need much. Here’s what you’ll need to grab:
- Large mixing bowl – Any bowl will do, but a wider one makes mixing easier.
- Spatula or wooden spoon – For getting everything combined. I prefer a silicone spatula because it scrapes the sides clean.
- Measuring cups and spoons – For accuracy. Eyeballing is fine, but measuring gives you consistent results.
- Baking sheet or plate – To hold the balls while you roll them. Line it with parchment paper for easy cleanup.
- Small cookie scoop or tablespoon – For uniform-sized balls. A cookie scoop is my favorite tool here—it makes the process so much faster and gives you perfectly round balls every time.
- Parchment paper – Optional, but it makes cleanup a breeze and prevents sticking.
If you don’t have a cookie scoop, just use a regular tablespoon and roll with your hands. I’ve done it both ways, and honestly, the hand-rolling method is kind of meditative. Just make sure your hands are slightly damp to prevent sticking.
Preparation Method
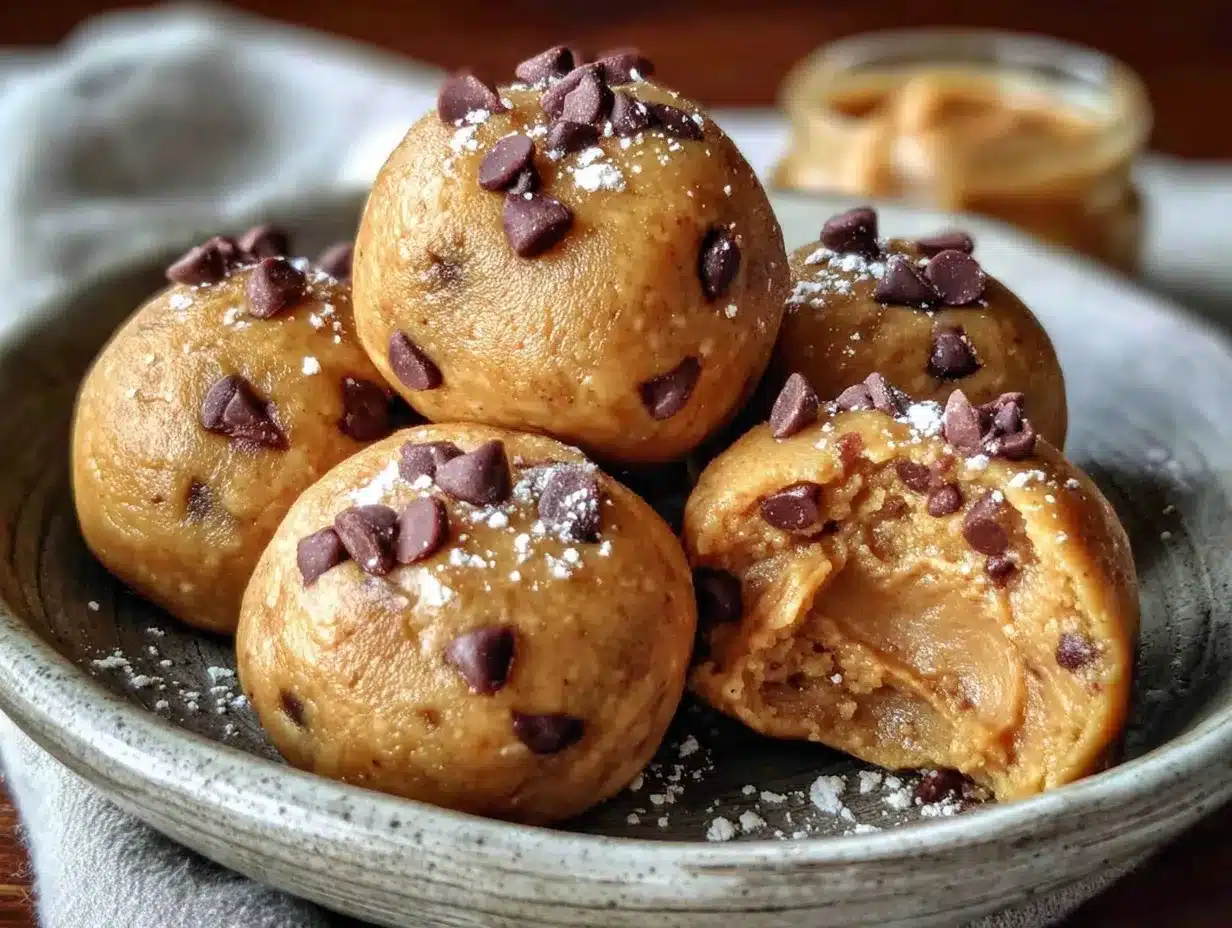
Alright, let’s get rolling! This takes about 5 minutes of active time, plus a quick chill. Here’s the step-by-step:
- Combine the dry ingredients. In a large mixing bowl, add the rolled oats, ground flaxseed, protein powder, and a pinch of sea salt. Give it a quick stir with your spatula to distribute everything evenly. You want to make sure the protein powder isn’t clumped—break up any lumps with your fingers if needed.
- Add the wet ingredients. Spoon in the creamy peanut butter, drizzle the honey, and add the vanilla extract. Don’t add the chocolate chips yet—we’ll mix those in later so they don’t get crushed.
- Mix until combined. Use your spatula to stir everything together. At first, it will look dry and crumbly. Don’t panic. Keep mixing, pressing the mixture against the sides of the bowl. After about 30 seconds, it will start to come together into a cohesive dough. If it seems too dry, add a teaspoon of honey or a splash of milk. If it’s too sticky, add a tablespoon more oats.
- Let it rest for 1 minute. This is my secret step. Let the mixture sit for about a minute. This gives the oats time to absorb some moisture, which makes the dough easier to roll and gives a better texture. You’ll notice it firms up slightly during this time.
- Fold in the chocolate chips. Gently stir in the chocolate chips until they’re evenly distributed. Try not to overmix—you want those little pockets of chocolate to stay intact.
- Roll into balls. Using a tablespoon or small cookie scoop, portion out the dough. Roll each portion between your palms to form a smooth ball. If the mixture sticks to your hands, lightly dampen your palms with water. Aim for about 1-inch balls. You should get around 12-14 balls depending on size.
- Chill for 15-20 minutes. Place the balls on a parchment-lined baking sheet or plate. Pop them in the refrigerator for at least 15 minutes. This helps them firm up and hold their shape. If you’re in a rush, you can skip this step, but they’ll be softer and a bit more fragile.
- Enjoy! Once chilled, they’re ready to eat. Store any leftovers in an airtight container in the fridge.
A quick note: The dough might feel a little oily if your peanut butter is on the runny side. That’s totally normal. Just keep mixing—it will come together. If it’s too oily to roll, add a tablespoon of oats or a bit more protein powder to absorb the excess.
Cooking Tips & Techniques
I’ve made these Easy No-Bake Peanut Butter Protein Balls more times than I can count, and I’ve learned a few things along the way. Here are my best tips for perfect results every time:
Don’t skip the rest time. I know it sounds like a small thing, but letting the mixture sit for a minute before rolling is a game-changer. The oats absorb some of the moisture from the peanut butter and honey, which makes the dough much easier to work with. The first few times I made these, I skipped this step and ended up with sticky, misshapen balls. Trust me on this one.
Use room temperature ingredients. Cold peanut butter is a nightmare to mix. It clumps up and doesn’t incorporate evenly. Let it sit out for 10-15 minutes before starting. Same goes for honey if it’s been in the fridge.
Wet your hands slightly. If the dough is sticking to your palms, just run your hands under cold water and shake off the excess. The thin layer of water prevents sticking without adding too much moisture to the dough. This trick saved me from many frustrated moments.
Make them uniform. Using a cookie scoop or measuring tablespoon ensures all your balls are the same size. This matters for even chilling and consistent nutrition. Plus, they just look nicer.
Chill before storing. Always refrigerate these before transferring them to a container. If you put warm, soft balls directly into a jar, they’ll squish together and turn into one giant blob. I learned this the hard way.
One mistake I made early on: I once tried to use natural peanut butter that had separated and not stirred it properly. The oil was all on top, so my mixture was too dry. Always stir your natural peanut butter well before measuring!
Variations & Adaptations
One of the best things about this recipe is how easy it is to customize. Here are some variations I’ve tried and loved:
Chocolate Lover’s Version: Swap the vanilla protein powder for chocolate, and use chocolate chips. Add a tablespoon of cocoa powder to the dry ingredients for an extra chocolatey punch. I made this version for a friend’s birthday and she said it tasted like healthy brownie batter.
Vegan & Dairy-Free: Use maple syrup instead of honey, and choose a plant-based protein powder. Make sure your chocolate chips are dairy-free (most dark chocolate chips are). This version works beautifully—I’ve made it for vegan friends and they couldn’t tell the difference.
Nut-Free Option: Substitute the peanut butter with sunflower seed butter or tahini. The flavor will be different, but still delicious. Sunflower seed butter gives a slightly savory note that pairs surprisingly well with the honey. Just note that the color will be a bit darker.
Add Some Crunch: Throw in 2 tablespoons of chopped peanuts, almonds, or crushed pretzels for texture. I love adding a little crunch—it makes each bite more interesting.
Spiced Up: Add ½ teaspoon of cinnamon or pumpkin pie spice to the dry ingredients. This is my go-to fall variation. It gives the balls a warm, cozy flavor that’s perfect with a cup of coffee.
No Protein Powder: If you don’t have protein powder, just use an extra ¼ cup of oats and 2 tablespoons of almond flour or coconut flour. The texture will be slightly different, but they’ll still taste amazing.
Serving & Storage Suggestions
These Easy No-Bake Peanut Butter Protein Balls are best served chilled or at room temperature. I personally love them straight from the fridge—they have a firmer, more satisfying texture that way. If you prefer them softer, let them sit out for 5-10 minutes before eating.
They pair wonderfully with a glass of cold milk, a cup of hot coffee, or as a post-workout snack alongside a banana. I’ve also been known to crumble one over a bowl of yogurt for a quick breakfast parfait. They’re versatile like that.
Storage: Keep the balls in an airtight container in the refrigerator. They’ll stay fresh for up to 1 week. In my house, they never last that long, but theoretically, they do!
Freezing: These freeze beautifully. Place the balls on a baking sheet and freeze until solid (about 1 hour). Then transfer them to a freezer-safe bag or container. They’ll keep for up to 3 months. You can eat them straight from the freezer—they’re like little frozen cookie dough bites. I always keep a stash in my freezer for emergencies.
Reheating: No need to reheat! Just grab and go. If you’re packing them for a lunchbox, they’ll thaw by lunchtime.
One thing I’ve noticed: the flavors actually meld together and get better after a day in the fridge. So if you can resist eating them all right away, they’ll taste even better tomorrow.
Nutritional Information & Benefits
These Easy No-Bake Peanut Butter Protein Balls aren’t just delicious—they’re packed with good-for-you ingredients. Here’s the approximate nutritional breakdown per ball (based on 12 servings):
- Calories: 165
- Protein: 8g
- Carbohydrates: 18g
- Fiber: 3g
- Sugar: 9g
- Fat: 8g
The rolled oats provide slow-release energy and fiber to keep you full. Peanut butter offers healthy monounsaturated fats and plant-based protein. The flaxseed adds omega-3 fatty acids, which are great for heart and brain health. And the honey gives you a natural energy boost without the crash of refined sugar.
These balls are naturally gluten-free if you use certified gluten-free oats, and can easily be made vegan as mentioned above. They’re also free from artificial ingredients and preservatives. I love that I can feel good about giving these to my family—they’re a treat that actually nourishes you.
Frequently Asked Questions
Can I use crunchy peanut butter instead of creamy?
Absolutely! Crunchy peanut butter will add extra texture and little peanut bits throughout. Just note that the balls might be slightly more crumbly since the chunks create small weak points. I’ve used both and honestly, I love the crunch version just as much.
My mixture is too dry. What did I do wrong?
This usually happens if your peanut butter is a bit too thick or if you measured the oats generously. No worries! Just add a little more honey or a splash of milk (any kind works) until the mixture holds together when pressed. Add one teaspoon at a time until you get the right consistency.
Can I make these without protein powder?
Yes, absolutely. Just replace the protein powder with an additional ¼ cup of rolled oats and 2 tablespoons of almond flour or coconut flour. The texture will be slightly different—a bit more oat-y and less dense—but they’ll still be delicious and satisfying.
How long do these last at room temperature?
They’re best kept refrigerated, but they can sit at room temperature for up to 4-6 hours without any issues. This makes them perfect for lunchboxes, road trips, or outdoor events. Just don’t leave them in a hot car—the chocolate chips might melt and the balls could get too soft.
Can I double this recipe?
Definitely! This recipe doubles and even triples beautifully. Just make sure you have a large enough bowl to mix everything. I often make a double batch on Sunday and have snacks ready for the whole week. The only thing that changes is the rolling time—it takes a bit longer, but it’s worth it.
Conclusion
These Easy No-Bake Peanut Butter Protein Balls have become a staple in my kitchen for a reason. They’re the snack that saves me on busy days, the treat that satisfies my sweet tooth without the guilt, and the recipe I turn to when I need something reliable. They’ve saved me from hangry moments, powered me through afternoon slumps, and even won over a few skeptics at potlucks. Honestly, they’re proof that good things come in small, peanut-buttery packages.
I hope you give these a try and make them your own. Add your favorite mix-ins, adjust the sweetness to your liking, and don’t be afraid to experiment. That’s the beauty of a simple recipe—it’s a canvas for your creativity. When you make them, I’d love to hear how they turned out. Drop a comment below and let me know what variations you tried. Did you add coconut? Swap the chocolate for dried fruit? Go wild with it!
Thanks for stopping by, and happy snacking. You’ve got this—it only takes five minutes.
Pin This Recipe!
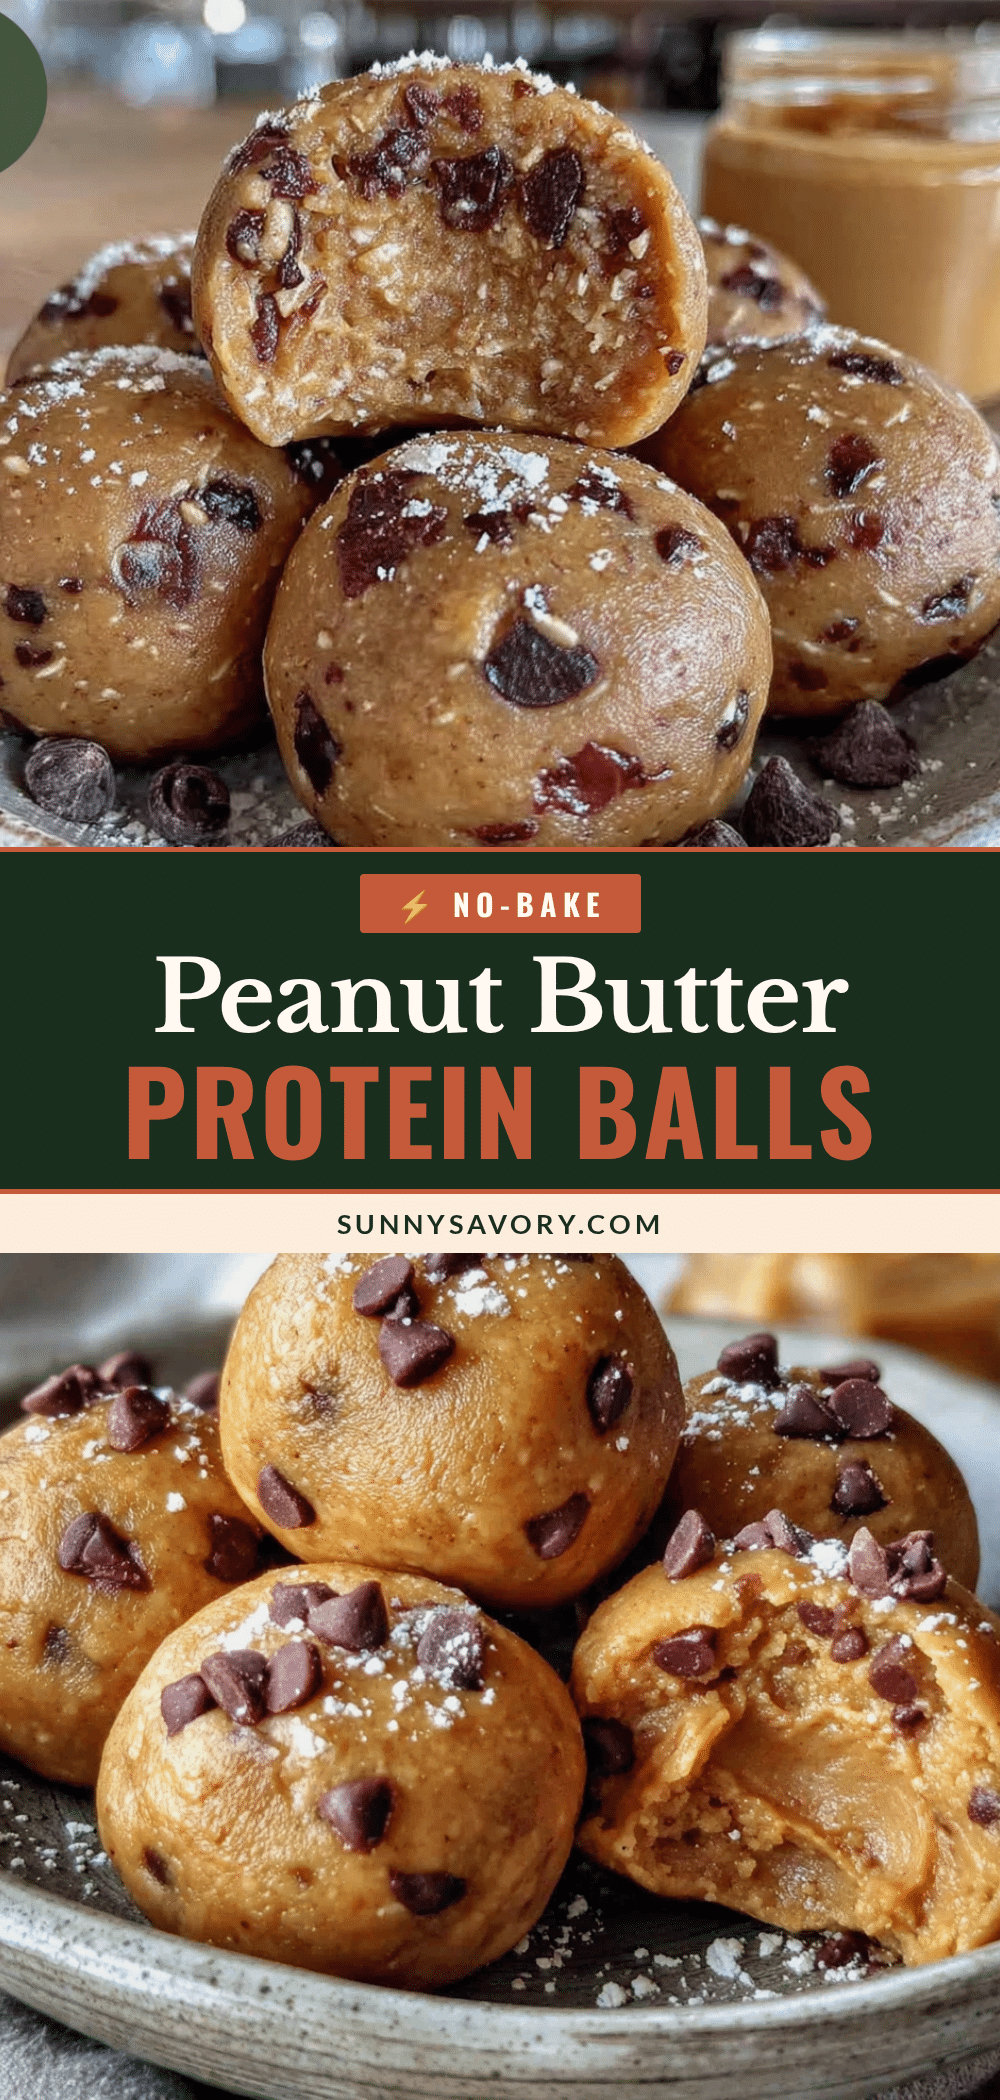
Easy No-Bake Peanut Butter Protein Balls: Best 5-Minute Snack

These no-bake peanut butter protein balls come together in under 5 minutes with simple pantry ingredients. Perfect for busy days, post-workout refueling, or a healthy snack that tastes like cookie dough.
- Prep Time: 5 minutes
- Cook Time: 0 minutes
- Total Time: 20 minutes (including chill time)
- Yield: 12-14 balls 1x
- Category: Snack
- Cuisine: American
Ingredients
- 1 cup rolled oats (use certified gluten-free if needed)
- ½ cup creamy peanut butter (natural, no-stir works best)
- ¼ cup honey (or maple syrup for vegan option)
- ¼ cup chocolate chips (semi-sweet or dark)
- 2 tablespoons ground flaxseed (optional, but recommended)
- 1 scoop vanilla or chocolate protein powder (about 30g)
- ½ teaspoon vanilla extract
- Pinch of sea salt
Instructions
- Combine the dry ingredients. In a large mixing bowl, add the rolled oats, ground flaxseed, protein powder, and a pinch of sea salt. Give it a quick stir with your spatula to distribute everything evenly. Break up any lumps of protein powder with your fingers if needed.
- Add the wet ingredients. Spoon in the creamy peanut butter, drizzle the honey, and add the vanilla extract. Do not add the chocolate chips yet.
- Mix until combined. Use your spatula to stir everything together. At first, it will look dry and crumbly. Keep mixing, pressing the mixture against the sides of the bowl. After about 30 seconds, it will start to come together into a cohesive dough. If it seems too dry, add a teaspoon of honey or a splash of milk. If it’s too sticky, add a tablespoon more oats.
- Let it rest for 1 minute. This is the secret step. Let the mixture sit for about a minute to allow the oats to absorb some moisture, making the dough easier to roll and giving a better texture.
- Fold in the chocolate chips. Gently stir in the chocolate chips until they’re evenly distributed. Try not to overmix.
- Roll into balls. Using a tablespoon or small cookie scoop, portion out the dough. Roll each portion between your palms to form a smooth ball. If the mixture sticks to your hands, lightly dampen your palms with water. Aim for about 1-inch balls. You should get around 12-14 balls depending on size.
- Chill for 15-20 minutes. Place the balls on a parchment-lined baking sheet or plate. Refrigerate for at least 15 minutes to help them firm up and hold their shape.
- Enjoy! Once chilled, they’re ready to eat. Store any leftovers in an airtight container in the fridge.
Notes
For best texture, use room temperature peanut butter and honey. Let the mixture rest for 1 minute before rolling to allow oats to absorb moisture. If dough is too sticky, add more oats; if too dry, add a splash of milk or extra honey. Wet hands slightly to prevent sticking when rolling. Chill before storing to prevent balls from squishing together. Flavors meld and improve after a day in the fridge.
Nutrition
- Serving Size: 1 ball
- Calories: 165
- Sugar: 9
- Sodium: 80
- Fat: 8
- Saturated Fat: 2
- Carbohydrates: 18
- Fiber: 3
- Protein: 8
Keywords: no-bake protein balls, peanut butter protein balls, healthy snack, easy snack, no-bake recipe, protein snack, gluten-free snack, vegan option



