Love this? Save it for later!
Share the inspiration with your friends
My friend Sarah asked why I couldn’t just pour the caramel sauce straight into the cream mixture and skip the whole churning step. I started to explain why that wouldn’t work — something about ice crystal formation and the science of aeration. Then I stopped. Honestly, I had no good reason. I’d just always done it the “proper” way because that’s what the recipe books said. So I shrugged, grabbed a spoon, and we stirred that salted caramel right into the heavy cream like two rebels breaking the rules. And you know what happened next? The creamiest, dreamiest ice cream I’d ever made. No ice cream maker. No complicated steps. Just pure, velvety, salted caramel magic.
It was a Tuesday night, maybe 8 PM, and we were standing in my tiny kitchen with the freezer door open, waiting. Every five minutes, we’d peek in, poke at it, and sigh. “Is it ready yet?” Sarah kept asking. I laughed because that’s exactly what I do with every batch of homemade ice cream — the patience part is always the hardest. But when we finally scooped it out, that first spoonful made everything worth it. The caramel ribbons swirled through the creamy base, and the salt flakes hit just right at the end. Sarah looked at me with this “I told you so” grin, and I had to admit she was completely right.
Maybe you’ve been there — holding onto a complicated method because you think that’s the only way to get good results. I get it. I was that person for years. But this easy no-churn salted caramel ice cream changed everything for me. It’s the kind of recipe that makes you wonder why you ever bothered with the fancy equipment in the first place. And that’s why I keep making it, summer after summer, for every backyard barbecue, dinner party, and quiet Tuesday night when I just need a little something sweet.
Why You’ll Love This Recipe
This isn’t just another ice cream recipe — it’s the one that’ll make you the hero of every gathering. Let me tell you why this easy no-churn salted caramel ice cream stands out from the rest.
- No Ice Cream Maker Required — Seriously, you don’t need any fancy equipment. Just a mixer, a bowl, and a freezer. That’s it.
- Simple Pantry Ingredients — Heavy cream, sweetened condensed milk, vanilla, and some store-bought or homemade caramel sauce. You probably already have most of this in your kitchen.
- Perfect for Hosting — Make it a day ahead, scoop it out when guests arrive, and watch them lose their minds. It’s the ultimate dinner party dessert that looks way more impressive than the effort it takes.
- Crowd-Pleaser — I’ve served this at everything from casual potlucks to fancy holiday dinners, and it never fails to get rave reviews. Kids love it, adults love it — it’s universal.
- Unbelievably Creamy — The texture is what gets people every time. It’s so smooth and rich, nobody believes you didn’t churn it for hours.
What makes this recipe different from all the other no-churn recipes out there? It’s the salt. Not just any salt — I use flaky sea salt that I fold in at just the right moment. The contrast between the sweet, buttery caramel and those tiny bursts of salt is what takes this from “good” to “I need the recipe right now.” I’ve tested this with different brands of caramel sauce, different ratios of salt, and different whipping times. This version? It’s the one that made my neighbor actually text me at 10 PM asking for the recipe after I dropped off a pint.
This is the kind of dessert that makes you close your eyes after the first bite. It’s comfort food reimagined — no churning, no stress, but with all the soul-soothing satisfaction of homemade ice cream. Perfect for impressing guests without breaking a sweat, or turning a simple weeknight into something a little more special.
What Ingredients You Will Need
This recipe uses simple, wholesome ingredients to deliver that rich, creamy texture and bold salted caramel flavor. Most of these are pantry staples, which makes this even better for last-minute hosting.
For the Ice Cream Base
- 2 cups (480 ml) heavy cream — Also called whipping cream. Make sure it’s cold straight from the fridge for the best volume when whipping. I prefer Organic Valley or Horizon for consistent results.
- 1 can (14 oz / 397 g) sweetened condensed milk — This is the secret to that ultra-creamy texture without churning. Don’t substitute with evaporated milk — they’re not the same. Eagle Brand or Carnation both work great.
- 1 teaspoon vanilla extract — Pure vanilla extract makes a difference here. Avoid imitation vanilla if you can, but in a pinch, it’ll still work.
- ¼ teaspoon fine sea salt — This balances the sweetness and enhances the caramel flavor. A little goes a long way.
For the Salted Caramel Swirl
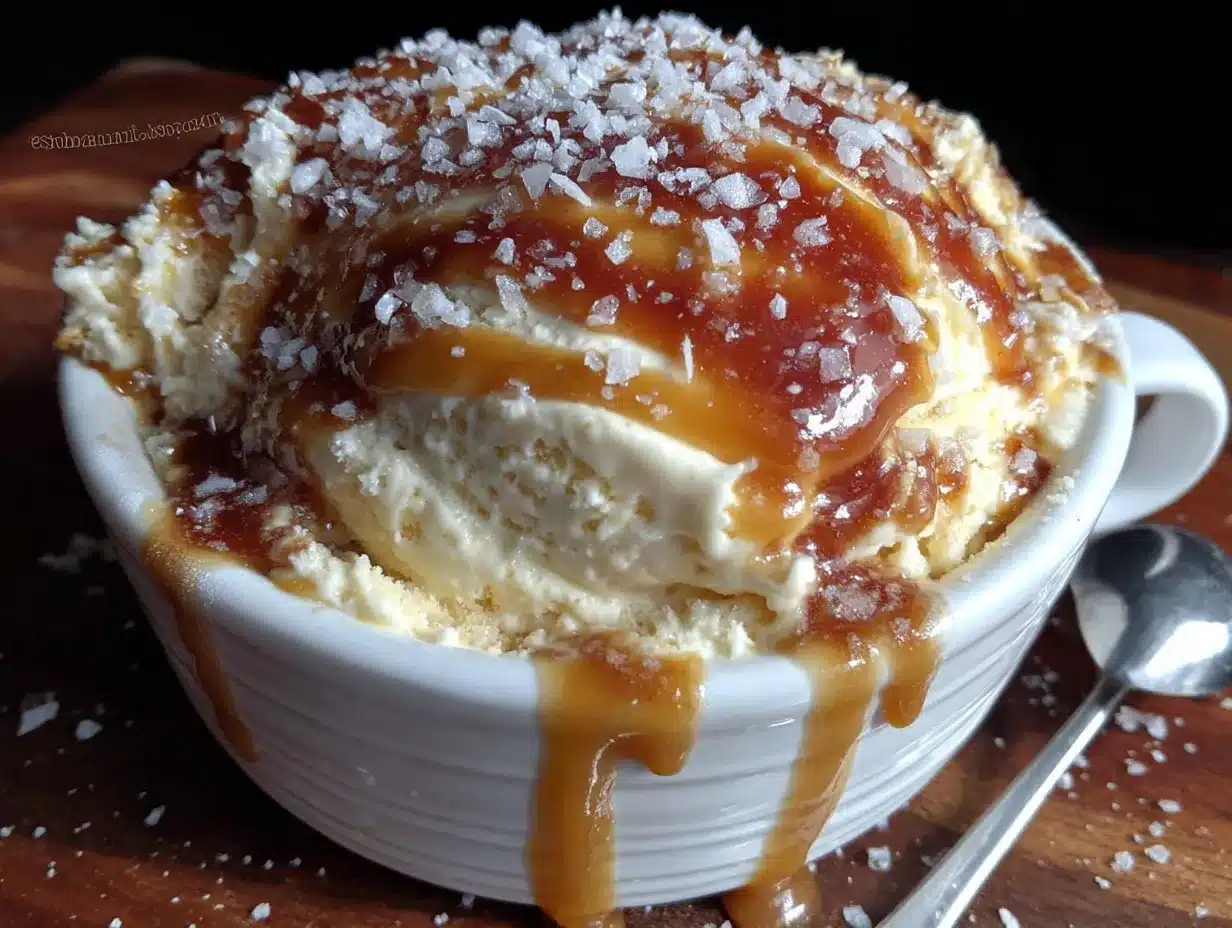
- ½ cup (120 ml) caramel sauce — You can use store-bought (I like Trader Joe’s or Ghirardelli) or homemade if you’re feeling ambitious. Just make sure it’s thick and not too runny.
- 1 tablespoon flaky sea salt — Maldon is my go-to here. Those big, crunchy flakes are perfect for that salted caramel experience. Don’t use table salt — it’ll dissolve and you’ll lose that texture.
- Optional: 1 tablespoon bourbon or whiskey — This is my little secret for adult gatherings. It adds warmth and depth without making it boozy. Plus, it helps keep the ice cream slightly softer straight from the freezer.
Ingredient Selection Tips
For the best results, use full-fat everything. Low-fat or light versions won’t give you that luscious texture. If you’re using homemade caramel sauce, let it cool completely before swirling it in — warm caramel will melt the whipped cream and turn everything into soup. Trust me, I learned that the hard way.
If you’re dairy-free, you can substitute the heavy cream with full-fat coconut cream and use a dairy-free sweetened condensed milk. The texture will be slightly different — more like a coconut sorbet — but it’s still delicious in its own way.
Equipment Needed
One of the best things about this recipe is how little equipment it requires. Here’s what you’ll need:
- Large mixing bowl — Metal or glass works best. Plastic can sometimes hold onto odors.
- Electric hand mixer or stand mixer — You can whip the cream by hand with a whisk, but your arm will definitely feel it. A hand mixer makes this so much easier.
- Rubber spatula — For folding everything together gently. Don’t use a wooden spoon — it’ll deflate all that air you just whipped in.
- 8×4 or 9×5 loaf pan — Perfect for freezing the ice cream. You can also use a metal cake pan or even a plastic container.
- Parchment paper or plastic wrap — To line the pan for easy removal later.
- Freezer-safe container with lid — If you’re not serving it all at once, this is great for storing leftovers.
I’ve made this recipe in a borrowed kitchen with just a whisk and a ceramic bowl — it worked, but it took about 15 minutes of vigorous whisking. My advice? Spend the $15 on a hand mixer. Your future self will thank you, especially when you’re making this for a crowd.
Preparation Method
This is where the magic happens. Follow these steps carefully, and you’ll have the creamiest no-churn ice cream of your life.
Step 1: Whip the Cream
Pour the cold heavy cream into your large mixing bowl. Using your hand mixer or stand mixer with the whisk attachment, beat on medium-high speed until stiff peaks form. This usually takes about 3-4 minutes. You’re looking for cream that holds its shape when you lift the beaters — not too soft, but not butter either. Stop as soon as it’s stiff. Over-whipping will turn it into butter, and nobody wants that.
Step 2: Combine the Base
In a separate small bowl, whisk together the sweetened condensed milk, vanilla extract, and fine sea salt until smooth. This doesn’t take long — maybe 30 seconds. The salt will dissolve into the mixture, and you’ll start smelling that sweet, creamy aroma already.
Step 3: Fold Everything Together
Pour the condensed milk mixture into the bowl with the whipped cream. Using your rubber spatula, gently fold it together. The key word here is gently — you want to combine them without deflating all that air you just whipped in. Use a cutting motion through the center, then scrape around the edges. Repeat until you don’t see any white streaks. It should look like a thick, creamy mousse at this point.
Step 4: Add the Bourbon (Optional)
If you’re using bourbon, drizzle it in while you’re folding. It’ll loosen the mixture slightly, but that’s fine. Just fold a couple more times to incorporate it evenly.
Step 5: Layer and Swirl
Line your loaf pan with parchment paper, leaving some overhang on the sides — this makes lifting the ice cream out later so much easier. Spoon about one-third of the cream mixture into the pan and spread it evenly. Drizzle about 2 tablespoons of caramel sauce over the top, then sprinkle a pinch of flaky sea salt. Repeat with another layer of cream, more caramel, and more salt. Finish with the remaining cream on top. Don’t worry if it looks messy — the swirling will take care of that.
Step 6: Swirl It Up
Take a butter knife or a skewer and gently swirl it through the layers. Don’t overdo it — you want distinct ribbons of caramel, not a fully mixed caramel-colored mess. A few figure-eight motions through the pan is all you need. Sprinkle the top with one last pinch of flaky sea salt for that beautiful finish.
Step 7: Freeze
Cover the pan with plastic wrap or a lid and place it in the freezer. Freeze for at least 6 hours, but overnight is best. The longer it freezes, the firmer it gets. If you’re making this for a party, do it the day before — it’ll be perfectly set and ready to scoop.
Step 8: Serve
When you’re ready to serve, let the ice cream sit at room temperature for about 5-10 minutes before scooping. This softens it just enough for those perfect round scoops. Use a warm ice cream scoop (dip it in hot water and dry it off) for the cleanest results.
Cooking Tips & Techniques
I’ve made this recipe probably two dozen times now, and I’ve learned a few things along the way. Here are my best tips for getting it right every time.
Chill everything. Your bowl, your beaters, even the room temperature. Warm cream won’t whip properly. I pop my bowl and beaters in the freezer for 10 minutes before I start. It makes a noticeable difference in how quickly the cream whips up.
Don’t skip the salt layering. I made the mistake once of just mixing all the salt into the caramel sauce. It dissolved completely, and I ended up with sweet ice cream that had no salt crunch. The flaky salt needs to stay intact for that burst of flavor. Sprinkle it between layers, not into the sauce.
Watch your caramel consistency. If your caramel sauce is too thin, it’ll sink to the bottom of the pan instead of creating beautiful ribbons. Thicker sauces work much better. If you’re using store-bought, look for one that’s labeled “thick” or “rich.” If it’s runny, simmer it on the stove for a few minutes to reduce it before using.
Patience is key. I know it’s tempting to check on it every hour, but opening the freezer door repeatedly will cause temperature fluctuations that lead to ice crystals. Leave it alone for at least 6 hours. Trust the process.
The bourbon trick is real. Adding a tablespoon of alcohol lowers the freezing point of the ice cream, which means it’ll be softer straight from the freezer. This is especially helpful if you’re serving it straight from the freezer without letting it sit out first. Just don’t add too much — more than a tablespoon or two will prevent it from freezing properly.
One mistake I made: I once tried to speed things up by pouring warm caramel into the cream mixture. Big mistake. The heat melted the whipped cream instantly, and I ended up with a soupy mess that took forever to freeze. Always, always let your caramel cool to room temperature before using.
Variations & Adaptations
This recipe is incredibly versatile. Here are some of my favorite ways to switch it up.
Chocolate Salted Caramel
Add ¼ cup of unsweetened cocoa powder to the condensed milk mixture before folding it into the cream. You’ll get a chocolate base with those same salted caramel ribbons. It’s like a fancy turtle sundae in ice cream form.
Vegan Version
Substitute the heavy cream with two cans of full-fat coconut cream (chilled overnight) and use a dairy-free sweetened condensed milk. The coconut flavor pairs surprisingly well with salted caramel. Just make sure your caramel sauce is also dairy-free — many store-bought versions are.
Spiced Caramel
Add ½ teaspoon of cinnamon and a pinch of nutmeg to the condensed milk mixture. It gives the ice cream a warm, cozy flavor that’s perfect for fall gatherings. I made this for Thanksgiving last year, and it was a hit with the pumpkin pie crowd.
Cookie Butter Swirl
Instead of caramel, use cookie butter (like Speculoos or Biscoff spread) for the swirl. Warm it slightly to make it drizzle-able, then layer it the same way. The spiced cookie flavor with the salt is absolutely addictive.
I’ve also tried this with a peanut butter swirl — just warm up some peanut butter with a little honey and swirl it in. It’s dangerous. Like, eat-the-whole-pint-in-one-sitting dangerous.
Serving & Storage Suggestions
This ice cream is best served slightly softened — about 5-10 minutes at room temperature after coming out of the freezer. Scoop it into bowls or cones, and if you’re feeling fancy, drizzle a little extra caramel sauce on top and add another pinch of flaky salt. It makes for a gorgeous presentation that’ll have your guests pulling out their phones.
For a dinner party, serve this alongside warm brownies or a slice of apple pie. The hot-and-cold contrast is unbeatable. Or keep it simple with a few crisp cookies on the side — shortbread or chocolate chip work beautifully.
Storage: Keep the ice cream in a freezer-safe container with a tight-fitting lid. Press a piece of plastic wrap directly onto the surface before sealing to prevent ice crystals from forming. It’ll keep well for up to 2 weeks, though honestly, I’ve never had it last that long in my house.
Reheating tip: If the ice cream gets too hard after a few days, let it sit at room temperature for 15-20 minutes before scooping. You can also microwave the container for 10-15 seconds to soften it slightly — just don’t overdo it or you’ll end up with soup.
The flavors actually deepen after a day or two in the freezer. The caramel and salt meld together beautifully, and the texture becomes even creamier. So don’t be afraid to make this a few days ahead of your gathering — it only gets better.
Nutritional Information & Benefits
Let’s be real — this is a treat, not a health food. But here’s a rough estimate of what you’re looking at per serving (about ½ cup):
- Calories: Approximately 350-400
- Fat: 22-25g
- Carbohydrates: 35-40g
- Protein: 4-5g
- Sugar: 30-35g
- Sodium: 200-250mg (from the salt)
That said, there are a few redeeming qualities. The heavy cream provides some calcium and vitamin A, and if you’re using high-quality caramel sauce, you might get a tiny bit of iron from the molasses content. The salt, believe it or not, helps with electrolyte balance — though I wouldn’t use that as an excuse to eat the whole batch.
If you’re watching your sugar intake, you can use a sugar-free sweetened condensed milk and a low-sugar caramel sauce. The texture will be slightly different — a bit less creamy — but it’s a decent alternative. And for those with gluten sensitivities, this recipe is naturally gluten-free as long as your caramel sauce is too.
My personal philosophy? Ice cream is about joy, not nutrition. I make this for celebrations, for gatherings, for those moments when you just need something indulgent. And that’s okay. Balance is everything.
Conclusion
This easy no-churn salted caramel ice cream has become my go-to dessert for just about every occasion. It’s the recipe that taught me to question my own assumptions — that sometimes the simplest method really is the best one. Sarah’s suggestion that night in my kitchen changed the way I think about cooking, and honestly, I’m grateful for it.
I love that this recipe lets me focus on what matters — the people around the table, the laughter, the shared experience — instead of fussing over complicated techniques. It’s forgiving, it’s flexible, and it always delivers. Whether you’re hosting a summer barbecue, a holiday dinner, or just treating yourself on a random Tuesday, this ice cream will not disappoint.
So go ahead and make it your own. Add extra salt if you’re feeling bold. Swap in a different swirl. Serve it with your favorite pie. And when someone asks for the recipe — and they will — tell them the story about how you learned that sometimes the best ideas come from the people who aren’t afraid to question the rules.
I’d love to hear how yours turns out! Drop a comment below and let me know what variations you tried, or tag me in your photos. Happy scooping!
Frequently Asked Questions
Can I use homemade caramel sauce instead of store-bought?
Absolutely! Homemade caramel sauce works beautifully in this recipe. Just make sure it’s completely cooled to room temperature before you layer it in. Warm caramel will melt the whipped cream and ruin the texture.
How long does this ice cream need to freeze?
At least 6 hours, but overnight is ideal. The longer it freezes, the firmer and more scoopable it becomes. If you’re in a rush, you can check it after 4 hours, but it’ll be quite soft.
Can I make this without an electric mixer?
Yes, you can whip the cream by hand using a whisk. It’ll take about 10-15 minutes of vigorous whisking, and your arm will definitely get a workout. But it’s totally doable — I’ve done it before when my hand mixer died mid-recipe.
Why did my ice cream turn out icy?
Ice crystals usually form when the ice cream is exposed to temperature fluctuations. Make sure your freezer is set to 0°F (-18°C) or lower, and avoid opening the door repeatedly while it’s freezing. Pressing plastic wrap directly onto the surface before sealing also helps prevent ice crystals.
Can I double this recipe?
Yes, this recipe doubles beautifully. Just use a larger pan — a 9×13 inch dish works well — and make sure your mixer bowl is big enough to hold double the whipped cream. You may need to whip the cream in batches if your mixer isn’t large enough.
Pin This Recipe!
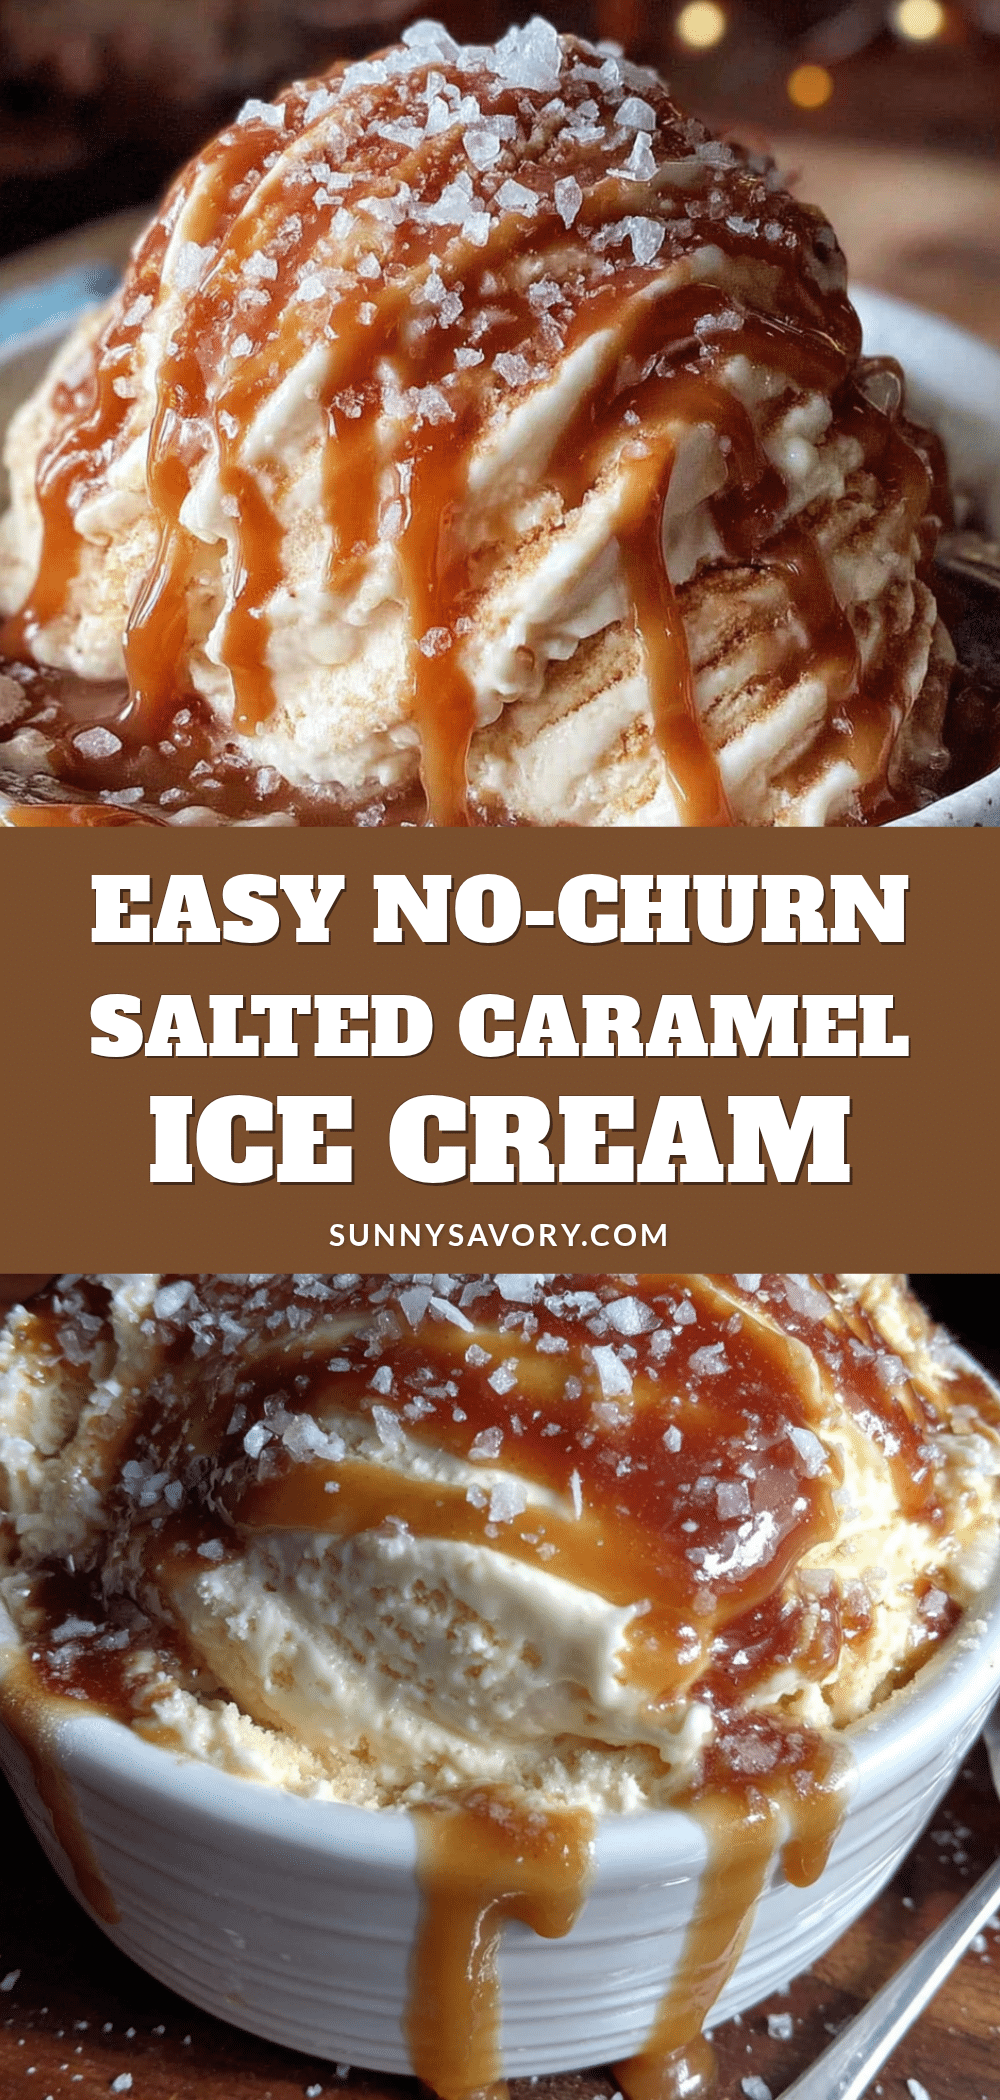
Easy No-Churn Salted Caramel Ice Cream: Best Homemade Recipe

This easy no-churn salted caramel ice cream is the creamiest, dreamiest ice cream you’ll ever make without an ice cream maker. With simple pantry ingredients and a foolproof method, it’s the perfect dessert for any occasion.
- Prep Time: 15 minutes
- Cook Time: 0 minutes
- Total Time: 6 hours 15 minutes (includes freezing time)
- Yield: 8 servings 1x
- Category: Dessert
- Cuisine: American
Ingredients
- 2 cups (480 ml) heavy cream
- 1 can (14 oz / 397 g) sweetened condensed milk
- 1 teaspoon vanilla extract
- ¼ teaspoon fine sea salt
- ½ cup (120 ml) caramel sauce
- 1 tablespoon flaky sea salt
- Optional: 1 tablespoon bourbon or whiskey
Instructions
- Pour the cold heavy cream into a large mixing bowl. Using a hand mixer or stand mixer with whisk attachment, beat on medium-high speed until stiff peaks form, about 3-4 minutes.
- In a separate small bowl, whisk together the sweetened condensed milk, vanilla extract, and fine sea salt until smooth.
- Pour the condensed milk mixture into the bowl with the whipped cream. Gently fold together with a rubber spatula until no white streaks remain, being careful not to deflate the cream.
- If using bourbon, drizzle it in while folding and fold a couple more times to incorporate evenly.
- Line a loaf pan with parchment paper, leaving overhang on the sides. Spoon about one-third of the cream mixture into the pan and spread evenly. Drizzle about 2 tablespoons of caramel sauce over the top, then sprinkle a pinch of flaky sea salt. Repeat with another layer of cream, more caramel, and more salt. Finish with the remaining cream on top.
- Take a butter knife or skewer and gently swirl through the layers in a few figure-eight motions. Do not over-swirl. Sprinkle the top with one last pinch of flaky sea salt.
- Cover the pan with plastic wrap or a lid and freeze for at least 6 hours, preferably overnight.
- When ready to serve, let the ice cream sit at room temperature for 5-10 minutes before scooping. Use a warm ice cream scoop for cleanest results.
Notes
Chill your bowl and beaters in the freezer for 10 minutes before whipping cream for best results. Let caramel sauce cool completely before using. For softer ice cream straight from freezer, add 1 tablespoon bourbon. Press plastic wrap directly onto surface before sealing to prevent ice crystals. Ice cream keeps well for up to 2 weeks.
Nutrition
- Serving Size: ½ cup
- Calories: 375
- Sugar: 33
- Sodium: 225
- Fat: 23
- Saturated Fat: 14
- Carbohydrates: 38
- Protein: 5
Keywords: no-churn ice cream, salted caramel, homemade ice cream, easy dessert, no ice cream maker



