Love this? Save it for later!
Share the inspiration with your friends
It was 10:47 PM on a relentlessly ordinary Tuesday, and a very specific banana bread craving hit. Not the polite, “I’d like a slice with my coffee” kind of craving, but the deep, almost desperate kind where you can practically taste the warm, buttery crumb melting on your tongue. I didn’t have a mixer—mine had given up the ghost two weeks prior, and I was still in denial about needing a new one. But I had three spotty bananas on the counter, a whisk, and a single, stubborn idea: I was going to make this work with just one bowl and my own two hands.
The thing is, I’d always followed the “creaming method” religiously—you know, beating the butter and sugar until it’s light and fluffy, which usually requires an electric mixer. But at nearly 11 PM, I wasn’t about to let a lack of equipment stand between me and comfort. I grabbed a fork, mashed those bananas into a sad-looking paste, and just started mixing everything together in a single, slightly chipped ceramic bowl. Honestly, I expected a dense, gummy disaster. I mean, the batter looked a little lumpy, and I was pretty sure I over-mixed it in my impatience. But I poured it into the loaf pan anyway, thinking, “Well, at least the kitchen will smell good.”
When I pulled that loaf out of the oven, I almost couldn’t believe my eyes. The top was crackled and golden, the center was perfectly domed, and the smell—oh, that smell—filled every corner of my tiny apartment. I let it cool for maybe five minutes (who was I kidding, I burned my tongue on the first slice) and took a bite. It was incredibly moist, tender, and had that perfect, almost caramelized banana flavor. It was, without a doubt, the best banana bread I’d ever made. Maybe you’ve been there—wanting something homemade but not wanting to deal with the fuss. This recipe is for those nights. It’s proof that you don’t need fancy tools or a ton of time to create something truly, ridiculously good.
Why You’ll Love This Recipe
Let’s be real—life is busy, and sometimes the last thing you want to do is pull out a heavy stand mixer and dirty every bowl in your kitchen. This Easy One-Bowl Banana Bread was born from that exact moment of kitchen rebellion. It’s the kind of recipe that makes you feel like a genius without actually having to work for it.
- Truly One-Bowl & No Mixer: You only need one bowl and a whisk or fork. No creaming butter and sugar, no electric beaters. It’s almost laughably simple.
- Made with Pantry Staples: You likely have everything you need right now—flour, sugar, eggs, oil, and those sad, spotty bananas sitting on your counter.
- Perfect for Last-Minute Cravings: From start to warm slice in about an hour. It’s the perfect solution for a sudden sweet tooth or an unexpected guest.
- Unbelievably Moist & Tender: Using oil instead of butter keeps this bread incredibly moist for days. The texture is soft, tender, and never dry.
- Foolproof for Beginners: If you can mash a banana and stir, you can make this bread. It’s forgiving, adaptable, and almost impossible to mess up.
This isn’t just another banana bread recipe—it’s the one that will make you close your eyes after the first bite, thinking, “Why haven’t I been making it this way all along?” It’s comfort food stripped down to its purest, most satisfying form.
What Ingredients You Will Need
This recipe uses straightforward, humble ingredients that work together to create a loaf that’s far greater than the sum of its parts. Nothing fancy, just smart simplicity.
- Ripe Bananas (3 medium, about 1 ½ cups mashed): The browner and spottier, the better. This is non-negotiable for maximum sweetness and moisture.
- Granulated Sugar (¾ cup / 150g): Adds the perfect amount of sweetness. You can reduce to ½ cup if your bananas are very ripe.
- Large Eggs (2, room temperature): They bind everything together and add richness. Let them sit out for 15 minutes if you forgot.
- Vegetable Oil (⅓ cup / 80ml): This is the secret to the ultra-moist crumb. Use a neutral oil like canola or avocado. Melted coconut oil works too.
- Vanilla Extract (1 teaspoon): Enhances the banana flavor and adds a warm, aromatic note. Pure vanilla is best, but imitation works fine.
- All-Purpose Flour (1 ½ cups / 190g): The structural backbone. Spoon and level it into your measuring cup for accuracy—don’t scoop directly.
- Baking Soda (1 teaspoon): The only leavening agent you need. It reacts with the acidity of the bananas to help the bread rise.
- Salt (½ teaspoon): Balances the sweetness and enhances all the flavors. Don’t skip it.
- Optional Mix-Ins: ½ cup of chocolate chips, chopped walnuts, or pecans. I’m partial to dark chocolate chips myself.
Equipment Needed
The beauty of this recipe is its minimal equipment list. You probably have everything already.
- A Large Mixing Bowl: Any size will do, but a 4-quart bowl gives you plenty of room to stir without making a mess.
- A Whisk or Fork: A whisk is ideal for smoothing out lumps, but a fork works in a pinch. I’ve used both.
- A 9×5-inch Loaf Pan: This is the standard size. If you use an 8×4-inch pan, you’ll need to bake it a bit longer.
- Parchment Paper (Optional but Helpful): Creates a “sling” for easy removal. Just cut a strip to fit the width of the pan, leaving overhang on the sides.
- Measuring Cups and Spoons: For accuracy. I use metal cups for dry ingredients and a glass one for liquids.
- Cooling Rack: Allows air to circulate around the loaf, preventing a soggy bottom.
Preparation Method
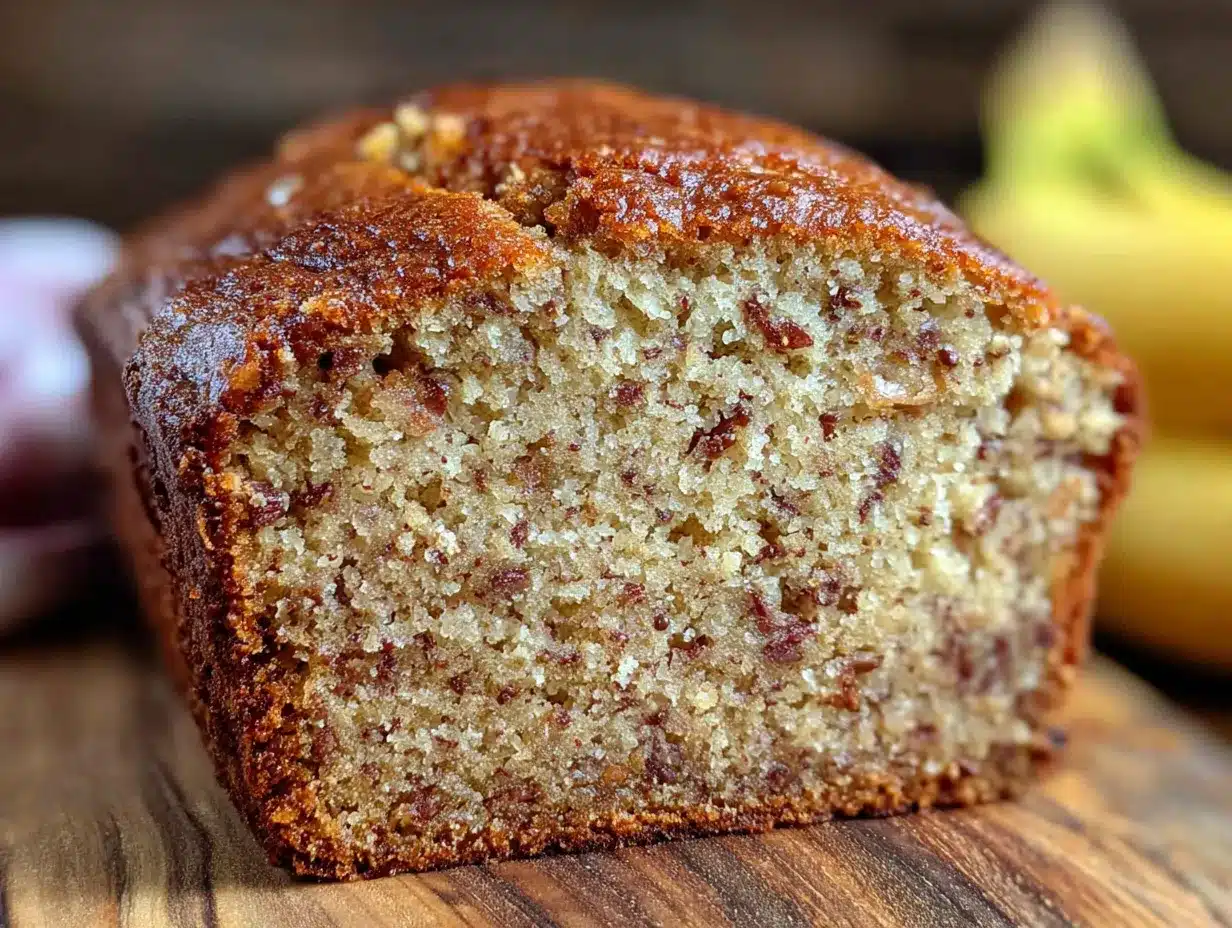
Alright, let’s get to the good part. This is where the magic happens, and I promise, it’s almost embarrassingly easy.
- Preheat and Prep: Preheat your oven to 350°F (175°C). Grease your 9×5-inch loaf pan with butter or non-stick spray. If using parchment paper, press a strip into the bottom and up the sides. This step takes two minutes and saves you ten minutes of frustration later.
- Mash the Bananas: In your large mixing bowl, add the three ripe bananas. Using a fork or a potato masher, mash them until they’re mostly smooth with a few small lumps remaining. You want some texture, not a complete puree. It should look like a chunky applesauce.
- Add the Wet Ingredients: To the mashed bananas, add the ¾ cup of sugar, 2 eggs, ⅓ cup of oil, and 1 teaspoon of vanilla extract. Whisk everything together until it’s well combined and smooth. The mixture will be a little thin and bubbly—that’s perfect.
- Add the Dry Ingredients: Sprinkle the 1 ½ cups of flour, 1 teaspoon of baking soda, and ½ teaspoon of salt directly over the wet mixture. Using a rubber spatula or your whisk, gently fold the dry ingredients into the wet. Stir just until you no longer see streaks of flour. A few small lumps are fine. Over-mixing at this stage will make the bread tough.
- Fold in Mix-Ins (Optional): If you’re using chocolate chips or nuts, gently fold them in with a few swift strokes. Don’t overdo it—you want them distributed evenly, not crushed.
- Bake: Pour the batter into your prepared loaf pan and smooth the top with the spatula. Bake for 50-60 minutes, or until a toothpick inserted into the center comes out clean or with just a few moist crumbs. The top should be a deep golden brown and cracked in the center.
- Cool: Let the bread cool in the pan for about 10 minutes. Then, using the parchment sling, lift it out and transfer it to a wire rack to cool completely. I know it’s tempting, but letting it cool for at least 30 minutes before slicing gives you much cleaner pieces.
Cooking Tips & Techniques
I’ve made this bread dozens of times, and I’ve definitely learned a few things the hard way. Let me save you some trouble.
- The Banana Ripeness Test: If your bananas aren’t spotty, you can speed up the process by roasting them in their skins at 300°F (150°C) for 15-20 minutes. They’ll be soft and sweet, perfect for baking.
- Don’t Over-Mix: This is the number one mistake. Stir just until the flour disappears. Over-mixing develops gluten, which leads to a dense, rubbery loaf. A slightly lumpy batter is a sign of a tender crumb.
- The Toothpick Trick: If the top is browning too quickly but the center isn’t done yet (around the 45-minute mark), loosely tent the pan with aluminum foil. This prevents the top from burning while the inside finishes baking.
- Room Temperature Eggs: Cold eggs can seize the batter, making it harder to mix. If you forgot to take them out, place them in a bowl of warm water for 5 minutes.
- Measuring Flour Correctly: Fluff your flour with a spoon, then spoon it into your measuring cup and level it off with a knife. Scooping directly from the bag can pack in up to 25% more flour, resulting in a dry loaf.
Variations & Adaptations
This recipe is a fantastic base for creativity. Here are a few ways I’ve played with it over the years.
- Gluten-Free Version: Swap the all-purpose flour for a 1-to-1 gluten-free baking blend that contains xanthan gum. The texture will be slightly more delicate, but it’s still incredibly good.
- Vegan Version: Replace the eggs with two “flax eggs” (2 tablespoons ground flaxseed mixed with 6 tablespoons water, left to sit for 5 minutes) and use a neutral oil. The bread will be a bit denser but just as moist.
- Chocolate Swirl: After pouring the batter into the pan, drop in 2 tablespoons of cocoa powder mixed with 2 tablespoons of hot water. Use a knife to swirl it through the batter for a marbled effect.
- Spiced Up: Add 1 teaspoon of cinnamon, ½ teaspoon of nutmeg, and a pinch of ground ginger to the dry ingredients. It gives the bread a warm, chai-like flavor that’s perfect for fall.
- Blueberry Banana Bread: Fold in 1 cup of fresh or frozen blueberries (tossed in a tablespoon of flour to prevent sinking). The burst of tartness against the sweet banana is a wonderful contrast.
Serving & Storage Suggestions
This bread is a gift that keeps on giving, especially when you know how to store it properly.
- Serving: Serve slices warm or at room temperature. For an extra treat, toast a slice and slather it with salted butter. It’s also divine with a dollop of Greek yogurt or a drizzle of honey.
- Storage: Store the bread tightly wrapped in plastic wrap or in an airtight container at room temperature for up to 4 days. The moisture from the oil keeps it from drying out.
- Freezing: This bread freezes beautifully. Wrap the whole loaf or individual slices in plastic wrap, then place them in a freezer-safe bag. They will keep for up to 3 months. Thaw at room temperature or pop a frozen slice directly into the toaster.
- Reheating: The best way to reheat a slice is in a toaster or a 300°F (150°C) oven for about 5-7 minutes. The microwave works in a pinch, but it can make the bread a bit gummy.
Nutritional Information & Benefits
While this is definitely a comfort food, it does have some redeeming qualities, especially when you consider the main ingredient.
- Estimated Per Slice (1/10th of loaf): Calories: 220, Fat: 9g, Carbs: 33g, Fiber: 1g, Sugar: 16g, Protein: 3g.
- Banana Benefits: Bananas are a great source of potassium, which is essential for heart health and muscle function. They also contain vitamin B6 and fiber.
- Dietary Considerations: This recipe is naturally nut-free (if you skip the walnuts) and can easily be made dairy-free by using a plant-based oil. It’s also a fantastic base for a gluten-free adaptation.
- Moderation is Key: I love this bread as a treat, not a health food. It’s the kind of thing you enjoy with a cup of coffee on a Sunday morning, not something you feel guilty about.
FAQs
Can I use frozen bananas?
Absolutely! Thaw them completely, then drain off any excess liquid before mashing. The texture will be a bit softer, but the flavor is even more concentrated.
Why is my banana bread dry?
This usually happens from over-mixing the batter or over-baking it. Make sure you stop stirring as soon as the flour is incorporated, and check for doneness at the 50-minute mark.
Can I use a different size pan?
Yes. You can use an 8×4-inch pan, but you’ll need to increase the baking time by 10-15 minutes. For muffins, bake at 350°F (175°C) for 18-22 minutes.
Can I reduce the sugar?
You can reduce the sugar to ½ cup (100g) if your bananas are very ripe and spotty. The bread will be less sweet, but still delicious. I wouldn’t recommend reducing it further.
How do I know when it’s done baking?
The best test is a toothpick inserted into the center. If it comes out clean or with a few moist crumbs, it’s done. The top should also be a deep golden brown and feel firm to the touch.
Conclusion
This Easy One-Bowl Banana Bread is more than just a recipe—it’s a reminder that you don’t need fancy equipment or a ton of time to create something truly wonderful. It’s for the late-night cravings, the unexpected guests, and the quiet Sunday mornings when all you want is a slice of something warm and familiar. I love this recipe because it’s forgiving, adaptable, and always, always delivers. So go ahead, mash those bananas, grab a bowl, and make a little bit of magic in your own kitchen. I promise, you won’t regret it.
Have you tried this recipe? I’d love to hear about your variations and how it turned out! Drop a comment below, share a photo on Pinterest, or let me know if you added your own special twist. Happy baking, friends!
Pin This Recipe!
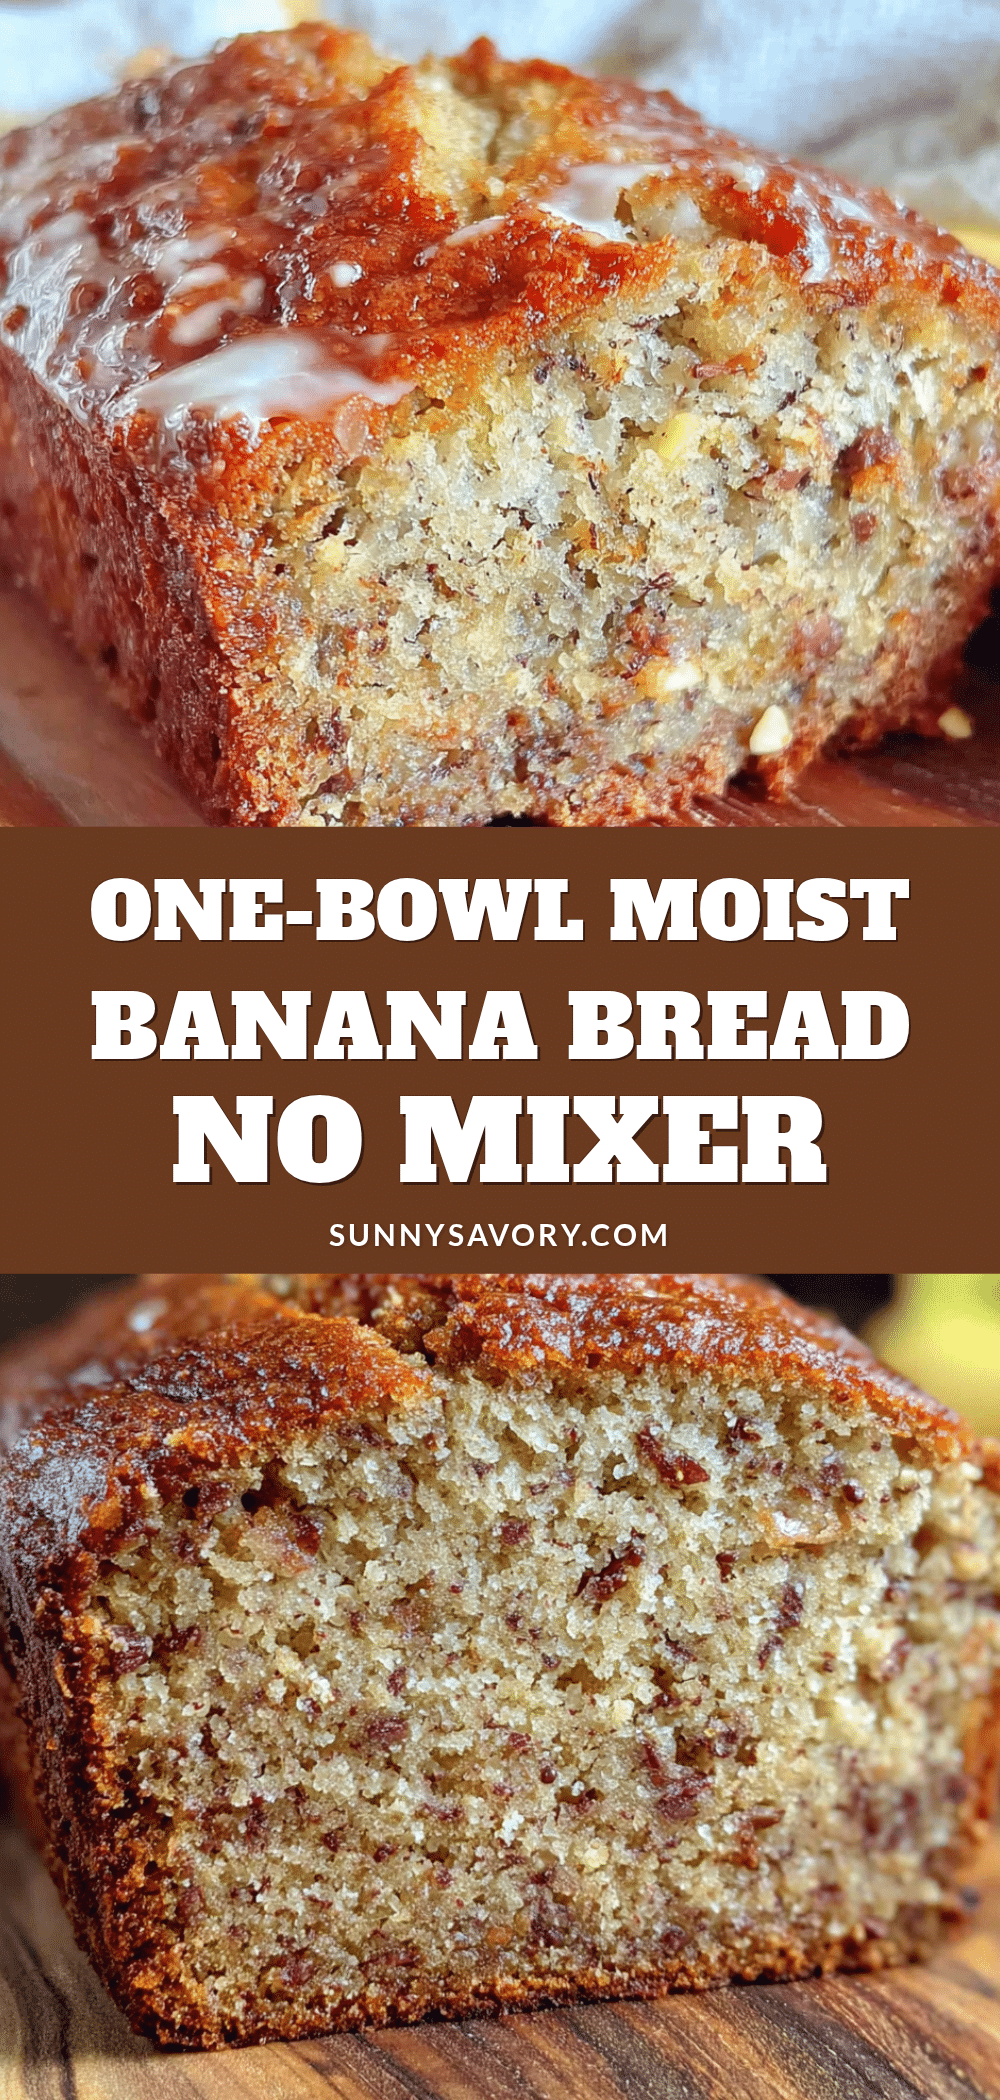
Easy One-Bowl Banana Bread Recipe (Best No-Mixer)
This incredibly moist and tender banana bread requires just one bowl and no electric mixer. Made with pantry staples, it’s the perfect solution for last-minute cravings and is foolproof for beginners.
- Prep Time: 15 minutes
- Cook Time: 55 minutes
- Total Time: 1 hour 10 minutes
- Yield: 10 servings 1x
- Category: Dessert
- Cuisine: American
Ingredients
- 3 medium ripe bananas (about 1 ½ cups mashed)
- ¾ cup (150g) granulated sugar
- 2 large eggs, room temperature
- ⅓ cup (80ml) vegetable oil
- 1 teaspoon vanilla extract
- 1 ½ cups (190g) all-purpose flour
- 1 teaspoon baking soda
- ½ teaspoon salt
- ½ cup chocolate chips, chopped walnuts, or pecans (optional)
Instructions
- Preheat your oven to 350°F (175°C). Grease a 9×5-inch loaf pan with butter or non-stick spray. Optionally, line with parchment paper for easy removal.
- In a large mixing bowl, mash the bananas with a fork until mostly smooth with a few small lumps.
- Add the sugar, eggs, oil, and vanilla extract to the mashed bananas. Whisk until well combined and smooth.
- Sprinkle the flour, baking soda, and salt over the wet mixture. Gently fold with a rubber spatula or whisk until just combined and no streaks of flour remain. Do not over-mix.
- If using mix-ins, gently fold them in with a few swift strokes.
- Pour the batter into the prepared loaf pan and smooth the top. Bake for 50-60 minutes, or until a toothpick inserted into the center comes out clean or with a few moist crumbs.
- Let the bread cool in the pan for 10 minutes, then transfer to a wire rack to cool completely before slicing.
Notes
For best results, use very ripe, spotty bananas. Do not over-mix the batter to avoid a dense loaf. If the top browns too quickly, tent with foil. Store tightly wrapped at room temperature for up to 4 days, or freeze for up to 3 months.
Nutrition
- Serving Size: 1 slice (1/10 of loa
- Calories: 220
- Sugar: 16
- Sodium: 200
- Fat: 9
- Saturated Fat: 1.5
- Carbohydrates: 33
- Fiber: 1
- Protein: 3
Keywords: banana bread, easy banana bread, one bowl banana bread, no mixer banana bread, moist banana bread, quick bread



