Love this? Save it for later!
Share the inspiration with your friends
My husband asked why I couldn’t just pour the sauce over the chicken and bake it all together. I started to explain why that wouldn’t work—then stopped. Honestly, I had no good reason. I was just used to searing the meat first, deglazing the pan, and building the sauce separately like some sort of culinary ritual. So I shrugged, said “fine,” and dumped everything into one pan. The power went out halfway through that first attempt—classic. We finished it by flashlight, and let me tell you, it was the best sticky honey garlic baked chicken thighs I had ever made. That moment humbled me in the best way. I realized I had been overcomplicating a recipe that was begging to be simple. The sauce caramelized perfectly, the chicken stayed juicy, and my kitchen smelled like a takeout dream. Now I make it every other week, and I still laugh at how stubborn I was about it. You know that feeling when you learn more from letting go of control than from sticking to the rules? That is this recipe. It is messy, sticky, and absolutely worth it.
Why You’ll Love This Recipe
Let me tell you why these sticky honey garlic baked chicken thighs have become my go-to dinner. I have tested this one-pan method at least a dozen times, and it never fails. It is the kind of meal that makes you look like you spent hours in the kitchen when you really just tossed things together and walked away.
- Quick & Easy: Comes together in under 40 minutes, perfect for busy weeknights or last-minute dinner cravings.
- Simple Ingredients: No fancy grocery trips needed. You likely have soy sauce, honey, and garlic in your pantry right now.
- Perfect for Meal Prep: Great for Sunday meal prep or feeding a crowd without breaking a sweat.
- Crowd-Pleaser: Always gets rave reviews from kids and adults alike. My picky nephew asked for seconds.
- Unbelievably Delicious: The sticky glaze and tender meat combo is next-level comfort food.
What makes this version different from the rest? It is the caramelization technique. By baking the chicken thighs skin-side up and brushing the sauce halfway through, you get that glossy, sticky finish without burning the garlic. I learned this the hard way after one too many batches of bitter, scorched garlic. This recipe isnt just good—it is the kind that makes you close your eyes after the first bite. It is comfort food reimagined—simpler, faster, but with the same soul-soothing satisfaction.
What Ingredients You Will Need
This recipe uses simple, wholesome ingredients to deliver bold flavor and satisfying texture without the fuss. Most of these are pantry staples, which is why I love making this on a whim.
- Chicken thighs: 6 bone-in, skin-on chicken thighs (about 2 pounds). The skin gets crispy, and the meat stays juicy. Boneless works too, but reduce cooking time by 5-7 minutes.
- Honey: 1/3 cup of good-quality honey. I prefer local raw honey for its floral notes, but any honey works.
- Soy sauce: 1/4 cup low-sodium soy sauce (adds savory depth without making it too salty). Use tamari for gluten-free option.
- Garlic: 4-5 cloves fresh garlic, minced. Please skip the jarred stuff—fresh garlic makes a huge difference here.
- Rice vinegar: 2 tablespoons (adds brightness and balances the sweetness).
- Sesame oil: 1 tablespoon (adds nutty flavor). Toasted sesame oil is best.
- Cornstarch: 1 tablespoon (helps thicken the sauce into that sticky glaze).
- Green onions: 3-4 stalks, sliced for garnish.
- Sesame seeds: 1 tablespoon for garnish (optional but pretty).
- Salt and pepper: To taste. Go easy on salt since soy sauce adds plenty.
I recommend using a soy sauce brand like Kikkoman or San-J for consistent flavor. For the honey, look for something that is not too watery—thicker honey caramelizes better. If you are out of rice vinegar, apple cider vinegar works in a pinch. Also, let your chicken thighs sit at room temperature for 15 minutes before cooking—this helps them cook more evenly.
Equipment Needed
You do not need much for this recipe, which is part of its charm. Here is what you will need:
- Large baking dish or sheet pan: A 9×13-inch baking dish works perfectly. I use my trusty old Pyrex dish that has seen better days but still delivers.
- Mixing bowl: For whisking the sauce together.
- Whisk or fork: To combine the sauce ingredients smoothly.
- Tongs: For flipping the chicken halfway through. If you do not have tongs, two forks work fine.
- Basting brush: Optional, but helpful for brushing the sauce onto the chicken during baking. I have used a spoon in a pinch and it works okay.
- Meat thermometer: Highly recommended. Chicken thighs are done at 165°F, but I pull them at 170°F for better texture.
If you do not have a baking dish, a cast-iron skillet works beautifully—it holds heat well and creates an even better crust on the chicken. Just make sure it is oven-safe. A silicone basting brush is my favorite because it does not shed bristles into the sauce like some cheap pastry brushes do.
Preparation Method
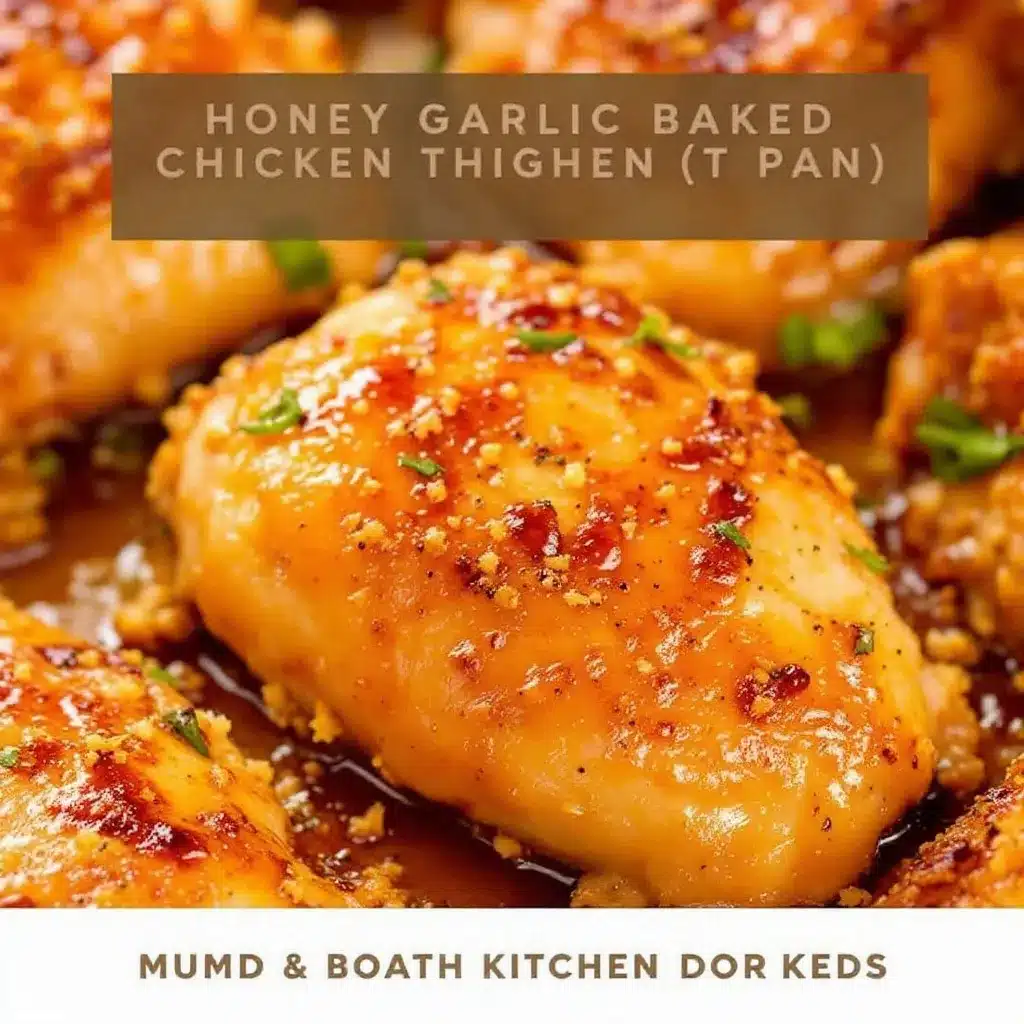
Follow these steps carefully, and you will have the most glorious sticky honey garlic baked chicken thighs on your table in no time.
- Preheat your oven to 400°F (200°C). Position the rack in the middle of the oven. While it heats, pat the chicken thighs dry with paper towels. This is crucial for crispy skin—do not skip it.
- Season the chicken: Sprinkle both sides of the thighs with salt and pepper. Go easy on the salt since the soy sauce adds plenty. Place them skin-side up in your baking dish. The skin should be dry and lightly seasoned.
- Make the sauce: In a medium bowl, whisk together the honey, soy sauce, minced garlic, rice vinegar, sesame oil, and cornstarch. Whisk until the cornstarch dissolves completely—no lumps allowed. The sauce will look thin now, but it thickens beautifully as it bakes.
- Pour the sauce over the chicken: Pour the mixture evenly over the thighs, making sure each piece gets coated. Do not submerge them—just let the sauce pool around the bottom. The tops of the skin should stay exposed so they can crisp up.
- Bake for 20 minutes: Place the dish in the oven and bake undisturbed. You will start to smell the garlic and honey mingling—that is the good stuff.
- Brush and flip: After 20 minutes, remove the dish from the oven. Using a basting brush or spoon, brush the pan juices over the chicken thighs. Flip each piece over so the skin-side is now down in the sauce. Brush the tops again with the pan liquid.
- Bake for another 15-20 minutes: Return the dish to the oven. The sauce will bubble and thicken into a sticky glaze. The chicken is done when the internal temperature reaches 170°F and the skin is golden brown and crispy. If you want extra caramelization, switch the oven to broil for the last 2 minutes—watch it closely so it does not burn.
- Rest and garnish: Remove the dish from the oven and let the chicken rest for 5 minutes. This lets the juices redistribute. Sprinkle with sliced green onions and sesame seeds before serving.
A quick tip: If the sauce looks too thin after baking, transfer the chicken to a plate and whisk the pan juices over medium heat on the stovetop for 1-2 minutes until it thickens. Pour it back over the chicken. This saved me once when I was impatient and pulled it too early.
Cooking Tips & Techniques
I have made this sticky honey garlic baked chicken thighs recipe more times than I can count, and I have learned a few things the hard way. Here are my best tips:
Pat the chicken dry: This is non-negotiable. Wet skin steams instead of crisps. I learned this after a batch of rubbery, sad chicken skin. Never again.
Do not crowd the pan: Give each thigh a little breathing room. If they are touching, they will steam rather than roast. Use a larger dish if needed.
Watch the garlic: Garlic burns easily at high heat. That is why we add it to the sauce rather than sprinkling it directly on the chicken. The honey and soy sauce protect it a bit, but keep an eye on things during the last 10 minutes.
Use a meat thermometer: Chicken thighs are forgiving, but they are best at 170°F. At 165°F, they are safe but can be a bit rubbery. At 175°F, they start drying out. I pull mine at 170°F and let carryover cooking do the rest.
Baste twice: That first brush at the 20-minute mark is important, but I like to brush again at the 30-minute mark for extra stickiness. It takes 30 seconds and makes a huge difference.
Let it rest: Do not skip the resting time. If you cut into the chicken right away, all those lovely juices run out onto the plate instead of staying in the meat. Five minutes is all it takes.
Variations & Adaptations
This recipe is wonderfully flexible. Here are some ways to make it your own:
Spicy Honey Garlic: Add 1 teaspoon of sriracha or red pepper flakes to the sauce for a kick. I tried this after a friend dared me, and now it is my favorite version. The heat balances the sweetness perfectly.
Low-Sodium Option: Use low-sodium soy sauce and reduce the salt on the chicken. You can also swap soy sauce for coconut aminos if you are watching your sodium intake. It changes the flavor slightly but still tastes great.
Gluten-Free Adaptation: Use tamari or gluten-free soy sauce. Double-check your rice vinegar too—most brands are gluten-free, but it is worth verifying.
Chicken Breast Version: Use boneless, skinless chicken breasts instead. Reduce baking time to 20-25 minutes total, and check for doneness at 165°F. The sauce will be thinner since there is less fat, so you might want to simmer it on the stovetop for a minute to thicken.
Vegetable Add-In: Toss broccoli florets or snap peas into the pan during the last 10 minutes of baking. They soak up the sauce and become incredibly flavorful. I do this when I want a one-pan meal with veggies built in.
Air Fryer Method: Cook at 375°F for 18-22 minutes, flipping halfway through. The sauce will caramelize faster, so keep an eye on it. I have done this on busy nights when I forgot to preheat the oven.
Serving & Storage Suggestions
These sticky honey garlic baked chicken thighs are best served hot, straight from the oven. The glaze should be glossy and slightly tacky. I love serving them over a bed of steamed jasmine rice or fluffy white rice to soak up all that extra sauce. A side of steamed broccoli or a simple cucumber salad balances the richness nicely.
For drinks, pair with a crisp lager or a cold glass of Sauvignon Blanc. If you are feeling fancy, a ginger beer mocktail works beautifully with the Asian-inspired flavors.
Storing leftovers: Place cooled chicken in an airtight container and refrigerate for up to 4 days. The flavors actually deepen overnight, making leftovers almost better than the first serving.
Freezing: These freeze well for up to 3 months. Wrap each thigh individually in plastic wrap, then place in a freezer bag. Thaw overnight in the refrigerator before reheating.
Reheating: The best way to reheat is in a 350°F oven for 10-12 minutes. This restores some crispiness to the skin. The microwave works in a pinch, but the skin will be soft. If using the microwave, cover with a damp paper towel to prevent drying out.
One thing I have noticed is that the sauce gets thicker and stickier after sitting in the fridge. If you like a looser sauce, add a splash of water or chicken broth when reheating.
Nutritional Information & Benefits
Here is the approximate nutritional breakdown for one serving (one chicken thigh with sauce):
- Calories: 310
- Protein: 28g
- Fat: 16g
- Carbohydrates: 18g
- Sugar: 15g
- Sodium: 520mg
Chicken thighs are a great source of protein, iron, and B vitamins, which support energy metabolism. The skin provides healthy fats that keep you full longer. Honey offers antioxidants and natural antibacterial properties, while garlic is known for its immune-boosting compounds. This recipe is naturally gluten-free if you use tamari, and it is dairy-free as written. If you are watching your sugar intake, you can reduce the honey to 1/4 cup—the sauce will be less sticky but still flavorful.
I personally love that this recipe feels indulgent without being overly heavy. It hits that sweet-savory spot that satisfies cravings without leaving you feeling sluggish.
Conclusion
These sticky honey garlic baked chicken thighs have earned a permanent spot in my weekly rotation. They are proof that sometimes the simplest methods produce the best results. I love how forgiving this recipe is—even on days when I forget to thaw the chicken or misplace my tongs, it still turns out beautifully. My advice? Make it once exactly as written, then start playing with the variations. Swap the honey for maple syrup, add ginger, throw in some chili flakes—make it yours. I would love to hear how yours turn out. Drop a comment below with your favorite twist, or tag me in your photos. Happy cooking, friend. You have got this.
Frequently Asked Questions
Can I use boneless chicken thighs for this recipe?
Absolutely. Boneless, skinless thighs work well, but reduce the baking time by 5-7 minutes. They cook faster and may not get as crispy on top, but the sauce will still be delicious.
Why is my sauce not thickening?
This usually happens if the cornstarch did not dissolve fully or if there is too much liquid. Whisk the cornstarch thoroughly into the cold sauce before pouring it over the chicken. If it is still thin after baking, simmer the pan juices on the stovetop for 1-2 minutes.
Can I make this recipe ahead of time?
Yes. Prepare the sauce and season the chicken up to 24 hours in advance. Store them separately in the fridge. When ready to bake, pour the sauce over the chicken and follow the baking instructions. You may need to add 5 minutes to the cook time if everything is cold.
How do I prevent the garlic from burning?
Keep the garlic mixed into the sauce rather than sprinkling it directly on the chicken. The honey and soy sauce buffer the garlic from direct heat. Also, avoid broiling for more than 2 minutes at the end.
Can I double this recipe?
Yes, but use a larger baking dish to avoid crowding the chicken. You may need to increase the baking time by 5-10 minutes. Check the internal temperature to be sure. The sauce recipe doubles easily—just whisk everything together in a larger bowl.
Pin This Recipe!
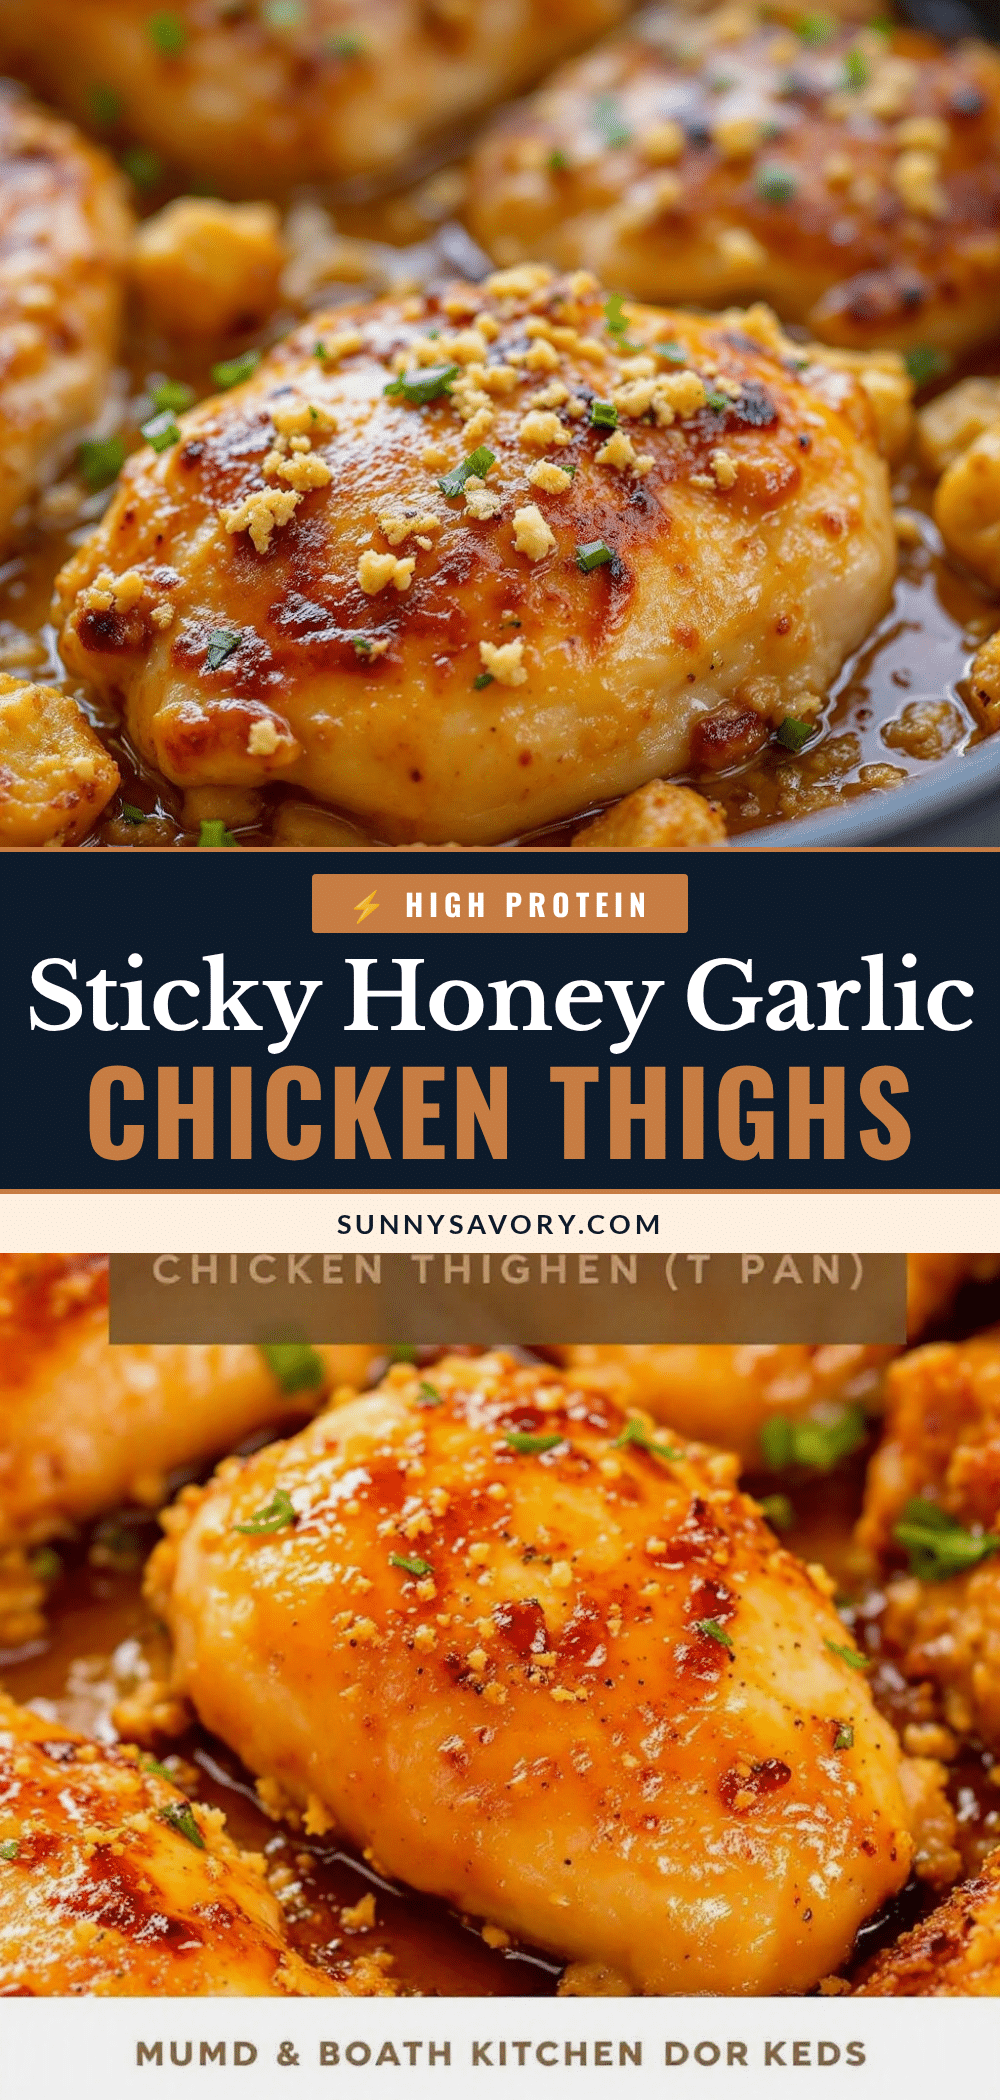
Easy Sticky Honey Garlic Baked Chicken Thighs (One Pan)

These sticky honey garlic baked chicken thighs are a quick and easy one-pan meal that delivers juicy, caramelized chicken with a glossy, flavorful glaze. Perfect for busy weeknights, this recipe uses simple ingredients and comes together in under 40 minutes.
- Prep Time: 10 minutes
- Cook Time: 35-40 minutes
- Total Time: 45-50 minutes
- Yield: 6 servings 1x
- Category: Main Course
- Cuisine: Asian-inspired
Ingredients
- 6 bone-in, skin-on chicken thighs (about 2 pounds)
- 1/3 cup honey
- 1/4 cup low-sodium soy sauce
- 4–5 cloves fresh garlic, minced
- 2 tablespoons rice vinegar
- 1 tablespoon sesame oil (toasted preferred)
- 1 tablespoon cornstarch
- 3–4 stalks green onions, sliced for garnish
- 1 tablespoon sesame seeds for garnish (optional)
- Salt and pepper to taste
Instructions
- Preheat your oven to 400°F (200°C). Position the rack in the middle of the oven. Pat the chicken thighs dry with paper towels.
- Season both sides of the thighs with salt and pepper. Place them skin-side up in a 9×13-inch baking dish.
- In a medium bowl, whisk together honey, soy sauce, minced garlic, rice vinegar, sesame oil, and cornstarch until the cornstarch dissolves completely.
- Pour the sauce evenly over the chicken thighs, ensuring each piece is coated but the skin remains exposed.
- Bake for 20 minutes undisturbed.
- Remove the dish from the oven. Brush the pan juices over the chicken thighs, then flip each piece so the skin-side is down in the sauce. Brush the tops again with pan liquid.
- Return to the oven and bake for another 15-20 minutes, until the internal temperature reaches 170°F and the skin is golden brown and crispy. For extra caramelization, broil for the last 2 minutes.
- Remove from the oven and let the chicken rest for 5 minutes. Sprinkle with sliced green onions and sesame seeds before serving.
Notes
Pat the chicken dry for crispy skin. Do not crowd the pan. Watch the garlic to prevent burning. Use a meat thermometer for best results (pull at 170°F). Baste twice for extra stickiness. Let the chicken rest for 5 minutes before serving.
Nutrition
- Serving Size: 1 chicken thigh with
- Calories: 310
- Sugar: 15
- Sodium: 520
- Fat: 16
- Saturated Fat: 4
- Carbohydrates: 18
- Protein: 28
Keywords: sticky honey garlic chicken, baked chicken thighs, one pan chicken, easy chicken dinner, honey garlic chicken



