Love this? Save it for later!
Share the inspiration with your friends
I was standing in line at the farmers’ market, clutching a bag of late-summer peaches, when the woman in front of me turned around and laughed. My bag was leaking peach juice all over her canvas tote. “Happens every time,” she said, handing me a spare produce bag. Her name was Gloria, and by the time we’d paid, she’d told me about the cookies her grandmother used to make that “baked” in the dying heat of the oven overnight. No mixer required. No fuss. Just a meringue that somehow turned into these little clouds of joy while everyone slept. I scribbled her instructions on a crumpled receipt. Honestly, I thought I’d lost it twice before I actually tried making them. But the first time I pulled a tray of these forgotten cookies out of the oven the next morning, I knew I’d stumbled onto something magic. They’re the kind of thing you make when you want to look like you did something impressive, but really, you just let the oven do all the work while you got a good night’s sleep.
These guest-favorite forgotten cookies have become my secret weapon for hosting. You know that feeling when you’re scrambling to get everything ready before guests arrive? This recipe laughs in the face of that stress. You mix up a simple meringue, dollop it onto trays, pop them in a hot oven, then turn the oven off and walk away. That’s it. The residual heat gently dries the meringue into crisp, airy cookies studded with chocolate chips and pecans. They’re perfect for potlucks, dinner parties, or any gathering where you want to offer something sweet without being stuck in the kitchen. I’ve brought them to everything from casual backyard barbecues to holiday cookie exchanges, and they always disappear first. Let me tell you, there’s something deeply satisfying about watching guests reach for a cookie you barely worked for.
Why You’ll Love This Recipe
I’ve tested this recipe more times than I care to count, tweaking the oven temperature and timing to get that perfect texture—crisp on the outside with a slight chew in the center. It’s been family-approved at three different Thanksgiving dinners and has earned a permanent spot in my hosting rotation. Here’s why it works so well for gatherings:
- Effortless Hosting: You make the batter in under 15 minutes, and the oven does the rest. No standing over a hot stove while your guests are mingling.
- Simple Pantry Ingredients: Egg whites, sugar, chocolate chips, and pecans. Chances are you already have everything you need, which is a lifesaver when you’re hosting last-minute.
- Perfect for Parties: These cookies are light, not too sweet, and they look beautiful on a dessert table. Plus, they’re naturally gluten-free, so they work for a variety of dietary needs.
- Crowd-Pleaser: I’ve yet to meet someone who doesn’t love them. Kids go for the chocolate, adults appreciate the subtle crunch of pecans, and everyone is amazed when you say they baked overnight.
- Unbelievably Delicious: The texture is unlike any other cookie—light as air with a melt-in-your-mouth quality that feels special without being fussy.
What makes this recipe different from other meringue cookies is the “forgotten” method. Instead of babysitting a low-temperature oven for hours, you let the residual heat do the work. This isn’t just another version—it’s the most foolproof, stress-free way to get perfect meringues every time. I’ve tried baking them at a steady low temperature, and they never turn out quite as good. Something about the gradual cooling creates that ideal texture. Honestly, it’s the kind of recipe that makes you look like a hero with minimal effort, which is exactly what you want when you’re hosting.
What Ingredients You Will Need
This recipe uses simple, wholesome ingredients that come together to create something surprisingly elegant. Most of these are pantry staples, which means you can whip up a batch without a special trip to the store. Here’s what you’ll need:
For the Meringue Base
- 2 large egg whites, room temperature (cold eggs won’t whip up as well, so let them sit out for about 30 minutes)
- 2/3 cup granulated sugar (I use regular white sugar; superfine sugar works too, but regular is fine)
- 1/2 teaspoon vanilla extract (pure vanilla extract gives the best flavor, but imitation works in a pinch)
- 1/4 teaspoon cream of tartar (this stabilizes the meringue and helps it hold its shape—don’t skip it)
- Pinch of salt (just a tiny bit to balance the sweetness)
For the Mix-Ins
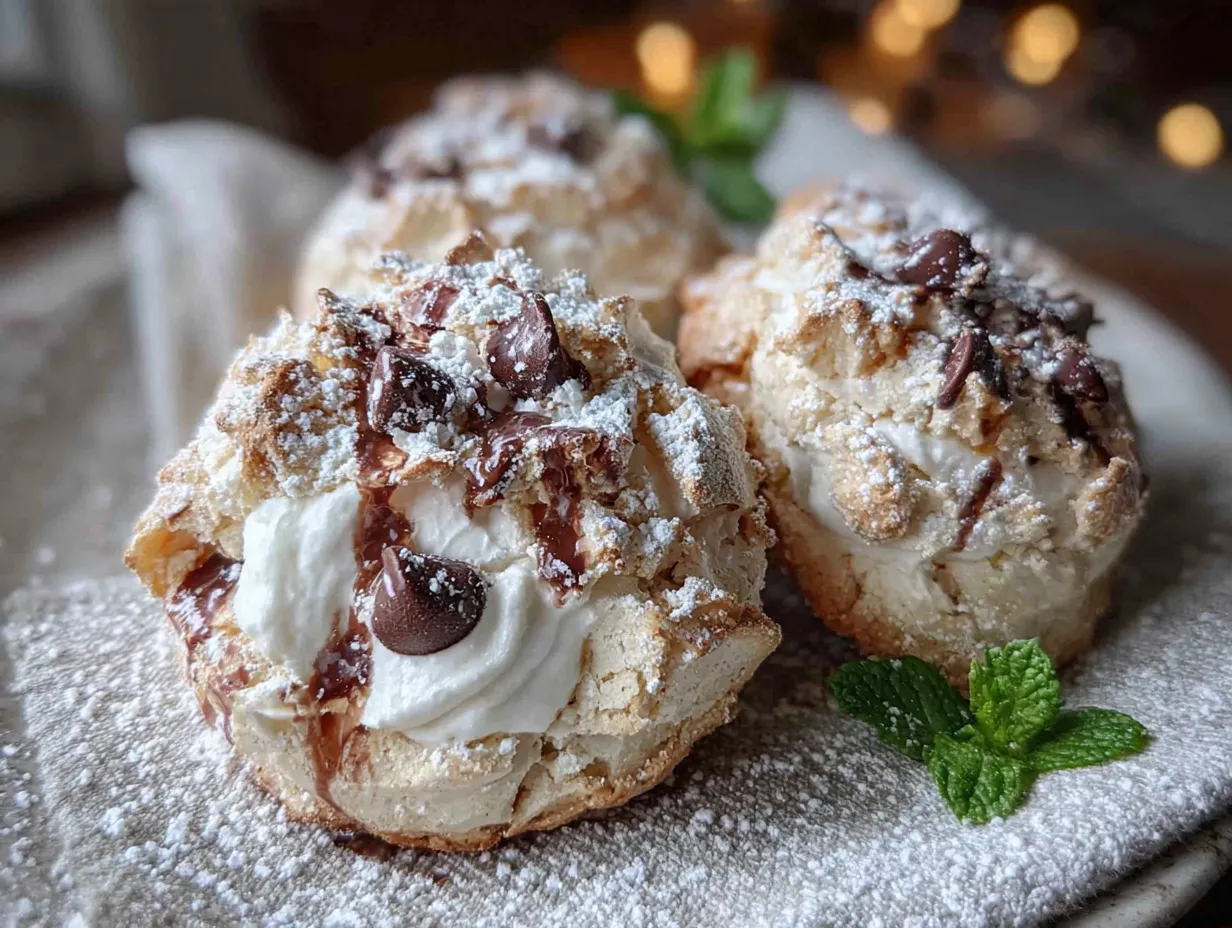
- 1/2 cup semi-sweet chocolate chips (I prefer Ghirardelli or Guittard for their rich flavor and even melting)
- 1/2 cup chopped pecans (toast them lightly in a dry pan for 2-3 minutes for extra flavor, but raw works too)
That’s it. Six ingredients total, and you probably have five of them right now. The cream of tartar is the only one that might not be in your pantry, but it’s cheap and lasts forever. You can substitute it with 1/2 teaspoon of lemon juice or white vinegar if you’re in a pinch, though cream of tartar gives the most reliable results.
For the chocolate chips, I recommend using a good-quality brand because it makes a noticeable difference in flavor. The semi-sweet variety balances the sweetness of the meringue perfectly. If you’re a dark chocolate fan, go ahead and use dark chocolate chips—just know that the cookies will be slightly less sweet overall. For the pecans, make sure they’re chopped into small, even pieces so they distribute well through the batter. You don’t want one cookie getting all the nuts while another gets none.
One thing I’ve learned from making these dozens of times: use fresh eggs. Older egg whites don’t whip up as well because they’re thinner. If you’re not sure how fresh your eggs are, do the float test—fresh eggs sink in water, older ones float. For the best results, I use eggs that are no more than a week or two old. And always, always separate your eggs carefully. Even a tiny bit of yolk in the whites will prevent them from whipping into stiff peaks. I separate each egg into a small bowl first, then add the white to the mixing bowl. That way, if one yolk breaks, you haven’t ruined the whole batch.
Equipment Needed
You don’t need fancy equipment for these cookies, which is part of their charm. Here’s what you’ll need:
- Electric mixer (handheld or stand mixer both work; you could theoretically whisk by hand, but your arm will hate you)
- Large mixing bowl (make sure it’s completely clean and dry—any grease will ruin your meringue)
- Baking sheets (two standard-sized sheets, or you can bake in batches)
- Parchment paper (essential for easy removal; wax paper won’t work here)
- Rubber spatula (for folding in the mix-ins gently)
- Cookie scoop or two spoons (for portioning the batter evenly)
- Cooling rack (optional, but helpful for cooling the cookies completely)
If you don’t have a stand mixer, a handheld electric mixer works perfectly. I’ve made these in a tiny apartment kitchen with a $20 hand mixer, and they turned out just as good as when I use my KitchenAid. The key is making sure your bowl is spotless. I wipe mine down with a little vinegar on a paper towel before starting, just to remove any trace of grease. For the baking sheets, any light-colored metal pan works. Dark pans can cause the bottoms to brown too much, so stick with light-colored ones if you can. And please don’t skip the parchment paper—these cookies stick like crazy to unlined pans.
Preparation Method
Making these forgotten cookies is almost embarrassingly easy, but there are a few tricks to get them just right. Follow these steps, and you’ll have perfect meringues every time.
- Preheat your oven to 350°F (175°C). Line two baking sheets with parchment paper and set them aside. Make sure your oven racks are positioned in the center of the oven.
- Wipe your mixing bowl and beaters with a little vinegar or lemon juice. This removes any trace of grease that could prevent your egg whites from whipping. It sounds fussy, but trust me, it makes a difference. I learned this the hard way after a batch that refused to stiffen.
- Add the egg whites to the bowl and beat on medium speed until they become frothy and bubbly, about 1 minute. You’ll see lots of small bubbles form, and the mixture will look slightly opaque.
- Add the cream of tartar and salt, then continue beating. Gradually increase the speed to medium-high. The mixture will start to look white and foamy, like the foam on a cappuccino.
- Slowly add the sugar, about 1 tablespoon at a time, while beating on high speed. This gradual addition is important—if you dump all the sugar in at once, the meringue can deflate. Beat until the sugar is completely dissolved and the mixture forms stiff, glossy peaks. This takes about 5-7 minutes with a stand mixer, or 7-10 minutes with a hand mixer. You know it’s ready when you lift the beaters and the meringue stands up in peaks that don’t droop. Rub a little between your fingers—if it feels gritty, the sugar isn’t fully dissolved, so keep beating.
- Beat in the vanilla extract on low speed just until combined, about 10 seconds. Don’t overmix at this point.
- Remove the bowl from the mixer and gently fold in the chocolate chips and chopped pecans using a rubber spatula. Use a gentle hand—you want to incorporate the mix-ins without deflating all that air you just whipped in. Fold in three or four strokes, then stop. A few streaks are fine.
- Drop the batter by rounded tablespoonfuls onto the prepared baking sheets, spacing them about 2 inches apart. They won’t spread much, so you can fit about 12 per sheet. I use a small cookie scoop for even portions, but two spoons work fine.
- Place the baking sheets in the preheated oven and immediately turn the oven OFF. Yes, off. Close the oven door and walk away. Do not open the oven for at least 6 hours, but overnight is best. The residual heat will slowly dry and cook the meringues.
- The next morning (or after at least 6 hours), remove the cookies from the oven. They should be dry to the touch and lift easily off the parchment paper. If they stick, they need more time in the turned-off oven. You can leave them in there for up to 12 hours total.
- Let the cookies cool completely on the baking sheets before storing them. They’ll continue to firm up as they cool.
A few notes from experience: If it’s a humid day, your meringues might take longer to dry out. I’ve had batches that needed the full 12 hours on rainy summer days. Also, resist the urge to peek. Every time you open the oven door, you let out heat and moisture, which can make the cookies chewy instead of crisp. I know it’s tempting, but just let them be. They’re called forgotten cookies for a reason!
Cooking Tips & Techniques
After making these cookies more times than I can count, I’ve picked up a few tricks that make the process smoother and the results more consistent. Here are my best tips:
Room temperature eggs are non-negotiable. Cold egg whites don’t whip up as well because the proteins are tighter. I set my eggs out on the counter about 30 minutes before I start. If I’m in a hurry, I put them in a bowl of warm water for 5 minutes. It works in a pinch, though room temperature is better.
Make sure your bowl is completely dry and grease-free. I cannot stress this enough. Even a tiny bit of oil or egg yolk will prevent your meringue from reaching stiff peaks. I wash my bowl with hot soapy water, dry it thoroughly, then wipe it with a paper towel dipped in white vinegar. It’s an extra step, but it saves you from a failed batch.
Don’t rush the sugar addition. Adding the sugar slowly allows it to dissolve fully into the egg whites. If you dump it all in at once, you’ll end up with a grainy meringue that doesn’t hold its shape. I set a timer and add a tablespoon every 30 seconds or so. It takes patience, but the results are worth it.
Test for stiff peaks properly. When you lift the beaters, the meringue should stand up in peaks that don’t flop over. If they droop, keep beating. But be careful not to overbeat—if the meringue starts to look curdled or separates, you’ve gone too far. This happened to me once when I got distracted by a phone call, and I had to start over.
Humidity is your enemy. Meringues are essentially dried egg whites, so they absorb moisture from the air. On humid days, they might take longer to dry out in the oven, and they can get sticky after storage. I try to make these on dry days, but if I can’t avoid it, I store them in an airtight container with a silica gel packet (the kind that comes in shoe boxes) to keep them crisp.
For consistent cookie sizes, use a cookie scoop. I use a 1-tablespoon scoop, and it gives me perfectly uniform cookies every time. This matters for even drying—smaller cookies dry faster than larger ones, so keeping them the same size ensures they’re all done at the same time.
Variations & Adaptations
One of the best things about this recipe is how easily you can customize it. I’ve tried several variations over the years, and here are my favorites:
Chocolate Lover’s Version: Swap the semi-sweet chocolate chips for dark chocolate chunks and add 1 tablespoon of unsweetened cocoa powder to the sugar before adding it to the egg whites. Sift the cocoa powder with the sugar to avoid lumps. The result is a rich, chocolatey meringue that’s absolutely divine.
Tropical Twist: Replace the pecans with toasted coconut flakes and the chocolate chips with dried pineapple or mango pieces, chopped small. This version is perfect for summer gatherings or tropical-themed parties. The sweetness of the dried fruit pairs beautifully with the light meringue.
Holiday Spice: Add 1/2 teaspoon of cinnamon, 1/4 teaspoon of nutmeg, and a pinch of cloves to the sugar before whipping. Use white chocolate chips and chopped pistachios instead of chocolate and pecans. These taste like Christmas in a cookie and look beautiful on a holiday dessert table.
Nut-Free Option: Simply omit the pecans and increase the chocolate chips to 3/4 cup. You can also add 1/4 cup of mini chocolate chips for extra chocolate distribution. This version is perfect for school events or parties where nut allergies are a concern.
Vegan Adaptation: Use aquafaba (the liquid from a can of chickpeas) instead of egg whites. Substitute 1/4 cup of aquafaba for the 2 egg whites. Whip it exactly as you would egg whites, though it might take a minute or two longer to reach stiff peaks. The taste is nearly identical, and the texture is spot-on. I tried this for a friend with egg allergies, and honestly, I couldn’t tell the difference.
For any variation, keep the base proportions the same. The ratio of sugar to egg whites (or aquafaba) is crucial for the structure. As long as you stick to that, you can play with the mix-ins however you like.
Serving & Storage Suggestions
These cookies are best served at room temperature, straight from the baking sheet or a serving platter. They have a delicate, airy texture that’s perfect on their own, but they also pair beautifully with other desserts. Here are some of my favorite ways to serve them:
On a Dessert Platter: Arrange the cookies on a large platter alongside fresh berries, sliced fruit, and a bowl of whipped cream or chocolate sauce for dipping. The combination of crisp meringue and juicy berries is heavenly.
With Coffee or Tea: These cookies are light enough to serve after a heavy meal. They’re perfect with espresso, cappuccino, or a cup of herbal tea. I often serve them at brunch alongside mimosas or coffee.
Crushed Over Ice Cream: Crumble a few cookies over vanilla ice cream and drizzle with caramel sauce for an easy, impressive dessert. The crunch of the meringue adds a wonderful texture contrast.
As a Gift: Pack them in a pretty tin or mason jar for a homemade gift. They look beautiful and are always appreciated. Just make sure to include a note that they’re delicate—they can break easily if jostled.
Storage Instructions: Store the cookies in an airtight container at room temperature for up to 2 weeks. Do not refrigerate them—the moisture in the fridge will make them sticky. If you live in a humid climate, add a silica gel packet to the container to absorb excess moisture. You can also freeze them for up to 3 months. Place them in a single layer in a freezer-safe container with parchment paper between layers. Thaw at room temperature for about 15 minutes before serving.
One thing to note: these cookies are best within the first few days. After about a week, they start to lose their crispness and become a bit chewy. They’re still delicious, just not as light and airy. If they do soften, you can recrisp them in a 200°F (95°C) oven for about 10 minutes, then let them cool completely.
Nutritional Information & Benefits
Per cookie (based on 24 cookies per batch):
| Nutrient | Amount |
|---|---|
| Calories | 55 |
| Total Fat | 3g |
| Saturated Fat | 1g |
| Cholesterol | 0mg |
| Sodium | 15mg |
| Total Carbohydrates | 8g |
| Dietary Fiber | 0.5g |
| Sugars | 7g |
| Protein | 1g |
These cookies are naturally gluten-free and low in calories compared to traditional cookies. The egg whites provide a small amount of protein, while the pecans offer healthy fats and a touch of fiber. The chocolate chips add antioxidants, especially if you use dark chocolate. While they’re not exactly health food, they’re a lighter option for satisfying a sweet tooth. I love that I can serve them at parties without feeling like I’m loading guests up with heavy, buttery treats. Plus, they’re egg-free if you use the aquafaba version, making them suitable for vegan guests or those with egg allergies.
Conclusion
These guest-favorite forgotten cookies have become a staple in my hosting repertoire, and for good reason. They’re ridiculously easy to make, use simple ingredients, and produce a dessert that looks and tastes like you spent hours in the kitchen. The best part? You literally forget about them while they bake overnight. It’s the perfect recipe for busy hosts who want to offer something special without adding stress to their day.
I love this recipe because it reminds me that cooking doesn’t have to be complicated to be impressive. Sometimes the simplest techniques—like letting a hot oven do the work while you sleep—create the most memorable results. Every time I pull a tray of these cookies out in the morning, I think of Gloria at the farmers’ market and how a chance encounter led to one of my favorite recipes.
Now it’s your turn. Try these cookies for your next gathering, and don’t be afraid to customize them with your favorite mix-ins. I’d love to hear how they turn out! Drop a comment below with your variations or questions, and share this recipe with a friend who loves hosting as much as you do. Happy baking!
Frequently Asked Questions
Can I make these cookies without cream of tartar?
Yes, you can substitute the cream of tartar with 1/2 teaspoon of lemon juice or white vinegar. Both work as acid stabilizers for the egg whites. However, cream of tartar gives the most reliable results and doesn’t add any flavor, so I recommend using it if you have it.
Why did my meringue cookies turn out chewy instead of crisp?
Chewy meringues usually mean they didn’t dry out enough in the oven. This can happen if you opened the oven door during the drying process, if the weather is humid, or if you didn’t leave them in the turned-off oven long enough. Next time, try leaving them in the oven for the full 12 hours, and resist the urge to peek!
Can I double this recipe?
Absolutely! This recipe doubles beautifully. Just make sure your mixing bowl is large enough to accommodate the increased volume. You may need to whip the egg whites a bit longer, and you’ll definitely need more baking sheets. I recommend baking one sheet at a time to ensure even drying, or using two ovens if you have them.
How do I know when the meringue is whipped enough?
The meringue is ready when it forms stiff, glossy peaks that hold their shape when you lift the beaters. You can also test by rubbing a small amount between your fingers—if it feels gritty, the sugar isn’t fully dissolved, so keep beating. The mixture should look smooth and shiny, not dull or grainy.
Can I use a different type of sugar?
Granulated white sugar works best for this recipe. Superfine sugar dissolves more quickly, so it’s a good option if you have it. Brown sugar contains molasses, which adds moisture and can make the cookies chewy instead of crisp. Powdered sugar contains cornstarch, which can affect the texture. Stick with white sugar for the best results.
Pin This Recipe!
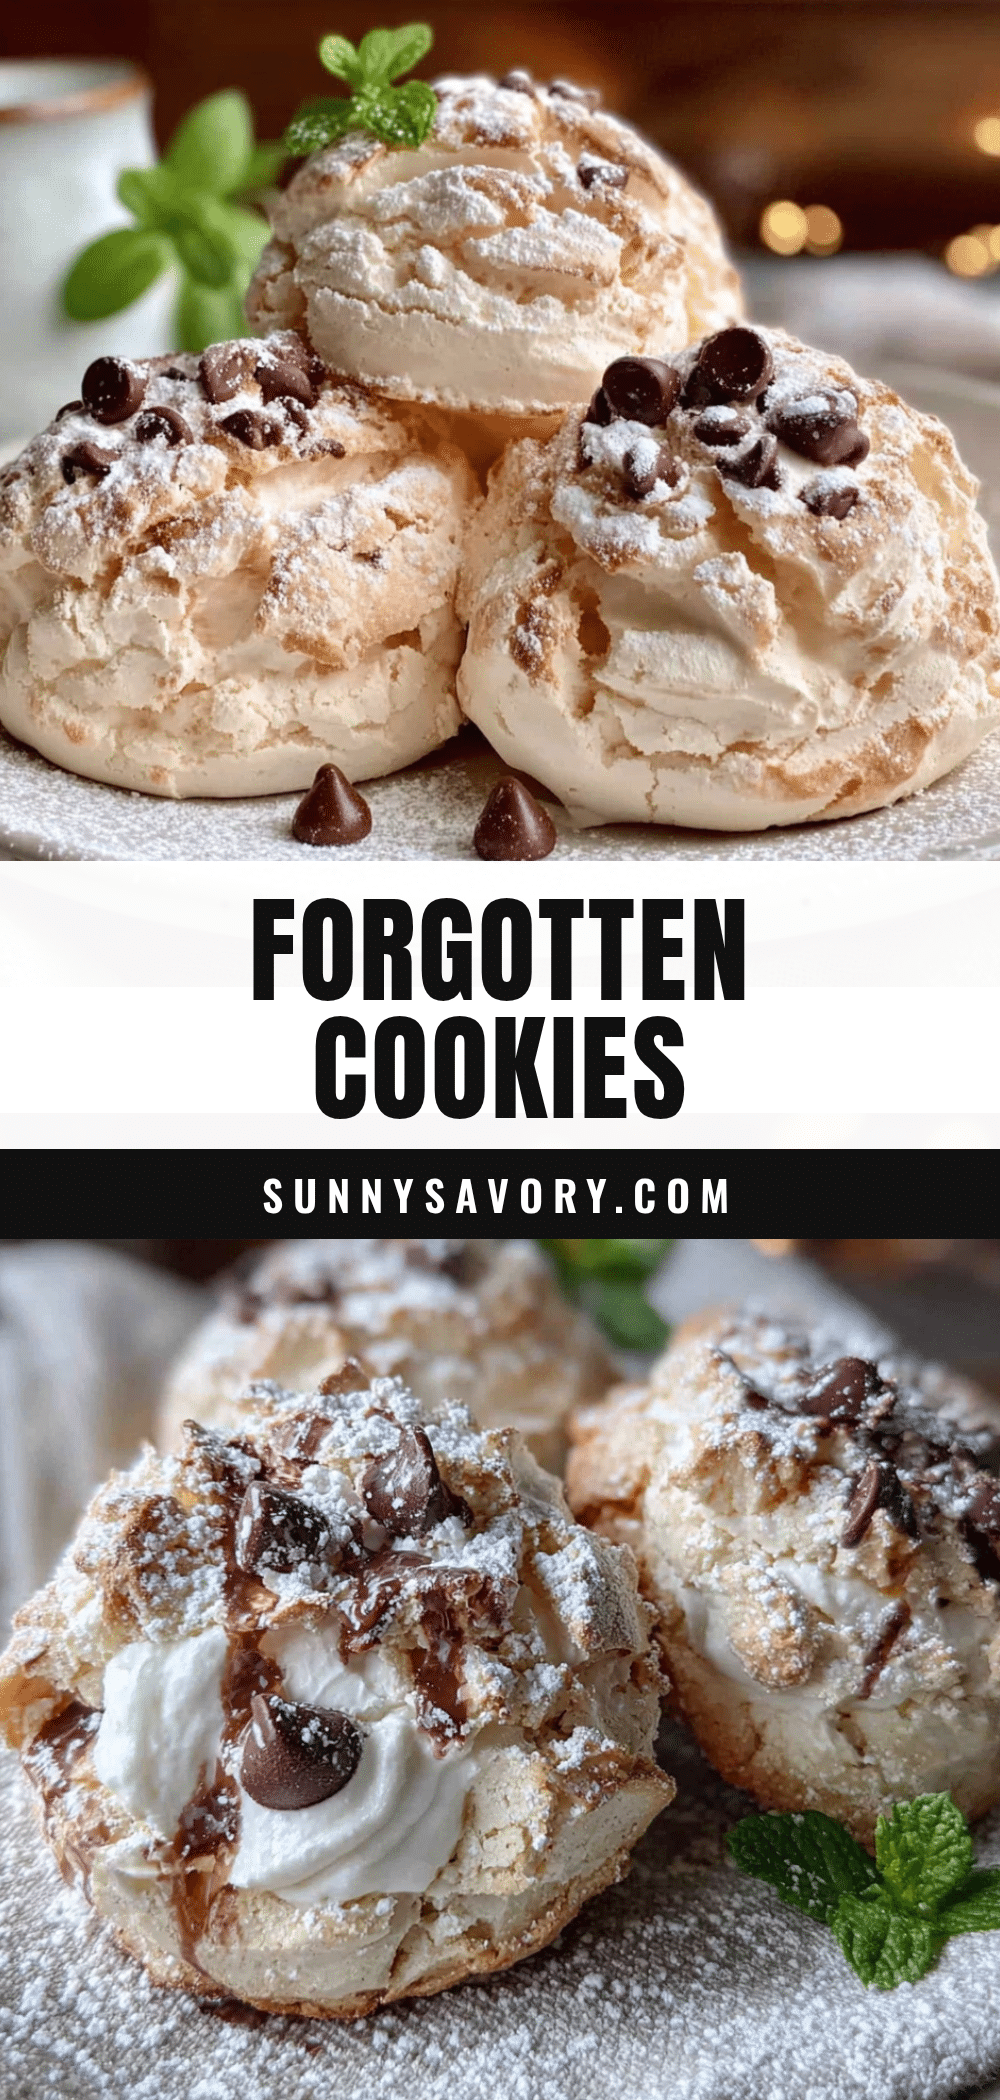
Guest-Favorite Forgotten Cookies: Easy Overnight Meringue Recipe

These guest-favorite forgotten cookies are light, airy meringues studded with chocolate chips and pecans that ‘bake’ overnight in the residual heat of the oven. They’re the perfect stress-free dessert for hosting, potlucks, or any gathering where you want to impress without spending hours in the kitchen.
- Prep Time: 15 minutes
- Cook Time: 6-12 hours (overnight in turned-off oven)
- Total Time: 6-12 hours 15 minutes
- Yield: 24 cookies 1x
- Category: Dessert
- Cuisine: American
Ingredients
- 2 large egg whites, room temperature
- 2/3 cup granulated sugar
- 1/2 teaspoon vanilla extract
- 1/4 teaspoon cream of tartar
- Pinch of salt
- 1/2 cup semi-sweet chocolate chips
- 1/2 cup chopped pecans
Instructions
- Preheat your oven to 350°F (175°C). Line two baking sheets with parchment paper and set them aside. Make sure your oven racks are positioned in the center of the oven.
- Wipe your mixing bowl and beaters with a little vinegar or lemon juice to remove any trace of grease.
- Add the egg whites to the bowl and beat on medium speed until they become frothy and bubbly, about 1 minute.
- Add the cream of tartar and salt, then continue beating. Gradually increase the speed to medium-high until the mixture looks white and foamy.
- Slowly add the sugar, about 1 tablespoon at a time, while beating on high speed. Beat until the sugar is completely dissolved and the mixture forms stiff, glossy peaks, about 5-7 minutes with a stand mixer or 7-10 minutes with a hand mixer.
- Beat in the vanilla extract on low speed just until combined, about 10 seconds.
- Remove the bowl from the mixer and gently fold in the chocolate chips and chopped pecans using a rubber spatula. Fold in three or four strokes, then stop.
- Drop the batter by rounded tablespoonfuls onto the prepared baking sheets, spacing them about 2 inches apart.
- Place the baking sheets in the preheated oven and immediately turn the oven OFF. Close the oven door and do not open it for at least 6 hours, but overnight is best.
- The next morning (or after at least 6 hours), remove the cookies from the oven. They should be dry to the touch and lift easily off the parchment paper.
- Let the cookies cool completely on the baking sheets before storing them.
Notes
For best results, use room temperature eggs and ensure your bowl is completely grease-free. On humid days, cookies may take longer to dry out. Resist opening the oven door during the drying process. Store in an airtight container at room temperature for up to 2 weeks. For a vegan version, substitute 1/4 cup aquafaba for the egg whites.
Nutrition
- Serving Size: 1 cookie
- Calories: 55
- Sugar: 7
- Sodium: 15
- Fat: 3
- Saturated Fat: 1
- Carbohydrates: 8
- Fiber: 0.5
- Protein: 1
Keywords: forgotten cookies, meringue cookies, overnight cookies, easy dessert, gluten-free cookies, chocolate chip cookies, pecan cookies, no-fuss dessert, party cookies, hosting dessert



