Love this? Save it for later!
Share the inspiration with your friends
My six-year-old nephew looked up from the cutting board where I was cubing a raw butternut squash. “Why can’t you just put it in the mac and cheese?” he asked, pointing at the orange cubes. I started to explain why that wouldn’t work — the texture would be all wrong, the kids would spot it a mile away, it would ruin the whole comforting vibe of mac and cheese. Then I stopped. Honestly, I had no good reason other than pride. I was the “grown-up” cook, and he was the kid who ate chicken nuggets shaped like dinosaurs. But something about his simple logic made me pause. I tossed the cubes into the pot anyway, figuring I could always pick them out later. That night, I watched him eat two heaping bowls of what is now our family’s favorite butternut squash mac and cheese, and he didn’t say a word about the squash. He just asked for seconds. That moment taught me something I still think about every time I make this recipe: sometimes the best ideas come from the people you least expect. And honestly, this dish is better for it. The squash melts into the cheese sauce so completely that you get a silky, golden sauce with a hint of sweetness that kids absolutely love. It’s the kind of recipe that makes you feel like a kitchen genius — even though the real genius was a six-year-old with a simple question. Maybe you’ve been there, where a suggestion from a little one turned out to be better than your original plan. This is that recipe.
Why You’ll Love This Recipe
I have tested this butternut squash mac and cheese more times than I can count, and I can tell you with full confidence — it works every single time. The sauce is creamy without being heavy, and the squash adds a natural sweetness that cuts through the richness of the cheese. My own kids have no idea there’s a vegetable hiding in there, and I’m not about to tell them.
- Quick & Easy: From start to finish, this comes together in about 35 minutes. That’s faster than takeout in our house.
- Simple Ingredients: You likely already have the pasta, cheese, and milk. The butternut squash is the only “special” item, and it’s available year-round in most grocery stores.
- Perfect for Family Meals: This is the kind of dinner that pleases everyone — from picky toddlers to adults who appreciate a little extra nutrition in their comfort food.
- Crowd-Pleaser: I have brought this to potlucks and watched it disappear before the regular mac and cheese. People always ask for the recipe.
- Unbelievably Delicious: The texture is next-level creamy. The squash blends into the sauce so smoothly that you get a velvety finish that regular mac and cheese just can’t match.
What makes this recipe different from the rest? It’s the method of roasting the squash first. Roasting brings out the natural sugars and gives the sauce a deeper, almost caramelized flavor. I’ve tried boiling the squash, and it just doesn’t compare. Roasting is the secret to that rich, golden color and that subtle sweetness that kids can’t resist. This isn’t just another healthy mac and cheese recipe — it’s the one that makes you close your eyes after the first bite. It’s comfort food reimagined, faster and smarter, but with the same soul-soothing satisfaction that mac and cheese has always delivered.
What Ingredients You Will Need
This recipe uses simple, wholesome ingredients to deliver bold flavor and satisfying texture without the fuss. Most of these are pantry staples, and the butternut squash does the heavy lifting for both flavor and nutrition.
- Butternut squash (2 cups, peeled and cubed) — Look for a squash that feels heavy for its size. I prefer to buy pre-cut cubes from the store to save time, but whole squash works just as well. (Roasting brings out the sweetness.)
- Elbow macaroni (8 ounces, about 2 cups dry) — Regular elbows work great, but you can use any small pasta shape. I have used shells and rotini with good results.
- Sharp cheddar cheese (1 ½ cups, shredded) — I recommend block cheese over pre-shredded. Pre-shredded cheese has anti-caking agents that can make the sauce grainy. (I use Cabot or Tillamook for best melt.)
- Milk (1 cup, whole milk preferred) — Whole milk gives the creamiest sauce. You can use 2% in a pinch, but avoid skim — the sauce will be thinner.
- Butter (2 tablespoons) — Unsalted butter lets you control the salt level. If you only have salted, reduce the added salt by a pinch.
- All-purpose flour (2 tablespoons) — This thickens the cheese sauce. For a gluten-free version, use a 1:1 gluten-free flour blend.
- Garlic powder (½ teaspoon) — Adds a subtle savory note that kids won’t notice but adults will appreciate.
- Mustard powder (¼ teaspoon) — This is my secret ingredient. It doesn’t make the sauce taste like mustard — it just enhances the cheese flavor. Trust me on this one.
- Salt (½ teaspoon, plus more for pasta water) — Use fine sea salt for even seasoning.
- Black pepper (¼ teaspoon, or to taste) — Go easy if you’re serving little ones.
- Nutmeg (a pinch, freshly grated if possible) — This is optional but wonderful. It pairs beautifully with the butternut squash and adds a warmth that feels cozy.
Substitution Guidance: For a dairy-free version, use unsweetened oat milk and a dairy-free cheddar shred that melts well. I have used Violife with decent results. For a gluten-free option, swap the flour for a gluten-free blend and use gluten-free pasta. Just be careful not to overcook the pasta — gluten-free varieties can get mushy fast.
Equipment Needed
You do not need fancy equipment for this recipe. A few basic tools will get the job done, and I’ll share some workarounds if you are missing something.
- Large pot (for boiling pasta) — A 5-quart pot is ideal. If you only have a smaller one, cook the pasta in batches.
- Baking sheet (for roasting the squash) — A rimmed baking sheet works best. Line it with parchment paper for easy cleanup.
- Medium saucepan (for the cheese sauce) — A heavy-bottomed saucepan prevents the sauce from scorching. I use a 3-quart saucepan.
- Blender or food processor — You need something to puree the roasted squash. A regular blender works perfectly. If you don’t have one, you can mash the squash very well with a potato masher, but the sauce won’t be as smooth.
- Whisk — A wire whisk helps prevent lumps in the cheese sauce. A wooden spoon works in a pinch, but whisking is better.
- Measuring cups and spoons — For accuracy. I have eyeballed the cheese before and regretted it.
- Cheese grater — Please grate your own cheese. It melts so much better than the pre-shredded bags. A box grater costs under $10 and makes a real difference.
Budget-friendly tip: If you don’t own a blender, check your local thrift store. I found my favorite blender for $6, and it has lasted five years.
Preparation Method
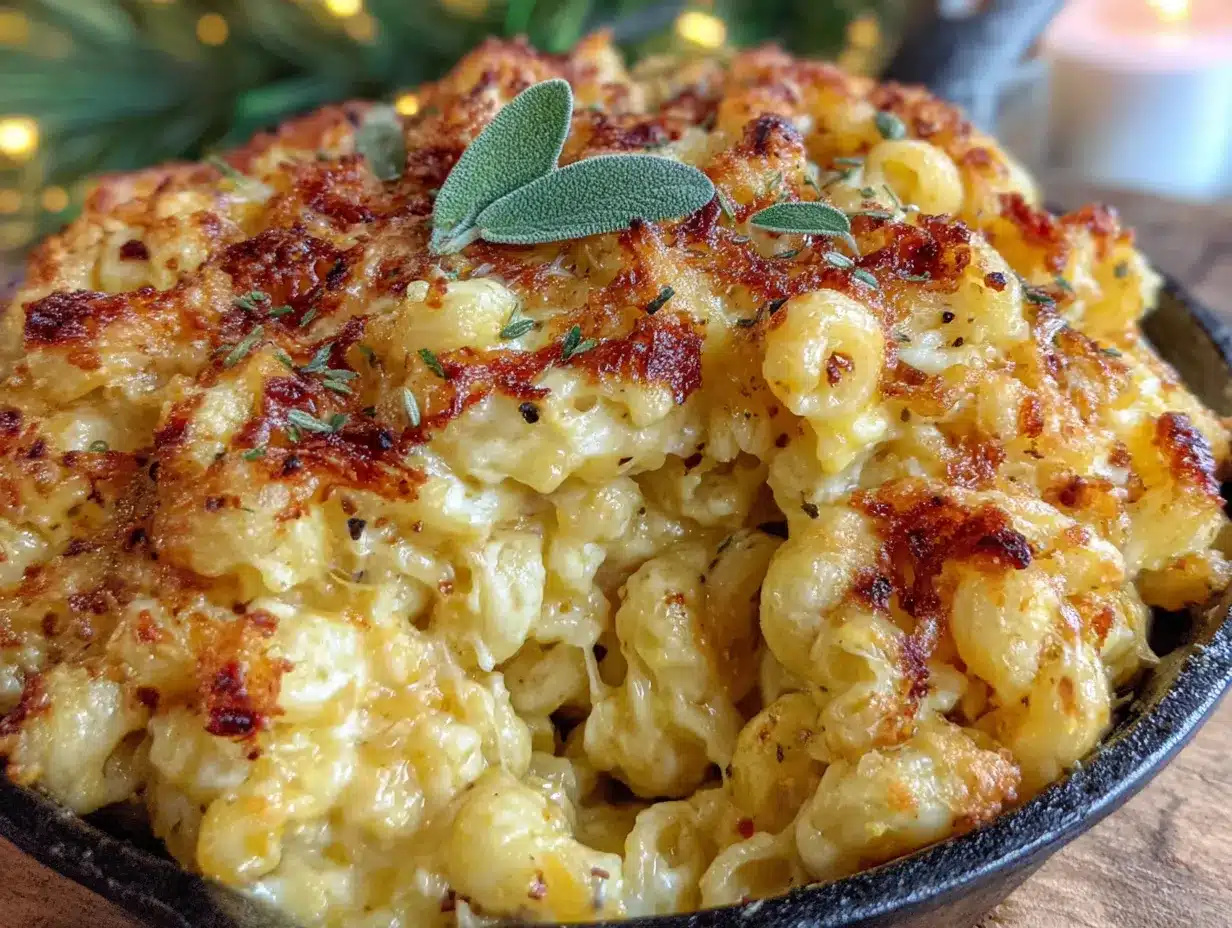
Let’s get cooking. This method is straightforward, but I have included plenty of notes so you avoid the mistakes I made the first time.
- Preheat your oven to 400°F (200°C). While the oven heats, peel and cube your butternut squash. If you bought pre-cut cubes, you can skip this step and move right along. Spread the cubes on a baking sheet, drizzle with 1 tablespoon of olive oil, and sprinkle with a pinch of salt. Toss to coat. Roast for 20-25 minutes, flipping halfway through. The squash is done when a fork slides in easily and the edges are lightly browned. (I once under-roasted the squash, and the sauce turned out watery. Take the extra few minutes to get good color on them.)
- While the squash roasts, cook the pasta. Fill your large pot with water, add a generous tablespoon of salt, and bring it to a rolling boil. Add the macaroni and cook according to package directions, but aim for al dente — usually 7-8 minutes. The pasta will continue cooking slightly when you mix it with the sauce. Drain the pasta in a colander, but do not rinse it. The starch left on the noodles helps the sauce cling better. Set the pasta aside.
- Make the cheese sauce base. In your medium saucepan, melt the butter over medium heat. Once it is fully melted and bubbling, whisk in the flour. Cook this mixture, stirring constantly, for about 1 minute. It should look like a thick paste and smell slightly nutty. This is called a roux, and it is the foundation of a smooth sauce. (Do not skip this cooking step — raw flour taste is not pleasant.)
- Add the milk slowly. Pour in the milk a little at a time, whisking continuously. Keep whisking until the mixture is smooth and begins to thicken, about 2-3 minutes. It should coat the back of a spoon. If you see lumps, whisk vigorously — they usually disappear.
- Puree the roasted squash. By now, the squash should be done. Transfer the roasted cubes to your blender. Add about ¼ cup of water or milk and blend until completely smooth. You want a texture like baby food — no chunks at all. Scrape down the sides of the blender as needed. (I once left a few chunks, and my son found one. He was suspicious of the whole dish for weeks. Blend thoroughly.)
- Combine the sauce. Reduce the heat under the saucepan to low. Add the squash puree to the milk mixture and whisk until fully incorporated. The sauce will turn a beautiful golden orange color. Now add the shredded cheddar cheese, a handful at a time, stirring until each handful is melted before adding the next. Keep the heat low — high heat can make the cheese sauce grainy or cause it to separate.
- Season the sauce. Add the garlic powder, mustard powder, salt, pepper, and a pinch of nutmeg if using. Taste the sauce and adjust the seasoning. Remember that the pasta will dilute the flavor slightly, so the sauce should taste a little stronger than you want the final dish to be.
- Combine pasta and sauce. Pour the drained pasta back into the large pot (or into a large bowl). Pour the cheese sauce over the top and stir gently until every noodle is coated. If the sauce seems too thick, add a splash of warm milk to loosen it.
- Serve immediately. Spoon the mac and cheese into bowls and enjoy while it is hot and creamy. The sauce will continue to thicken as it sits, so serve right away for the best texture.
Cooking Tips & Techniques
I have made this butternut squash mac and cheese at least thirty times, and I have learned a few things the hard way. Let me save you some trouble.
Roast the squash, do not boil it. I tried boiling the squash once when I was in a hurry. The sauce turned out watery and bland. Roasting concentrates the flavor and removes excess moisture. It is worth the extra 10 minutes.
Grate your own cheese. I know it is tempting to buy the bagged shredded cheese. But that stuff has potato starch or cellulose added to prevent clumping, and it does not melt smoothly. Your sauce will be noticeably creamier with freshly grated cheese. I promise the extra two minutes of grating is worth it.
Low heat is your friend. When you add the cheese, keep the burner on low. If the sauce gets too hot, the proteins in the cheese can tighten up and turn the sauce grainy. I ruined my first batch by getting impatient and cranking up the heat. Patience pays off here.
Taste before you serve. The butternut squash adds sweetness, so you might need a little more salt than you expect. I always taste the finished sauce and adjust. A tiny extra pinch of salt can make the flavors pop.
Multitasking tip: While the squash roasts, cook the pasta and start the roux. This recipe comes together in about 35 minutes if you work efficiently. Set a timer for the squash so you don’t forget about it — I have definitely burned a batch while distracted by the kids.
Variations & Adaptations
One of the best things about this recipe is how flexible it is. Here are some variations I have tried and loved.
Add some protein. Stir in 1 cup of cooked, shredded chicken or ½ cup of crispy bacon bits right before serving. My kids love it with leftover rotisserie chicken mixed in. It turns the dish into a complete one-pot meal.
Make it spicy for adults. Add ¼ teaspoon of cayenne pepper or a dash of hot sauce to the cheese sauce. This does not make it kid-friendly, but it is wonderful for a grown-up dinner. I sometimes split the batch and add heat to only my portion.
Try a different cheese. Sharp cheddar is classic, but you can swap half of it for Gruyère or Monterey Jack. Gruyère adds a nutty flavor that pairs beautifully with the squash. I have also used Gouda for a smoky twist.
Go dairy-free. Use unsweetened oat milk and a dairy-free cheddar shred. I have tested this with Violive and it works, though the sauce is slightly less creamy. Add an extra tablespoon of nutritional yeast for a cheesier flavor.
Add vegetables. Stir in a cup of steamed broccoli florets or peas at the end. The green pops against the orange sauce, and it is an easy way to add more vegetables. My kids actually eat the broccoli this way.
Bake it. If you prefer a baked mac and cheese with a crunchy topping, transfer the combined pasta and sauce to a greased 9×13 baking dish. Top with ½ cup of panko breadcrumbs mixed with 1 tablespoon of melted butter. Bake at 375°F for 15 minutes, until bubbly and golden on top. This is my favorite way to serve it for company.
Serving & Storage Suggestions
This butternut squash mac and cheese is best served hot, straight from the pot. But leftovers are a gift, and I have plenty of tips for storing and reheating.
Serving temperature: Serve immediately while the sauce is creamy and the pasta is tender. If it sits too long, the sauce will thicken as it cools. That is not a bad thing — some people prefer it thicker — but for the best experience, eat it hot.
What to serve with it: A simple side salad with a tangy vinaigrette balances the richness of the mac and cheese. I also love serving it with roasted broccoli or green beans. For a heartier meal, pair it with grilled chicken or meatballs. My kids like it with apple slices on the side — the sweetness matches the squash.
Storage instructions: Store leftovers in an airtight container in the refrigerator for up to 4 days. The sauce will thicken significantly as it cools, but do not worry — it will loosen up when reheated.
Reheating methods: For the best results, reheat on the stovetop over low heat. Add a splash of milk (about 1-2 tablespoons per serving) and stir gently until warmed through. The microwave works in a pinch — use 30-second intervals and stir between each — but the texture will not be as creamy. I avoid reheating in the oven because it tends to dry out the pasta.
Freezer instructions: This recipe freezes well. Let it cool completely, then transfer to a freezer-safe container. It will keep for up to 3 months. Thaw overnight in the refrigerator and reheat on the stovetop with a splash of milk. The texture may be slightly softer after freezing, but the flavor remains excellent.
Flavor development: Honestly, this mac and cheese tastes even better the next day. The flavors have time to meld, and the squash sweetness becomes more pronounced. I often make a double batch on purpose just for leftovers.
Nutritional Information & Benefits
This butternut squash mac and cheese is a smarter take on a classic comfort food. Here is what you get in a typical serving (about 1 cup, based on 6 servings).
| Nutrient | Amount Per Serving |
|---|---|
| Calories | 385 |
| Total Fat | 16g |
| Saturated Fat | 9g |
| Cholesterol | 45mg |
| Sodium | 520mg |
| Total Carbohydrates | 44g |
| Dietary Fiber | 4g |
| Sugars | 6g |
| Protein | 16g |
| Vitamin A | 180% DV |
| Vitamin C | 25% DV |
| Calcium | 30% DV |
| Iron | 10% DV |
The butternut squash is packed with vitamin A, which supports eye health and immune function. The cheese adds calcium for strong bones, and the whole milk provides a good dose of vitamin D. This recipe is also a great way to sneak extra vegetables into a meal without anyone complaining. If you are watching your sodium, use low-sodium cheese and reduce the added salt. For a lower-carb option, serve it with half the pasta and extra roasted vegetables mixed in. This dish is not exactly health food, but it is a whole lot better than the boxed stuff.
Conclusion
This butternut squash mac and cheese has become a staple in our house for good reason. It is creamy, comforting, and secretly packed with vegetables — exactly what a busy parent needs. The best part is that it came from a simple question from a six-year-old who just wanted mac and cheese with a little something extra. Every time I make it, I think of that moment and smile.
I encourage you to make this recipe your own. Add your favorite mix-ins, try different cheeses, or bake it with a crunchy topping. The base is forgiving and delicious no matter how you tweak it. If you try it, I would love to hear how it turned out. Leave a comment below and let me know what your family thought — especially if you have a little kitchen helper who inspired a twist of their own. Happy cooking, and remember: sometimes the best recipes come from the most unexpected places.
Frequently Asked Questions
Can I use frozen butternut squash instead of fresh?
Yes, you can use frozen cubed butternut squash. Thaw it first and pat it dry with paper towels to remove excess moisture. Roast it a few minutes longer than fresh squash to evaporate the extra water. The flavor will be slightly milder, but it still works well.
Why did my cheese sauce turn out grainy?
Grainy sauce usually happens when the heat is too high when you add the cheese. Keep the burner on low and add the cheese gradually, stirring constantly. Also, avoid pre-shredded cheese — the anti-caking agents can cause graininess. Freshly grated cheese melts much more smoothly.
Can I make this recipe ahead of time?
Absolutely. You can prepare the entire dish and refrigerate it for up to 2 days before baking or reheating. If you plan to bake it, assemble it in a baking dish, cover it, and refrigerate. Add 10 minutes to the baking time since you are starting from cold. For stovetop reheating, add a splash of milk to restore the creamy texture.
How do I make this recipe gluten-free?
Use a 1:1 gluten-free flour blend in place of the all-purpose flour for the roux. Use gluten-free pasta — I recommend brown rice pasta for the best texture. Cook the pasta just until al dente, as gluten-free pasta can become mushy quickly. The rest of the recipe remains the same.
Will my kids taste the butternut squash?
Probably not. The squash is blended until completely smooth, and the cheese flavor dominates. The squash adds a subtle sweetness and a creamy texture, but most kids will not identify it as a vegetable. My own kids have been eating this for years and have no idea. If you are worried, start with a smaller amount of squash and increase it gradually as your family gets used to it.
Pin This Recipe!
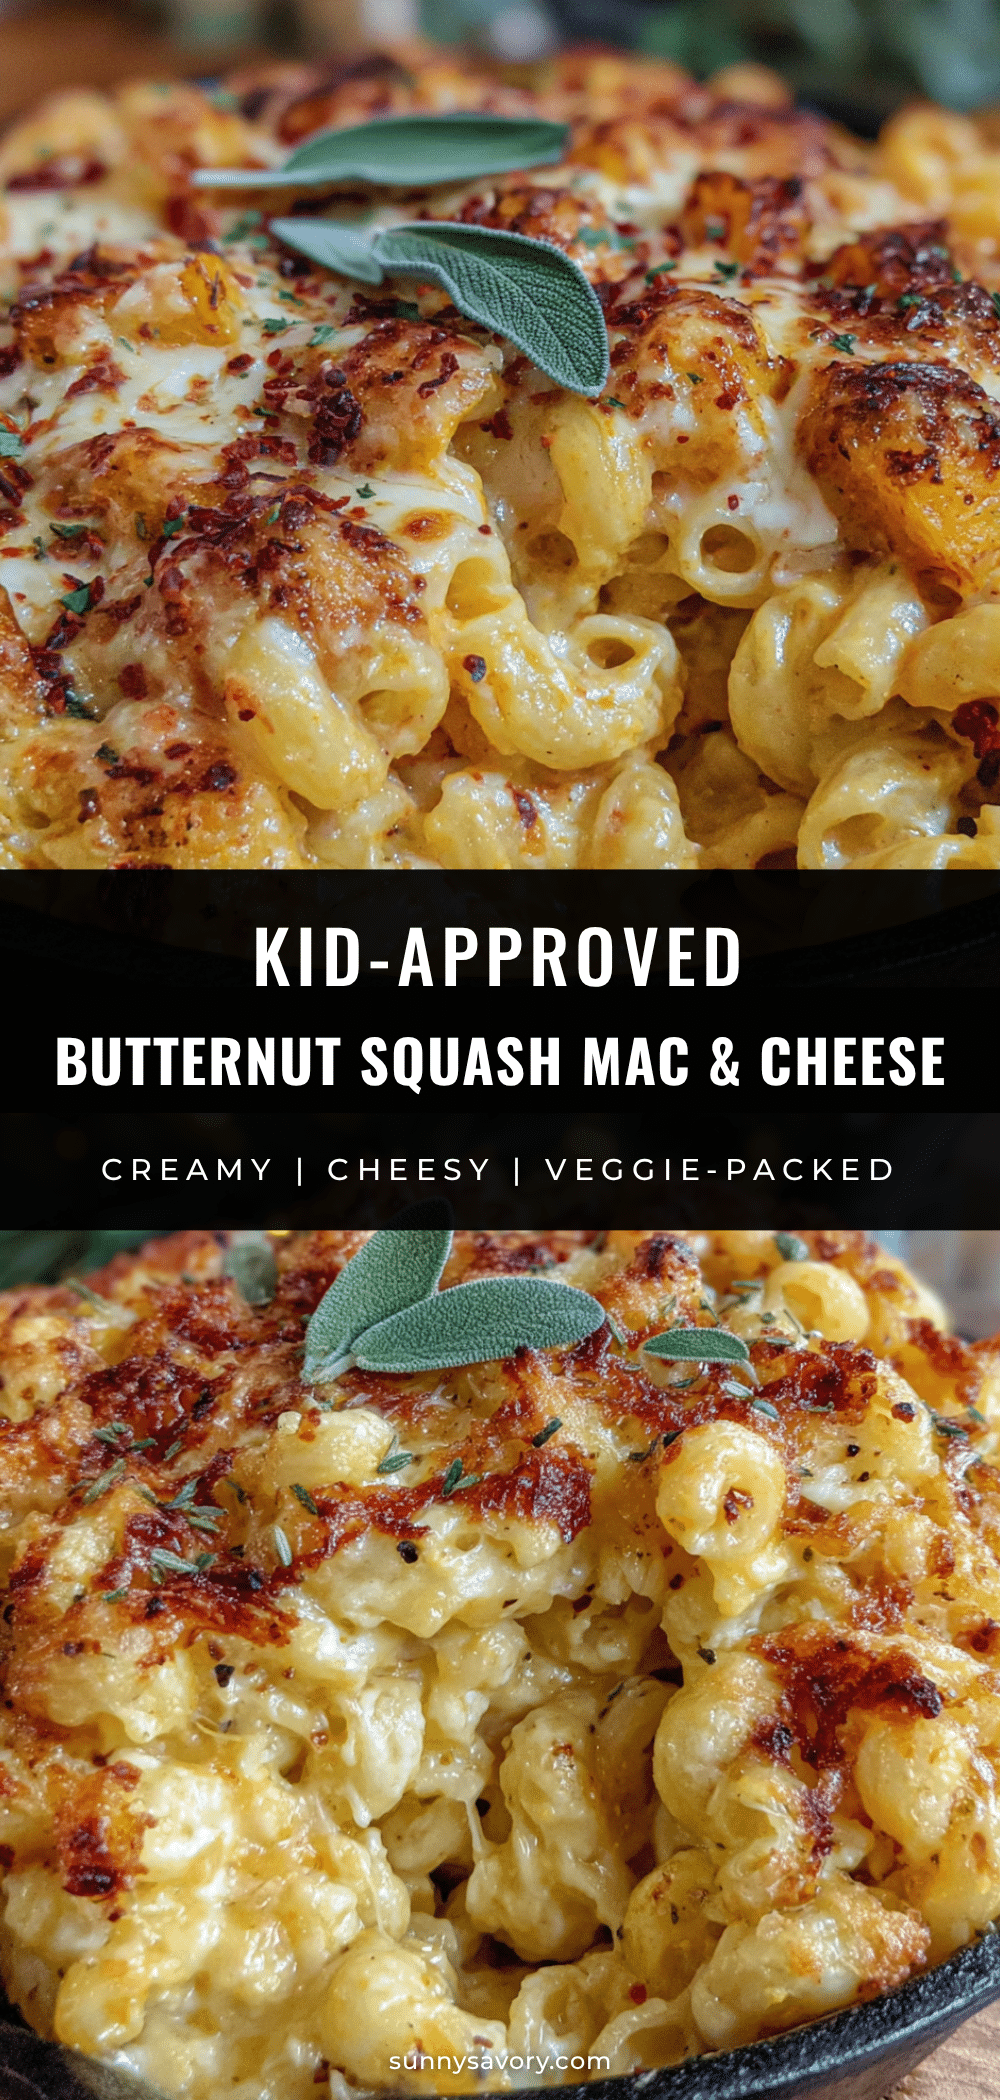
Kid-Approved Butternut Squash Mac and Cheese: Best Easy Recipe

This creamy, comforting mac and cheese hides a secret: roasted butternut squash blended into the cheese sauce for a silky, golden finish with a hint of sweetness that kids absolutely love. It’s a quick, easy, and family-friendly dinner that comes together in about 35 minutes.
- Prep Time: 10 minutes
- Cook Time: 25 minutes
- Total Time: 35 minutes
- Yield: 6 servings 1x
- Category: Main Course
- Cuisine: American
Ingredients
- 2 cups butternut squash, peeled and cubed
- 8 ounces elbow macaroni (about 2 cups dry)
- 1 ½ cups sharp cheddar cheese, shredded
- 1 cup whole milk
- 2 tablespoons unsalted butter
- 2 tablespoons all-purpose flour
- ½ teaspoon garlic powder
- ¼ teaspoon mustard powder
- ½ teaspoon salt, plus more for pasta water
- ¼ teaspoon black pepper
- a pinch of nutmeg (freshly grated if possible)
- 1 tablespoon olive oil (for roasting squash)
Instructions
- Preheat your oven to 400°F (200°C). Spread the cubed butternut squash on a baking sheet, drizzle with 1 tablespoon of olive oil, and sprinkle with a pinch of salt. Toss to coat. Roast for 20-25 minutes, flipping halfway through, until fork-tender and edges are lightly browned.
- While the squash roasts, bring a large pot of salted water to a rolling boil. Add the macaroni and cook according to package directions until al dente (about 7-8 minutes). Drain in a colander; do not rinse. Set aside.
- In a medium saucepan, melt the butter over medium heat. Whisk in the flour and cook, stirring constantly, for about 1 minute until the mixture forms a thick paste and smells slightly nutty (a roux).
- Slowly pour in the milk, whisking continuously. Continue whisking until the mixture is smooth and begins to thicken, about 2-3 minutes, until it coats the back of a spoon.
- Transfer the roasted squash to a blender. Add about ¼ cup of water or milk and blend until completely smooth, scraping down the sides as needed.
- Reduce the heat under the saucepan to low. Add the squash puree to the milk mixture and whisk until fully incorporated. Add the shredded cheddar cheese a handful at a time, stirring until each handful is melted before adding the next. Keep the heat low to prevent graininess.
- Season the sauce with garlic powder, mustard powder, salt, pepper, and a pinch of nutmeg (if using). Taste and adjust seasoning, remembering the pasta will dilute the flavor slightly.
- Pour the drained pasta back into the large pot or a large bowl. Pour the cheese sauce over the top and stir gently until every noodle is coated. If the sauce seems too thick, add a splash of warm milk to loosen it.
- Serve immediately while hot and creamy. The sauce will continue to thicken as it sits.
Notes
Roast the squash instead of boiling to concentrate flavor and remove excess moisture. Grate your own cheese for a smoother sauce. Keep the heat low when adding cheese to prevent graininess. Taste the sauce before combining with pasta; it should be slightly stronger than desired. For a baked version, transfer to a greased 9×13 dish, top with panko breadcrumbs mixed with melted butter, and bake at 375°F for 15 minutes.
Nutrition
- Serving Size: 1 cup
- Calories: 385
- Sugar: 6
- Sodium: 520
- Fat: 16
- Saturated Fat: 9
- Carbohydrates: 44
- Fiber: 4
- Protein: 16
Keywords: butternut squash mac and cheese, easy mac and cheese, kid-friendly mac and cheese, healthy mac and cheese, hidden vegetable mac and cheese



