Love this? Save it for later!
Share the inspiration with your friends
My sister-in-law, Rachel, wasn’t trying to impress anyone that Tuesday afternoon. I’d stopped by to drop off a book she’d loaned me, and the smell of chocolate and peanut butter hit me before I even got through the front door. It wasn’t a fancy dinner party or a birthday celebration—just a regular Tuesday with three kids under six running around. There she was, layering cookies and cream in a glass dish while her toddler tugged on her pant leg, completely unfazed by the chaos around her. She looked up and said, “Oh, that? It’s nothing. Just something to keep them happy until dinner.”
Let me tell you, that “nothing” was everything. I stood there watching her work, and honestly, I felt a little jealous of how effortless she made it look. No mixer, no oven, no stress. Just a few ingredients coming together into something that would make any kid—or adult, let’s be real—close their eyes after the first bite. She didn’t even measure anything properly. She just eyeballed it, like it was the most natural thing in the world. And maybe you’ve been there, standing in someone’s kitchen, realizing you’re witnessing a secret you desperately need to learn.
I asked her for the “recipe,” and she laughed. “It’s not a recipe,” she said. “It’s just cookies, peanut butter, cream, and luck.” But I watched carefully, took notes on my phone, and went home to test it myself. That first bite of my own version? Pure magic. This Kid-Approved No-Bake Peanut Butter Oreo Icebox Cake has been a staple in my house ever since. It’s the dessert I make when I want to feel like a hero without breaking a sweat. And honestly, it’s the kind of recipe that stays with you because it proves that the best things in life don’t have to be complicated.
Why You’ll Love This Recipe
This isn’t just another dessert recipe—it’s a lifesaver for busy parents who want to put something special on the table without spending hours in the kitchen. I’ve tested this no-bake peanut butter Oreo icebox cake at least a dozen times, tweaking the layers and ratios until it was absolutely perfect. Here’s why it works so well for families like yours:
- Quick & Easy: It comes together in about 20 minutes of active prep time. No oven, no mixer, no complicated techniques. Just layer, chill, and enjoy.
- Simple Ingredients: You probably already have most of these in your pantry. Oreos, peanut butter, heavy cream, cream cheese, and powdered sugar. That’s it.
- Perfect for Busy Weeknights: Make it in the morning, let it set in the fridge all day, and pull it out after dinner. It’s like having a dessert fairy in your kitchen.
- Crowd-Pleaser: I’ve served this at birthday parties, potlucks, and casual family dinners. Kids devour it, and adults sneak seconds when they think no one is watching.
- Unbelievably Delicious: The combination of crunchy Oreo cookies, creamy peanut butter filling, and light whipped cream creates a texture that’s pure comfort food magic.
What makes this recipe different from all the other icebox cakes out there? It’s the way the peanut butter flavor melds with the chocolate cookies. Most versions use plain whipped cream, but I add a layer of cream cheese and peanut butter that gives it a richness you won’t find anywhere else. This isn’t just another version—it’s the best version. And honestly, it’s the kind of dessert that makes you close your eyes after the first bite, just like I did in Rachel’s kitchen that day.
What Ingredients You Will Need
This recipe uses simple, everyday ingredients that come together to create something truly special. I’ve tested each component carefully to make sure every bite delivers maximum flavor with minimum fuss.
For the Base Layers:
- Oreo cookies (about 36 cookies): You’ll use the classic variety for the best texture. Don’t bother removing the cream filling—it helps bind the layers together. I recommend the standard size, not the double-stuf, for easier layering.
- Peanut butter (1 cup, creamy): Use a good-quality creamy peanut butter like Skippy or Jif for the smoothest texture. Natural peanut butter that separates can make the filling grainy, so stick with the processed stuff here. Trust me on this one.
- Cream cheese (8 ounces, softened): Full-fat cream cheese gives the best structure and flavor. Let it sit on the counter for 30 minutes before you start so it blends smoothly.
- Powdered sugar (1 cup): This sweetens the filling without adding grittiness. Sift it if you have the energy, but I rarely bother and it turns out fine.
- Heavy whipping cream (2 cups): Cold heavy cream whips up into soft peaks that make the filling light and airy. Don’t substitute with milk or half-and-half—you need the fat content for proper texture.
- Vanilla extract (1 teaspoon): Pure vanilla extract adds warmth and depth to the filling. The imitation stuff works in a pinch, but pure is better.
For the Topping:
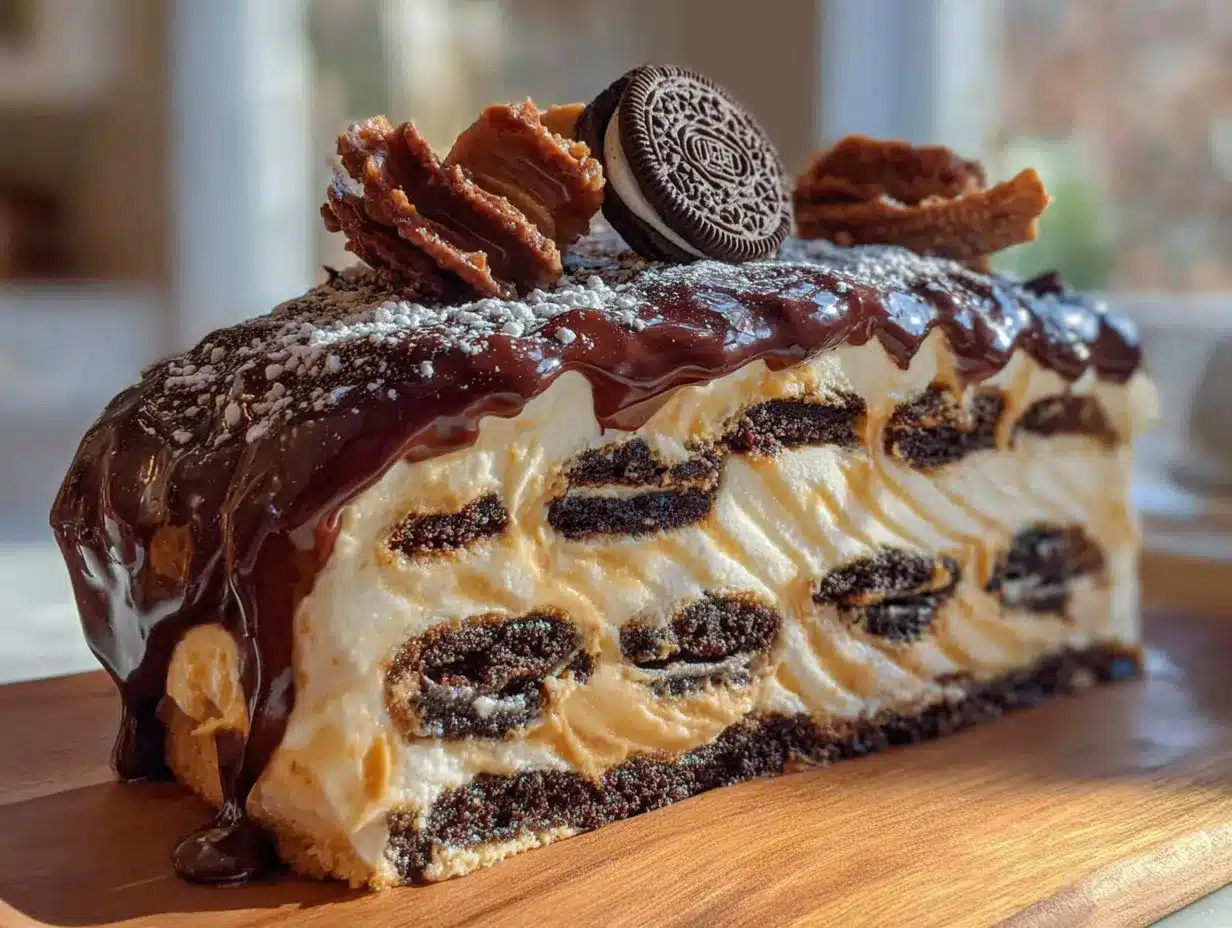
- Additional Oreo cookies (6-8 cookies, crushed): Save these for the top garnish. Crush them in a zip-top bag with a rolling pin for the perfect texture.
- Peanut butter drizzle (optional): Melt ¼ cup of peanut butter with 1 tablespoon of coconut oil for a gorgeous drizzle that makes it look bakery-worthy.
One thing I’ve learned from making this no-bake peanut butter Oreo icebox cake over and over: the quality of your cream cheese matters. I’ve used store brands and they work fine, but Philadelphia cream cheese gives a noticeably smoother result. And if you’re feeding picky eaters who claim they don’t like cream cheese, don’t worry—they won’t taste it. It just adds that creamy, tangy backbone that makes the whole thing work.
Equipment Needed
You don’t need a fancy kitchen to pull this off. Here’s what you’ll need:
- 9×13-inch baking dish or glass casserole dish: This size works perfectly for layering. A glass dish lets you see the beautiful layers, which is half the fun.
- Electric hand mixer or stand mixer: You can whip the cream by hand if you’re feeling ambitious, but a mixer saves time and arm fatigue. I’ve done it both ways, and the mixer wins every time.
- Large mixing bowl: For the cream cheese and peanut butter filling.
- Medium mixing bowl: For whipping the heavy cream.
- Spatula: For spreading the layers evenly. A rubber spatula works best.
- Rolling pin or food processor: For crushing the Oreo topping. A zip-top bag and a rolling pin is my go-to—it’s therapeutic and the kids love helping.
- Plastic wrap: To cover the dish while it chills. Press it directly onto the surface to prevent a skin from forming.
If you don’t have a 9×13 dish, an 8×8 pan works too—just adjust the layers and expect a taller cake. I’ve even made this in a loaf pan for a smaller batch when it’s just my immediate family. The key is making sure everything fits in a single layer without overcrowding.
Preparation Method
Let me walk you through this step by step. I’ve made this no-bake peanut butter Oreo icebox cake enough times to know exactly where things can go wrong and how to fix them.
- Whip the heavy cream (5 minutes): Pour the cold heavy cream and vanilla extract into a medium mixing bowl. Beat with an electric mixer on medium-high speed until soft peaks form—about 3 to 4 minutes. You’re looking for peaks that hold their shape but still look soft and billowy. Don’t overbeat or you’ll end up with butter. Set this aside in the refrigerator while you work on the next step.
- Make the peanut butter filling (5 minutes): In a large mixing bowl, beat the softened cream cheese with an electric mixer until smooth and creamy—about 1 minute. Add the creamy peanut butter and beat until fully combined. Scrape down the sides of the bowl with a spatula. Add the powdered sugar and beat on low speed until incorporated, then increase to medium and beat for another minute until the mixture is smooth and fluffy. It should look like thick frosting at this point.
- Fold in the whipped cream (3 minutes): Take the whipped cream out of the refrigerator. Add about one-third of it to the peanut butter mixture and fold gently with a spatula until combined. This lightens the mixture and makes it easier to incorporate the rest. Add the remaining whipped cream and fold until no white streaks remain. Be gentle—you want to keep as much air in the mixture as possible for that light, mousse-like texture.
- Layer the Oreo cookies (5 minutes): Arrange a single layer of Oreo cookies in the bottom of your 9×13-inch dish. You’ll need about 12 cookies, depending on how you arrange them. I like to place them in rows, touching each other, covering the entire bottom. Don’t leave big gaps, but don’t overlap them either.
- Spread the filling (3 minutes): Spoon about one-third of the peanut butter cream mixture over the Oreo layer. Spread it evenly with a spatula, making sure it reaches the edges. Take your time here—an even layer means every bite will have the perfect ratio of cookie to cream.
- Repeat the layers (5 minutes): Add another layer of Oreo cookies on top of the filling, again about 12 cookies. Spread another third of the filling over that. Repeat one more time with the remaining cookies and filling. You should end with a final layer of the peanut butter cream mixture on top. Smooth it out as evenly as you can.
- Add the topping (2 minutes): Crush the remaining 6 to 8 Oreo cookies into coarse crumbs. Sprinkle them over the top of the cake. If you’re making the peanut butter drizzle, melt ¼ cup peanut butter with 1 tablespoon coconut oil in the microwave for 20-second intervals, stirring between each, until smooth. Drizzle it over the crushed cookies in a zigzag pattern.
- Chill (6 hours or overnight): Cover the dish with plastic wrap, pressing it directly onto the surface to prevent a skin from forming. Refrigerate for at least 6 hours, but overnight is better. The longer it chills, the more the cookies soften and the flavors meld together. I’ve made this mistake before—cutting into it too early—and the layers just slide apart. Be patient. It’s worth the wait.
One thing I learned the hard way: if your cream cheese isn’t fully softened, you’ll end up with little lumps in your filling. Let it sit out for at least 30 minutes before you start. And if you forget, microwave it in 10-second bursts until it’s soft but not melted. Your filling will be silky smooth every time.
Cooking Tips & Techniques
After making this no-bake peanut butter Oreo icebox cake more times than I can count, I’ve picked up a few tricks that make a real difference.
Don’t skip the cream cheese step. I tried making this once with just peanut butter and whipped cream, thinking it would be lighter. It was a disaster. The cream cheese gives the filling structure and prevents it from being too runny. Without it, the layers slide apart and you end up with a messy puddle instead of a beautiful cake.
Use cold heavy cream. Warm cream won’t whip properly. Stick it in the freezer for 10 minutes before you start if you forgot to refrigerate it. And make sure your bowl and beaters are clean—any trace of grease will prevent the cream from whipping.
Crush the Oreos for the topping just before serving. If you crush them too early, they’ll absorb moisture from the fridge and get soggy. I like to crush them while the cake is chilling, then sprinkle them on right before I serve it. The contrast between the soft, creamy cake and the crunchy topping is everything.
Let it chill overnight for the best texture. I know, I know—waiting is hard. But 6 hours is the minimum, and overnight is where the magic happens. The Oreo cookies soften into a cake-like texture, and the flavors meld together into something that tastes like you spent hours in the kitchen. You didn’t, but no one has to know.
One mistake I made early on: I tried to rush the chilling process by putting it in the freezer. Don’t do that. The texture gets icy and weird. The refrigerator is your friend here. Give it the time it needs, and it will reward you.
Variations & Adaptations
This recipe is incredibly flexible, and I’ve tried several variations that turned out beautifully.
Peanut Butter Cup Version: Chop up 6 to 8 Reese’s peanut butter cups and sprinkle them between the layers along with the Oreos. The extra peanut butter and chocolate chunks take this over the top. My kids beg for this version every time.
Gluten-Free Adaptation: Use gluten-free chocolate sandwich cookies instead of regular Oreos. The texture is slightly different, but the flavor is just as good. I’ve tested this with a few brands, and they all work well.
Lighter Version: Swap the heavy cream for light whipped topping like Cool Whip, and use reduced-fat cream cheese. The texture is a bit less rich, but it still satisfies that craving. I make this version when I’m trying to be a little more mindful without giving up dessert entirely.
Chocolate Lover’s Twist: Melt ½ cup of semi-sweet chocolate chips and drizzle it over each layer as you build the cake. The extra chocolate makes it even more decadent. I did this for a friend’s birthday, and she said it was the best dessert she’d ever had.
Individual Servings: Instead of a big dish, layer the cookies and filling in small mason jars or dessert cups. They make perfect grab-and-go treats and look adorable on a dessert table. Plus, portion control is built right in.
I once tried a version with crunchy peanut butter instead of creamy, thinking it would add texture. Don’t do that—the crunchy bits get lost in the cream and the texture is off. Stick with creamy for the smoothest, most satisfying result.
Serving & Storage Suggestions
This no-bake peanut butter Oreo icebox cake is best served cold, straight from the refrigerator. I like to let it sit at room temperature for about 5 minutes before slicing—it makes cutting through the layers easier without them sliding apart.
How to Serve: Cut into squares and serve on small plates. A dollop of extra whipped cream on top never hurts, and a drizzle of chocolate syrup makes it look like something from a fancy bakery. For a fun presentation, serve it in clear glass cups so everyone can see the beautiful layers.
What to Serve With It: A tall glass of cold milk is the classic pairing. For adults, a cup of hot coffee or a glass of cold brew balances the sweetness perfectly. I’ve also served this after a big family dinner, and it’s light enough that no one feels overly stuffed.
Storage Instructions: Cover the dish tightly with plastic wrap or transfer leftovers to an airtight container. It will keep in the refrigerator for up to 5 days. The texture actually improves after day two—the cookies soften even more and the flavors meld together beautifully.
Freezing Instructions: This cake freezes surprisingly well. Wrap the entire dish (or individual slices) in plastic wrap, then in aluminum foil. Freeze for up to 3 months. Thaw in the refrigerator overnight before serving. The texture is slightly different—a bit more ice-cream-like—but still delicious.
One thing I love about this recipe: the flavors continue to develop over time. Day three is actually my favorite. The peanut butter and chocolate meld into something that tastes even better than the day you made it. If you can resist eating it all at once, you’re in for a treat.
Nutritional Information & Benefits
Let’s be honest—this isn’t a health food. But it does have some redeeming qualities worth mentioning.
| Nutrient | Per Serving (1/12 of cake) |
|---|---|
| Calories | 385 |
| Total Fat | 24g |
| Saturated Fat | 11g |
| Carbohydrates | 38g |
| Sugar | 28g |
| Protein | 7g |
| Fiber | 2g |
The peanut butter provides a decent amount of protein and healthy fats, which helps balance the sugar rush. The cream cheese adds calcium and a little protein too. And honestly, there’s something to be said for the joy of sharing a homemade dessert with your family. That counts for something, right?
If you’re watching your sugar intake, you can reduce the powdered sugar to ¾ cup without affecting the texture too much. And if you use a sugar-free whipped topping, you’ll cut the carbs significantly. But honestly, this is a treat. Sometimes you just need to enjoy the moment.
Conclusion
This Kid-Approved No-Bake Peanut Butter Oreo Icebox Cake is proof that the best recipes don’t have to be complicated. It came from a regular Tuesday afternoon in my sister-in-law’s kitchen, where she was just trying to keep her kids happy until dinner. And you know what? That’s exactly what it does. It makes people happy.
I love this recipe because it reminds me that cooking doesn’t have to be stressful. You don’t need fancy equipment or hours of free time. You just need a few good ingredients, a little patience, and the willingness to try something simple that turns out extraordinary. Every time I make this, I think of Rachel standing in her messy kitchen, completely unfazed, making something beautiful out of nothing.
I’d love to hear how this turns out for you. Did your kids love it? Did you try a variation? Drop a comment below and let me know. And if you share it on social media, tag me—I want to see your beautiful layers. Now go make some magic in your kitchen. You’ve got this.
Frequently Asked Questions
Can I make this no-bake peanut butter Oreo icebox cake ahead of time?
Absolutely! In fact, I recommend it. This cake needs at least 6 hours to chill, but making it a day ahead is even better. The flavors meld and the texture becomes perfectly soft and cake-like. Just keep it covered in the refrigerator until you’re ready to serve.
Can I use a different type of cookie?
Yes, you can experiment with other chocolate sandwich cookies. I’ve tried it with gluten-free versions and even with chocolate wafer cookies. The texture changes slightly, but the basic concept works with any crunchy chocolate cookie. Just avoid thin, delicate cookies that might get too mushy.
How do I get clean slices when serving?
Use a sharp knife and wipe it clean between each cut. For the cleanest slices, dip your knife in hot water, dry it off, then cut. Repeat for each slice. Letting the cake sit at room temperature for 5 minutes before cutting also helps the layers hold together better.
Can I use natural peanut butter?
I don’t recommend it. Natural peanut butter that separates can make the filling grainy and oily. The stabilizers in processed peanut butter like Skippy or Jif give the filling a smoother, more consistent texture. Save the natural stuff for your morning toast.
How long will leftovers last in the refrigerator?
Covered tightly, this cake will keep for up to 5 days in the refrigerator. The texture actually improves after the first day as the cookies continue to soften. If you have leftovers after day 5, it’s best to freeze them for later.
Pin This Recipe!
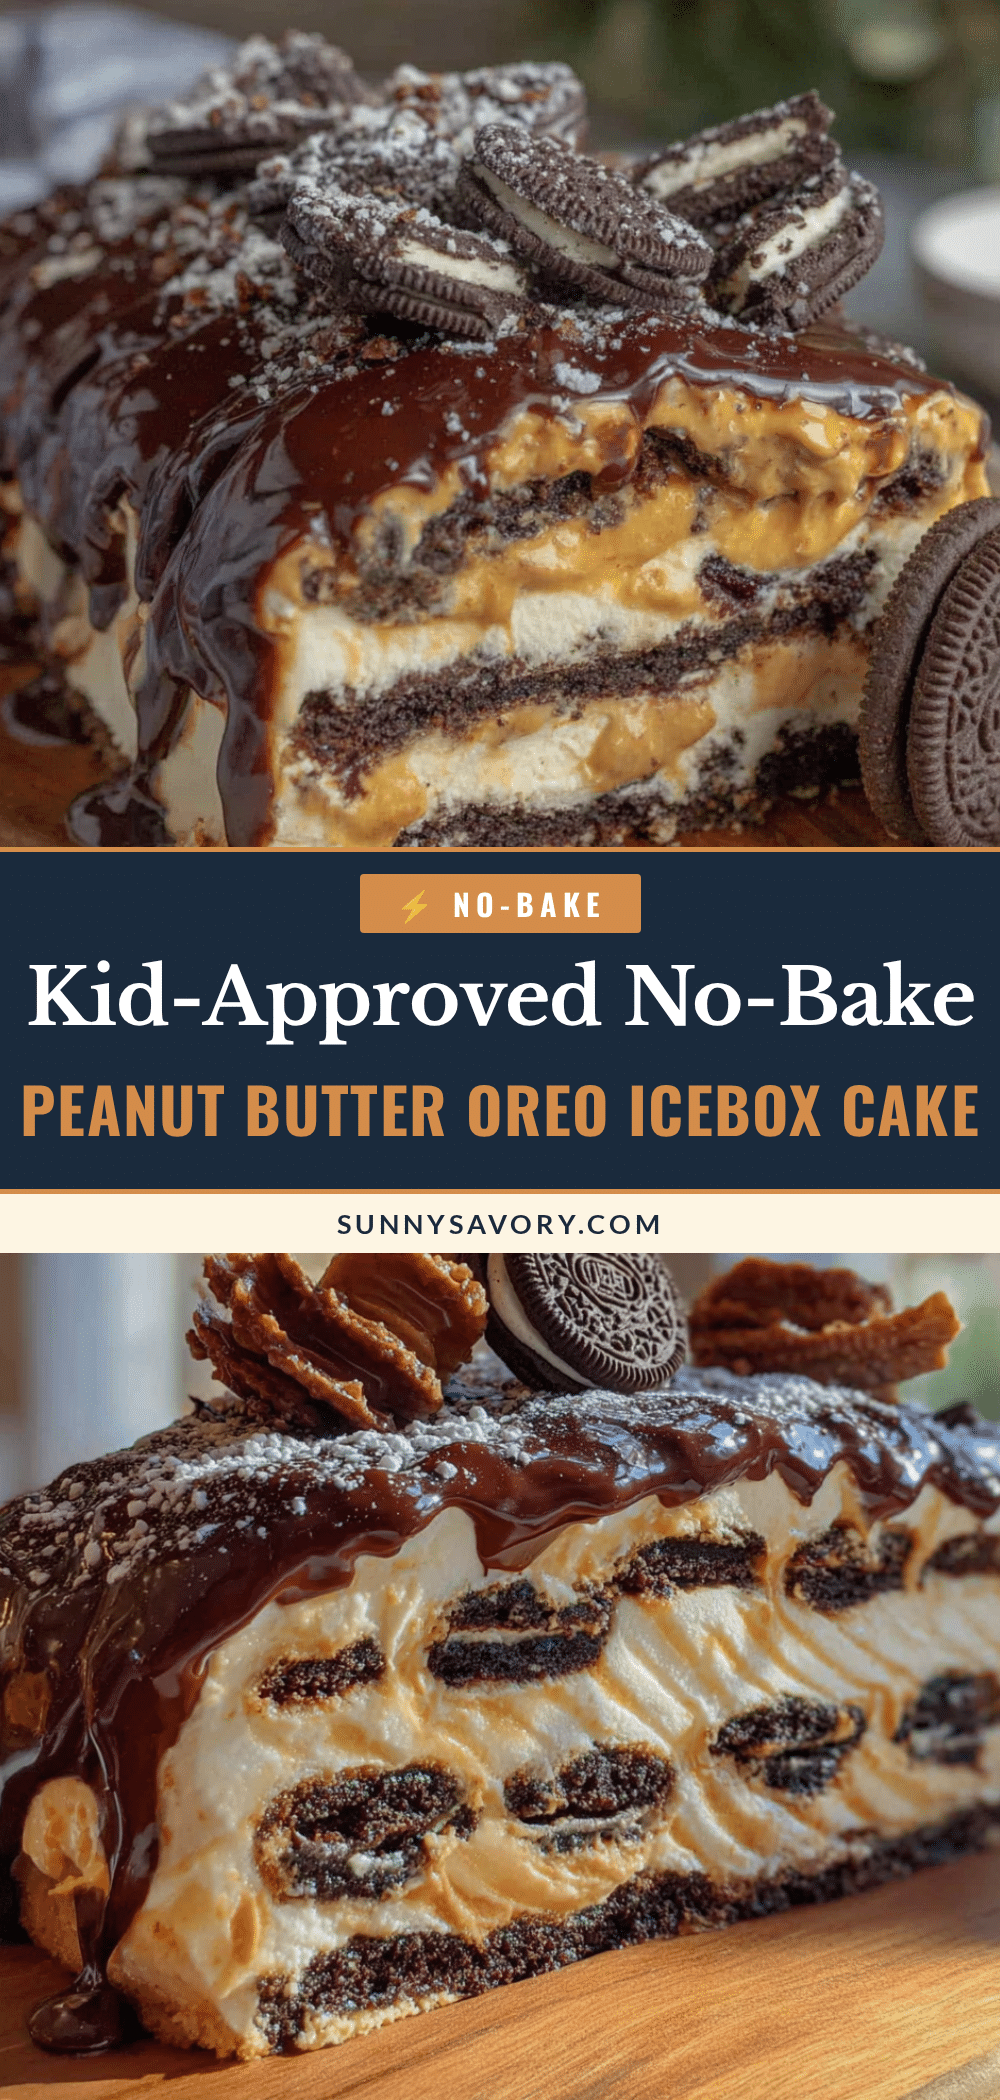
Kid-Approved No-Bake Peanut Butter Oreo Icebox Cake

A quick and easy no-bake dessert with layers of Oreo cookies, creamy peanut butter filling, and whipped cream. Perfect for busy weeknights and guaranteed to please kids and adults alike.
- Prep Time: 20 minutes
- Cook Time: 0 minutes
- Total Time: 6 hours 20 minutes (includes chilling)
- Yield: 12 servings 1x
- Category: Dessert
- Cuisine: American
Ingredients
- 36 Oreo cookies (classic)
- 1 cup creamy peanut butter (e.g., Skippy or Jif)
- 8 ounces cream cheese, softened
- 1 cup powdered sugar
- 2 cups heavy whipping cream
- 1 teaspoon vanilla extract
- 6–8 Oreo cookies, crushed (for topping)
- 1/4 cup peanut butter (optional, for drizzle)
- 1 tablespoon coconut oil (optional, for drizzle)
Instructions
- Whip the heavy cream: Pour cold heavy cream and vanilla extract into a medium bowl. Beat with an electric mixer on medium-high speed until soft peaks form, about 3-4 minutes. Set aside in the refrigerator.
- Make the peanut butter filling: In a large bowl, beat softened cream cheese until smooth. Add creamy peanut butter and beat until combined. Add powdered sugar and beat on low until incorporated, then increase to medium and beat for 1 minute until fluffy.
- Fold in the whipped cream: Add one-third of the whipped cream to the peanut butter mixture and fold gently. Add remaining whipped cream and fold until no white streaks remain.
- Layer the Oreo cookies: Arrange a single layer of Oreo cookies (about 12) in the bottom of a 9×13-inch dish, touching each other.
- Spread the filling: Spoon one-third of the peanut butter cream mixture over the Oreo layer and spread evenly.
- Repeat the layers: Add another layer of Oreo cookies, then another third of the filling. Repeat one more time with remaining cookies and filling, ending with a final layer of the peanut butter cream mixture on top.
- Add the topping: Crush remaining 6-8 Oreo cookies into coarse crumbs and sprinkle over the top. If desired, melt 1/4 cup peanut butter with 1 tablespoon coconut oil in the microwave and drizzle over the crushed cookies.
- Chill: Cover the dish with plastic wrap, pressing directly onto the surface. Refrigerate for at least 6 hours, preferably overnight.
Notes
Let cream cheese soften at room temperature for 30 minutes before starting. Use cold heavy cream for best whipping. Chill overnight for best texture. For clean slices, dip knife in hot water and wipe between cuts.
Nutrition
- Serving Size: 1/12 of cake
- Calories: 385
- Sugar: 28
- Fat: 24
- Saturated Fat: 11
- Carbohydrates: 38
- Fiber: 2
- Protein: 7
Keywords: no-bake, icebox cake, peanut butter, Oreo, kid-friendly, easy dessert, chocolate, creamy



