Love this? Save it for later!
Share the inspiration with your friends
The power went out halfway through my daughter’s fifth birthday party. There I was, standing in a dark kitchen with a half-melted bowl of chocolate and a freezer full of melting ice cream cake. Thirty minutes earlier, I’d been so proud of myself for making everything from scratch. Now I was frantically Googling “no-bake desserts” on my phone, the blue glow my only light source.
That’s when I remembered The Little Cupcake Shoppe on Elm Street — this tiny, cozy bakery that closed down two years ago. They had these incredible chocolate strawberry cheesecake cups that my daughter and I would split every Friday after school. When they shut their doors, I honestly felt a little lost. No other bakery came close to that perfect combination of creamy cheesecake, rich chocolate, and fresh strawberries in those adorable little cups.
After seven failed attempts — some too runny, some too dense, one that I accidentally made with salted butter (don’t ask) — I finally cracked the code. These Quick No-Bake Chocolate Strawberry Cheesecake Cups are my exact recreation of that lost recipe. And honestly? They might even be better than the original. No oven required, no complicated techniques, and they come together in about 15 minutes of active work. Maybe you’ve been there — chasing a food memory that feels just out of reach. Well, this is the one that finally let me stop searching.
Why You’ll Love These Quick No-Bake Chocolate Strawberry Cheesecake Cups
Let me tell you why this recipe has become my most-requested dessert. First off, it’s practically impossible to mess up. I’ve made these cups when I was distracted, tired, and even slightly hungover — and they still turned out perfect every single time. That’s the beauty of no-bake recipes, you know?
- Quick & Easy: Fifteen minutes of prep time, that’s it. While the cheesecake sets in the fridge, you can clean up, help with homework, or just put your feet up for a bit. Perfect for those weeknights when you need dessert but don’t have the energy for a full baking project.
- Simple Ingredients: Cream cheese, heavy cream, chocolate chips, strawberries, and a few pantry staples. No fancy grocery store trips required. I bet you have most of these in your kitchen right now.
- Perfect for Busy Weeknights: These cups are my go-to when I need to bring dessert to a potluck or school event but only have an hour before we need to leave. They set up beautifully in the fridge while you’re getting ready.
- Crowd-Pleaser: I’ve served these at birthday parties, book club meetings, and casual dinners. Kids love the chocolate, adults appreciate the elegant presentation, and everyone goes back for seconds.
- Unbelievably Delicious: The texture is what gets me every time — that silky, creamy cheesecake filling paired with the crunch of the chocolate crust and the burst of fresh strawberry. It’s comfort food that feels fancy.
What makes these cups different from other no-bake cheesecake recipes? It’s the technique of folding the whipped cream into the cream cheese mixture just right — not too much, not too little. And the chocolate crust? I use a specific ratio of butter to cookie crumbs that gives you that perfect sandy texture that holds together without getting soggy. After all those failed attempts, I can tell you exactly what works and what doesn’t.
This recipe isn’t just good — it’s the kind that makes you close your eyes after the first bite. It’s comfort food reimagined: faster, simpler, but with the same soul-soothing satisfaction. Perfect for impressing guests without stress, or turning a simple Tuesday night into something special.
What Ingredients You Will Need
This recipe uses simple ingredients that work together to create something truly special. The magic happens when the creamy cheesecake filling meets the chocolate crust and fresh strawberries — each component plays a crucial role.
For the Chocolate Crust
- Chocolate sandwich cookies (like Oreos) — 24 cookies, crushed into fine crumbs. I use the whole cookie, filling and all. Don’t bother separating them; the filling helps bind the crust.
- Unsalted butter — 5 tablespoons, melted. I prefer Land O’Lakes for its consistent quality. The butter helps the crumbs hold together when pressed.
- Granulated sugar — 2 tablespoons (optional, only if your cookies aren’t sweet enough). I usually skip this since Oreos are plenty sweet.
For the Cheesecake Filling
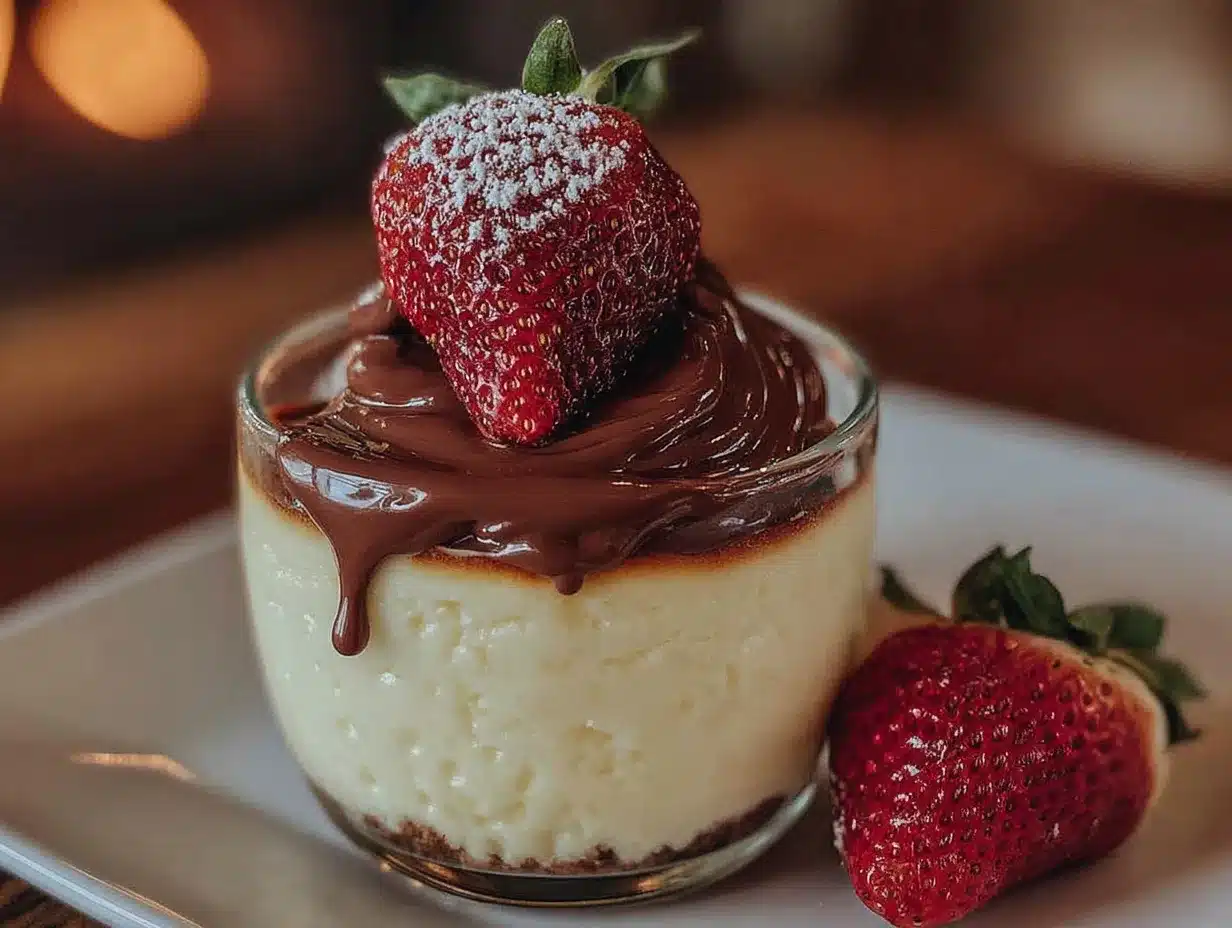
- Full-fat cream cheese — 16 ounces (two 8-ounce blocks), softened to room temperature. Philadelphia cream cheese gives the best texture. Don’t use low-fat; the filling won’t set properly.
- Powdered sugar — 1 cup, sifted if lumpy. This sweetens the filling without making it grainy like granulated sugar would.
- Vanilla extract — 1 teaspoon. Pure vanilla extract makes a difference here. I use Nielsen-Massey Madagascar vanilla for its rich flavor.
- Heavy whipping cream — 1 cup, cold. This gets whipped to stiff peaks and folded into the cream cheese, giving the filling its light, airy texture.
- Melted chocolate — 4 ounces semi-sweet chocolate, melted and slightly cooled. I use Ghirardelli chocolate chips — they melt smoothly and have a nice balanced sweetness.
For the Strawberry Layer
- Fresh strawberries — 1 cup, hulled and diced small. Look for ripe, red strawberries that smell fragrant. In summer, local farmers’ market berries are incredible here.
- Strawberry jam — 2 tablespoons (optional, for extra strawberry flavor). I like Bonne Maman brand for its clean fruit taste.
For the Topping
- Fresh strawberries — 6-8 whole strawberries, halved or sliced for garnish
- Chocolate shavings — from a chocolate bar, for garnish
- Whipped cream — optional, for extra decadence
Substitution Tips: For a gluten-free version, use gluten-free chocolate sandwich cookies. The filling is naturally gluten-free. If you’re dairy-free, use vegan cream cheese and coconut cream instead of heavy cream — just note the texture will be slightly different. For a lower-sugar option, use sugar-free cookies and reduce the powdered sugar to 3/4 cup.
Equipment Needed
You don’t need much fancy equipment for these cups, which is part of their charm. Here’s what you’ll need:
- Food processor or zip-top bag and rolling pin — for crushing the cookies. A food processor gives you the most consistent crumbs, but a bag and rolling pin work fine if you don’t mind a little arm workout.
- Electric mixer — handheld or stand mixer with whisk attachment. You need this to whip the cream and beat the cream cheese until smooth. A whisk by hand would take forever and your arm would fall off.
- Mixing bowls — medium bowl for crust, large bowl for filling, small bowl for melting chocolate
- Measuring cups and spoons — for accurate measurements
- Spatula — for folding the whipped cream into the cream cheese mixture
- Small glasses or jars — 6-8 cups, about 6 ounces each. Mason jars work great, or any small glass you have on hand. I’ve used everything from wine glasses to old yogurt containers.
- Microwave or double boiler — for melting the chocolate. Microwave is faster and easier.
- Chef’s knife and cutting board — for dicing the strawberries
Budget-Friendly Tip: Don’t have a food processor? No problem. Place the cookies in a zip-top bag, seal it, and go at it with a rolling pin or even a heavy pan. It’s a great way to get out some frustration, honestly.
Preparation Method
Let me walk you through this step by step. Trust me, after seven failed attempts, I’ve learned exactly what to do — and what not to do.
Step 1: Make the Chocolate Crust (5 minutes)
Place the 24 chocolate sandwich cookies in a food processor and pulse until you have fine crumbs. You should have about 2 cups of crumbs. If you’re using the bag method, crush them until no large pieces remain. Transfer the crumbs to a medium bowl. Pour in the 5 tablespoons of melted butter and stir with a fork until every crumb is moistened. The mixture should look like wet sand and hold together when you squeeze it.
Sensory cue: It should smell like a chocolate cookie factory in your kitchen. If it’s too dry, add another tablespoon of melted butter. If it’s greasy, you added too much — next time use less.
Step 2: Press the Crust into Cups (3 minutes)
Divide the crust mixture evenly among your 6-8 cups. Use the bottom of a small glass or a shot glass to press the crumbs down firmly into an even layer. Don’t skip this pressing step — a loose crust will fall apart when you eat it. You want it compacted so it holds together. Place the cups in the refrigerator while you make the filling.
Step 3: Whip the Cream (3 minutes)
In a large mixing bowl, pour 1 cup of cold heavy whipping cream. Using an electric mixer with the whisk attachment, beat the cream on medium-high speed until stiff peaks form. This takes about 2-3 minutes. You’ll know it’s ready when you lift the whisk and the cream holds its shape without drooping. Be careful not to over-whip, or you’ll end up with butter. I’ve done that before — it’s not fun.
Step 4: Make the Cheesecake Filling (5 minutes)
In another large bowl, beat the softened cream cheese with an electric mixer on medium speed until smooth and creamy — about 1 minute. Add the powdered sugar and vanilla extract, then beat until combined and fluffy, about 2 minutes. Scrape down the sides of the bowl with a spatula. Now, fold in the melted and slightly cooled chocolate. Stir gently until the chocolate is fully incorporated and the mixture is a uniform brown color.
Important: Make sure your melted chocolate isn’t hot when you add it, or it will melt the cream cheese and ruin the texture. Let it cool for 5 minutes after melting.
Step 5: Fold Everything Together (2 minutes)
Take about one-third of the whipped cream and stir it into the cream cheese mixture to lighten it up. This is called “sacrificing” the first portion — it makes it easier to fold in the rest without deflating everything. Then, gently fold in the remaining whipped cream using a spatula. Use a cutting motion through the center, then scrape around the bowl. Repeat until no white streaks remain. Be gentle — you want the filling to stay light and airy.
Step 6: Layer the Strawberries and Filling (5 minutes)
Remove the cups from the refrigerator. Spoon about 1 tablespoon of diced strawberries over each crust. If you’re using strawberry jam, drizzle a little over the berries. Then, divide the cheesecake filling evenly among the cups, spooning it over the strawberries. Smooth the tops with the back of a spoon or a small offset spatula.
Step 7: Chill and Serve (2 hours minimum)
Place the cups in the refrigerator, uncovered, for at least 2 hours. For best results, chill them for 4 hours or overnight. The filling needs time to set up properly. Just before serving, top each cup with a halved strawberry, some chocolate shavings, and a dollop of whipped cream if you’re feeling fancy.
Personal tip: I once tried to rush the chilling process by putting them in the freezer for 30 minutes. Don’t do that — the texture gets icy and weird. Patience, my friend.
Cooking Tips & Techniques
After making these cups more times than I can count, here are the things I’ve learned the hard way:
Room temperature cream cheese is non-negotiable. I know, I know — you’re busy and you forgot to take it out of the fridge. But cold cream cheese will leave you with lumpy filling. Here’s my trick: Cut the cream cheese into cubes and microwave it for 10 seconds on 50% power. Check it, then give it another 5 seconds if needed. It should be soft but not warm.
Don’t skip the strawberry jam layer. The first few times I made these, I just used fresh strawberries. They were good, but something was missing. Adding a thin layer of strawberry jam between the crust and the filling gives that concentrated fruit flavor that makes these cups unforgettable. It’s a small step that makes a huge difference.
Fold, don’t stir. When you’re combining the whipped cream with the cream cheese mixture, use a gentle folding motion. Stirring will deflate all that air you worked so hard to whip in. Think of it like you’re tucking the whipped cream into bed — gentle and careful.
Make ahead tip: These cups actually taste better the next day. The flavors meld together overnight, and the crust softens just slightly to become more like a traditional cheesecake crust. I often make them the night before I need them.
The crust problem I’ll never forget: My third attempt at this recipe ended with a crust that was basically soup. I had used warm butter (instead of melted and slightly cooled) and the crust just dissolved into the filling. Learn from my mistake — let your melted butter cool for a few minutes before mixing it with the crumbs.
Variations & Adaptations
One of the best things about this recipe is how easy it is to change up. Here are some variations I’ve tried and loved:
Berry Swap
Not a strawberry fan? No problem. Use raspberries, blueberries, or blackberries instead. Each berry gives a different flavor profile — raspberries are tart and bright, blueberries are sweet and mellow, blackberries are earthy and rich. I’ve also done a mixed berry version that’s absolutely gorgeous.
Chocolate Variations
Swap the semi-sweet chocolate for white chocolate for a different kind of sweetness. Or use dark chocolate (70% cacao or higher) for a more intense, grown-up flavor. My husband loves the dark chocolate version with fresh raspberries — he says it tastes like a fancy restaurant dessert.
No-Bake Cheesecake Cups with a Twist
Add a tablespoon of instant espresso powder to the cream cheese mixture for a mocha flavor. Or stir in some orange zest for a chocolate-orange combination that’s absolutely divine. I once added a splash of amaretto liqueur for an adults-only version that was a hit at a dinner party.
Dairy-Free Version
Use dairy-free cream cheese (I like Kite Hill brand) and coconut cream instead of heavy cream. The texture is slightly different — a bit more dense — but still delicious. Use vegan chocolate chips for the chocolate layer.
Crunchy Topping Addition
Before serving, sprinkle some crushed chocolate cookies or toasted almonds over the top for extra crunch. My kids love this version — they call it “crunchy cheesecake.”
Serving & Storage Suggestions
These cups are best served cold, straight from the refrigerator. The contrast between the cold, creamy filling and the fresh strawberries is what makes them so satisfying.
Presentation tips: If you’re serving these for a party, consider using clear glass cups or jars so you can see the beautiful layers. A dollop of whipped cream, a fresh strawberry half, and some chocolate shavings on top make them look like they came from a fancy bakery.
What to serve with them: These cups are rich enough to stand alone, but they pair beautifully with a cup of coffee or a glass of cold milk. For a dessert spread, serve them alongside fresh fruit or a simple cookie like shortbread.
Storage: Cover each cup with plastic wrap or a lid and store in the refrigerator for up to 3 days. The crust will soften over time, but the flavor actually improves after a day. Do not freeze these — the texture gets watery and the crust becomes soggy when thawed.
Reheating: There’s no reheating needed here — these are meant to be eaten cold. If you’ve stored them for a day or two, just let them sit at room temperature for 5 minutes before serving to take the chill off.
Flavor development note: The chocolate and strawberry flavors really deepen after about 24 hours. I honestly prefer these on day two. The crust softens just enough to become more like a traditional cheesecake crust, and everything melds together beautifully.
Nutritional Information & Benefits
While these are definitely a treat — let’s not pretend otherwise — there are some redeeming qualities. Here’s the estimated nutritional breakdown per serving (based on 8 servings):
Calories: Approximately 380-420 per cup
Fat: 28g
Carbohydrates: 32g
Protein: 6g
Sugar: 24g
Fiber: 2g
Health highlights: Strawberries are packed with vitamin C and antioxidants. The cream cheese provides calcium and protein. Dark chocolate (if you use it) contains flavonoids that are good for heart health. And hey, sometimes you just need a little indulgence — that’s good for the soul, right?
Dietary considerations: This recipe contains dairy and gluten (from the cookies). For a gluten-free version, use gluten-free chocolate sandwich cookies. For a dairy-free version, use vegan cream cheese and coconut cream. This recipe is not suitable for vegans in its current form, but with substitutions, it can be made plant-based.
My personal take: I believe in balance. These cups are rich and indulgent, and I enjoy every single bite. I don’t stress about the calories because life is too short. But I do try to use quality ingredients and fresh fruit to make them as wholesome as a dessert can be.
Conclusion
These Quick No-Bake Chocolate Strawberry Cheesecake Cups are more than just a dessert to me. They’re a little piece of nostalgia that I can recreate anytime I want. That bakery on Elm Street might be gone, but the memory lives on in every creamy, chocolatey, strawberry-filled bite.
I honestly believe this is one of those recipes that becomes a staple in your kitchen. It’s forgiving, adaptable, and always impressive. Whether you’re making it for a special occasion or just because it’s Tuesday and you deserve something good, these cups deliver every single time.
So go ahead — give them a try. Customize them with your favorite berries, experiment with different chocolates, make them your own. And when you do, come back and tell me about it. I love hearing how you made this recipe work in your kitchen.
Happy no-baking, friends. Life’s too short for complicated desserts.
Frequently Asked Questions
Can I use frozen strawberries instead of fresh?
I wouldn’t recommend it for this recipe. Frozen strawberries release a lot of water as they thaw, which can make the cheesecake filling watery and affect the texture. Stick with fresh strawberries for the best results. If you absolutely must use frozen, thaw them first and pat them very dry with paper towels before using.
How long do these cheesecake cups need to set in the fridge?
At least 2 hours, but 4 hours is better. Overnight is ideal. The filling needs time to firm up so you get that clean slice when you dig in. If you’re in a hurry, you can speed things up by chilling them in the freezer for 30 minutes, but watch them carefully — you don’t want them to freeze solid.
Can I make these cups in advance for a party?
Absolutely! In fact, I recommend it. Make them up to 2 days ahead and keep them covered in the refrigerator. The flavors actually meld together and get better over time. Just add the fresh strawberry garnish and whipped cream right before serving so they look their best.
What if I don’t have a food processor for the crust?
No problem at all! Place the cookies in a large zip-top bag, seal it, and crush them with a rolling pin, a heavy pan, or even your hands. It takes a little more effort, but it works perfectly. You want the crumbs to be fairly fine with no large chunks.
Can I use low-fat cream cheese to make this healthier?
You can, but I don’t recommend it. Low-fat cream cheese has a higher water content, which can make the filling runny and prevent it from setting properly. Full-fat cream cheese gives you that rich, creamy texture that makes these cups so special. If you’re watching calories, consider smaller portions rather than sacrificing the texture.
Pin This Recipe!
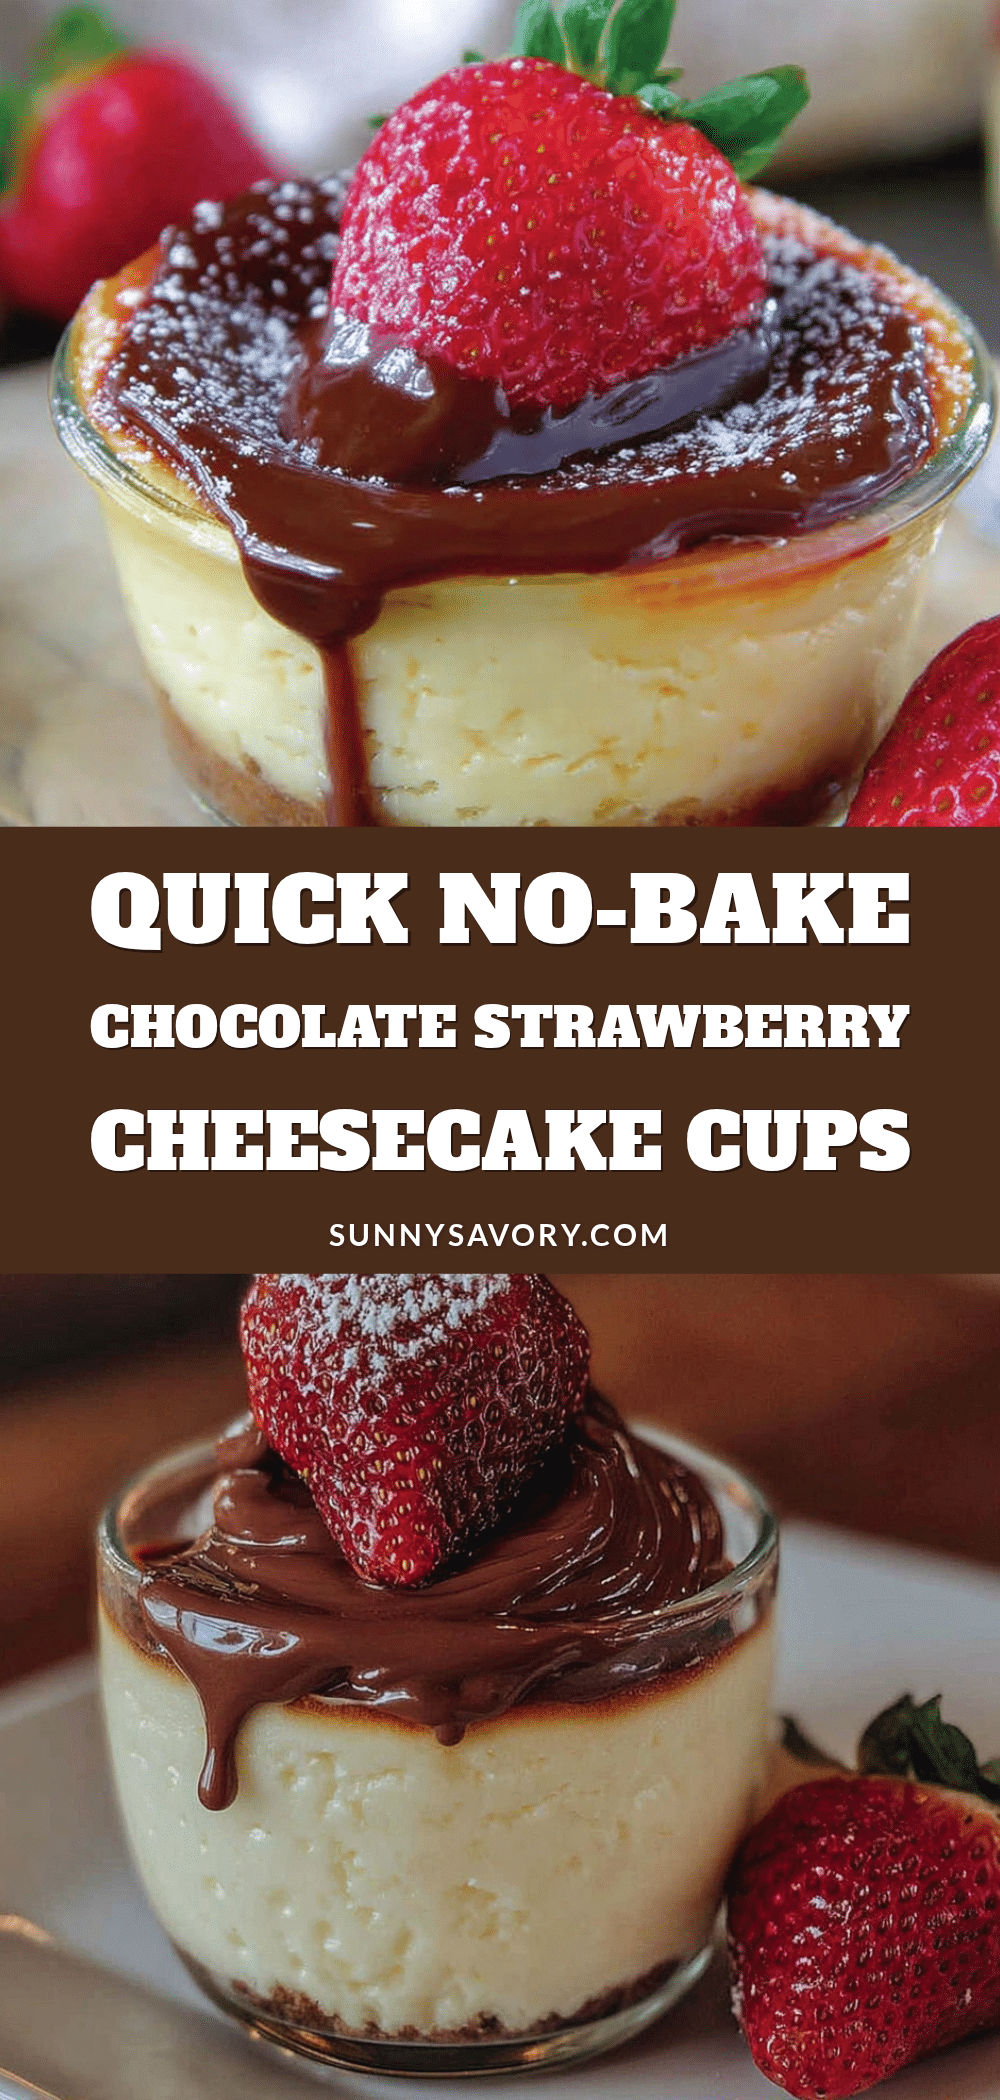
Quick No-Bake Chocolate Strawberry Cheesecake Cups
These Quick No-Bake Chocolate Strawberry Cheesecake Cups are a creamy, decadent dessert that comes together in just 15 minutes of active prep. With a crunchy chocolate cookie crust, silky cheesecake filling, and fresh strawberries, they’re the perfect treat for busy weeknights or special occasions.
- Prep Time: 15 minutes
- Cook Time: 0 minutes
- Total Time: 2 hours 15 minutes (includes chilling)
- Yield: 6-8 servings 1x
- Category: Dessert
- Cuisine: American
Ingredients
- 24 chocolate sandwich cookies (like Oreos), crushed into fine crumbs
- 5 tablespoons unsalted butter, melted
- 2 tablespoons granulated sugar (optional, if cookies aren’t sweet enough)
- 16 ounces full-fat cream cheese, softened to room temperature
- 1 cup powdered sugar, sifted if lumpy
- 1 teaspoon vanilla extract
- 1 cup heavy whipping cream, cold
- 4 ounces semi-sweet chocolate, melted and slightly cooled
- 1 cup fresh strawberries, hulled and diced small
- 2 tablespoons strawberry jam (optional)
- 6–8 whole fresh strawberries, halved or sliced for garnish
- Chocolate shavings for garnish
- Whipped cream for garnish (optional)
Instructions
- Make the chocolate crust: Place 24 chocolate sandwich cookies in a food processor and pulse until fine crumbs form. Transfer to a medium bowl, add 5 tablespoons melted butter, and stir until every crumb is moistened. The mixture should look like wet sand and hold together when squeezed.
- Press the crust into cups: Divide the crust mixture evenly among 6-8 small glasses or jars. Use the bottom of a small glass to press the crumbs down firmly into an even layer. Place cups in the refrigerator while you make the filling.
- Whip the cream: In a large mixing bowl, pour 1 cup cold heavy whipping cream. Beat with an electric mixer on medium-high speed until stiff peaks form, about 2-3 minutes. Be careful not to over-whip.
- Make the cheesecake filling: In another large bowl, beat the softened cream cheese with an electric mixer on medium speed until smooth and creamy, about 1 minute. Add 1 cup powdered sugar and 1 teaspoon vanilla extract, then beat until combined and fluffy, about 2 minutes. Scrape down the sides of the bowl. Fold in the melted and slightly cooled chocolate until fully incorporated.
- Fold everything together: Take about one-third of the whipped cream and stir it into the cream cheese mixture to lighten it. Then gently fold in the remaining whipped cream using a spatula, using a cutting motion through the center and scraping around the bowl until no white streaks remain.
- Layer the strawberries and filling: Remove the cups from the refrigerator. Spoon about 1 tablespoon of diced strawberries over each crust. If using strawberry jam, drizzle a little over the berries. Divide the cheesecake filling evenly among the cups, spooning it over the strawberries. Smooth the tops with the back of a spoon.
- Chill and serve: Place the cups in the refrigerator, uncovered, for at least 2 hours (4 hours or overnight is best). Just before serving, top each cup with a halved strawberry, chocolate shavings, and a dollop of whipped cream if desired.
Notes
Room temperature cream cheese is essential for a smooth filling. If you forget to take it out, cut into cubes and microwave on 50% power for 10 seconds. Let melted chocolate cool for 5 minutes before adding to the cream cheese mixture. For best results, chill the cups overnight; the flavors meld and the crust softens slightly. Do not freeze, as the texture becomes watery.
Nutrition
- Serving Size: 1 cup
- Calories: 400
- Sugar: 24
- Sodium: 280
- Fat: 28
- Saturated Fat: 16
- Carbohydrates: 32
- Fiber: 2
- Protein: 6
Keywords: no-bake cheesecake, chocolate strawberry cheesecake, easy dessert, no-bake dessert, cheesecake cups, quick dessert, strawberry cheesecake



