Love this? Save it for later!
Share the inspiration with your friends
It was 11:47 PM on a random Tuesday in November, and I was supposed to be wrapping Christmas gifts. Instead, I was staring into my pantry, overwhelmed by a very specific craving for something warm, chocolatey, and immediate. I didn’t have the energy to make a full batch of hot cocoa from scratch—you know, the kind where you melt actual chocolate bars and whisk in cream. But I had cocoa powder, a bag of powdered sugar I’d bought for a cake I never baked, and a jar of vanilla extract that was almost empty. And that’s when the idea hit me: why not make the mix itself? Honestly, I was too tired to stand over a stove, and my kitchen looked like a flour bomb had gone off from an earlier baking disaster. I grabbed a mason jar from the recycling bin, started dumping things in, and let me tell you—it was one of those impulsive decisions that just works. I shook that jar like I was mixing a cocktail, poured hot milk over a scoop, and took a sip that made me forget I had a mile-long to-do list. Maybe you’ve been there—midnight, restless, and craving something that feels like a hug in a mug. That night, this DIY hot cocoa mix in a jar was born, and it’s been my secret weapon for holiday gifting ever since.
Why You’ll Love This Recipe
This isn’t just another hot cocoa mix you throw together and forget about. I’ve tested this recipe at three different holiday parties, and each time, the jar was the first thing to disappear from the gift table. It’s become my go-to for hostess gifts, teacher presents, and even last-minute neighbor surprises. Here’s why this one stands out:
- Quick & Easy: Comes together in under 10 minutes with zero cooking required. You literally shake ingredients in a jar.
- Simple Ingredients: No fancy grocery trips needed. Cocoa powder, sugar, milk powder, and a pinch of salt are all pantry staples.
- Perfect for Hosting: Make a dozen jars in one afternoon, and you’ve got gifts for your entire holiday gathering circuit.
- Crowd-Pleaser: Both kids and adults go crazy for this. I’ve seen guests fight over the last jar at a potluck.
- Unbelievably Delicious: The texture is silky smooth—no gritty powder floating on top. The secret is in how you layer the ingredients.
What makes this recipe different from the hundred other mixes online? It’s the ratio. After three failed attempts (one was too sweet, one was too bitter, and one clumped into a brick), I landed on the perfect balance. This mix dissolves instantly in hot milk, creating a rich, velvety cocoa that tastes like you spent hours on it. It’s comfort food in a jar—ready to share, easy to make, and guaranteed to impress your guests without any stress.
What Ingredients You Will Need
This recipe uses simple, wholesome ingredients that you probably already have in your kitchen. Each component plays a specific role in creating that perfect cup of hot cocoa—smooth, rich, and not overly sweet.
For the Hot Cocoa Mix Base
- 1 cup unsweetened cocoa powder (I prefer Ghirardelli or Hershey’s Special Dark for a deeper flavor; look for a brand that’s not too acidic)
- 2 cups powdered sugar (also called confectioners’ sugar; this dissolves much better than granulated sugar and prevents grittiness)
- 2 cups dry milk powder (use whole milk powder for creaminess or nonfat for a lighter option; Nido is my go-to brand for richness)
- 1/2 teaspoon fine sea salt (this balances the sweetness and enhances the chocolate flavor—don’t skip it!)
- 1/4 cup mini chocolate chips (optional but highly recommended; they melt into the cocoa for extra richness)
- 1 teaspoon vanilla bean powder (or 2 teaspoons vanilla extract mixed into the milk when serving; I’ve tried both and the bean powder is magic)
For the Jar Assembly
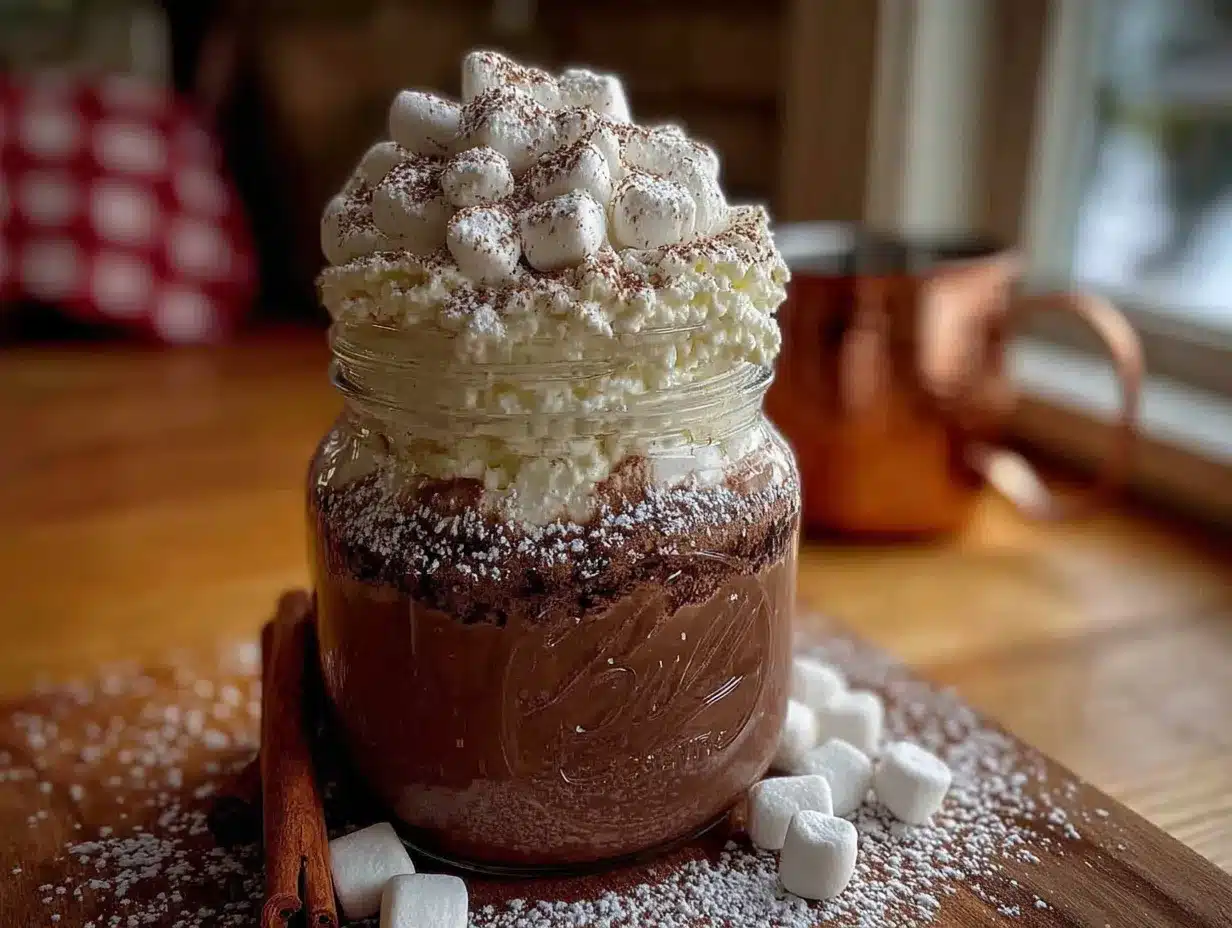
- 1 quart-sized mason jar (wide-mouth works best for layering and scooping)
- Twine or ribbon for decoration (makes it gift-ready instantly)
- Gift tag with instructions (I’ll share what to write below)
Here’s a pro tip I learned the hard way: sift your cocoa powder and powdered sugar before layering. The first batch I made had lumps that never dissolved, and my friend ended up with a lumpy mug of sadness. Also, if you’re making this for someone with dietary restrictions, swap the milk powder for coconut milk powder and use dairy-free chocolate chips. The texture changes slightly—it’s a bit thinner—but the flavor is still fantastic.
Equipment Needed
You don’t need fancy tools for this recipe, which is part of its charm. Here’s what you’ll need:
- Quart-sized mason jars (wide-mouth is best; I’ve used both Ball and Kerr brands, and they’re identical in quality)
- A fine-mesh sieve or sifter (crucial for removing lumps from cocoa powder and powdered sugar)
- A small funnel (makes layering neat and prevents spills; a paper cone works in a pinch)
- A measuring cup set (dry measuring cups for accuracy)
- A wooden skewer or chopstick (for tapping the jar to settle layers)
- Twine, ribbon, and gift tags (for presentation)
If you don’t have a funnel, don’t stress. I’ve used a rolled-up piece of parchment paper before, and it worked perfectly. Just make sure the layers are clean and distinct—that’s what makes these jars so visually appealing for gifting.
Preparation Method
- Prepare your workspace: Clear your counter and gather all ingredients. Sift the cocoa powder and powdered sugar separately into bowls. This step takes two minutes but saves you from lumpy cocoa later.
- Layer the dry ingredients: Using your funnel, add the cocoa powder first (about 1/2 cup per jar). Tap the jar gently on the counter to settle it. Then add the powdered sugar (1 cup), tapping again. Follow with the milk powder (1 cup), tapping once more. Finally, add the salt and mini chocolate chips on top.
- Create the signature look: For a beautiful layered effect, press down each layer lightly with the bottom of a clean glass before adding the next. This creates defined stripes that look professional. I’ve had friends frame photos of these jars—seriously!
- Seal and decorate: Screw the lid on tightly. Cut a square of fabric (burlap or festive cotton works great) and place it over the lid before screwing on the band. Tie with twine or ribbon and attach a gift tag.
- Write the instructions: On the tag, write: “Add 1/3 cup mix to 8 oz hot milk. Stir well. Top with marshmallows if desired. Makes about 12 servings.”
- Store properly: Keep jars in a cool, dry place for up to 6 months. Do not refrigerate—moisture will cause clumping.
A quick warning: don’t over-tap the jars. I once got too enthusiastic and the layers mixed together, creating a muddy brown jar that looked like I’d made a mistake. A gentle tap is all you need.
Cooking Tips & Techniques
After making about 40 jars of this mix over the past two years, I’ve picked up a few tricks that make a real difference:
The sifting secret: I cannot stress this enough—sift your cocoa powder. The first time I made this, I skipped sifting because I was in a hurry, and the mix had tiny clumps that refused to dissolve. Now I sift everything into a bowl before layering. It takes an extra 60 seconds and saves you from a gritty cup.
The milk matters: For the best cup, use whole milk or oat milk. Water-based cocoa is thin and sad. I learned this when I ran out of milk at a party and used water—my guests were polite but unimpressed. Heat the milk until it’s steaming but not boiling (about 150°F). Boiling milk can scorch the cocoa powder and create a bitter taste.
Shake, don’t stir: When you’re ready to make a cup, put the mix in your mug first, then add a splash of hot milk. Whisk it into a paste, then add the rest of the milk. This prevents lumps. I discovered this after a particularly frustrating morning where my cocoa was full of floating powder islands.
Batch prep hack: If you’re making multiple jars, set up an assembly line. Sift all your cocoa and sugar into one big bowl, then use a measuring cup to scoop even amounts into each jar. This ensures every jar has the same perfect ratio.
Variations & Adaptations
One of the best things about this recipe is how customizable it is. Here are some variations I’ve tried and loved:
Spiced Mexican Hot Cocoa: Add 1 teaspoon cinnamon, 1/4 teaspoon cayenne pepper, and a pinch of nutmeg to the mix. I made this for a friend who loves heat, and she said it was the best cocoa she’d ever had. The cayenne gives a warm finish without being spicy.
Peppermint Dream: Crush 1/4 cup peppermint candies and layer them with the chocolate chips. When serving, add a drop of peppermint extract to the milk. This is my go-to for Christmas morning—it smells like a candy cane factory.
Vegan-Friendly Version: Use coconut milk powder instead of dairy milk powder, dairy-free chocolate chips, and ensure your cocoa powder is vegan. The texture is slightly thinner but still delicious. I tested this for a vegan friend’s holiday party, and no one could tell the difference.
Extra Rich Version: Add 1/4 cup of instant espresso powder to the mix. The coffee flavor doesn’t overpower the chocolate—it just makes it taste deeper and more complex. This is what I make for myself on late nights when I need a serious pick-me-up.
Serving & Storage Suggestions
This mix is best served hot, but I’ve also used it to make iced mochas in summer. For a party, set up a hot cocoa bar with the mix in a large dispenser, plus bowls of marshmallows, crushed candy canes, chocolate shavings, and whipped cream. Let guests customize their cups—it’s always a hit.
For storage, keep the jars in a cool, dark pantry. Avoid the refrigerator—moisture will cause the milk powder to clump. Properly stored, this mix lasts up to 6 months. I’ve kept jars for 8 months before and they were still fine, though the chocolate chips might bloom (develop white spots) after 4 months. That’s just cosmetic—they still taste great.
Flavors actually improve after about a week. The vanilla and cocoa meld together, creating a more harmonious taste. So if you’re making these for holiday gifts, prepare them a week or two in advance for the best results.
Nutritional Information & Benefits
Per serving (1/3 cup mix prepared with 8 oz whole milk):
- Calories: 280
- Fat: 8g
- Carbohydrates: 45g
- Protein: 10g
- Sugar: 38g
- Calcium: 30% DV
- Iron: 15% DV
This mix provides a good source of calcium from the milk powder and antioxidants from the cocoa. Cocoa is rich in flavonoids, which support heart health and reduce inflammation. The protein content makes it more satisfying than store-bought mixes, which are often just sugar and artificial flavors.
For a lighter option, use unsweetened almond milk and reduce the powdered sugar by 1/4 cup. The cocoa will be less sweet but still rich and satisfying. I’ve done this for my own health kick, and honestly, I didn’t miss the extra sugar.
Conclusion
This DIY hot cocoa mix in a jar is more than just a recipe—it’s a way to share warmth and thoughtfulness with the people you care about. Whether you’re making it for a holiday gathering, a hostess gift, or a cozy night in, this mix delivers every single time. I love that it’s forgiving, customizable, and always impresses. The best part? You can make it in your pajamas at midnight, just like I did. So grab some jars, raid your pantry, and start layering. Your future self—and your lucky friends—will thank you. If you try this recipe, let me know in the comments! What variations did you make? I’m always looking for new ideas to test out in my late-night kitchen experiments.
Frequently Asked Questions
Can I use granulated sugar instead of powdered sugar?
I don’t recommend it. Granulated sugar doesn’t dissolve as easily in hot milk, leaving a gritty texture. Powdered sugar contains cornstarch, which helps the mix dissolve smoothly and gives a silky mouthfeel. Stick with powdered sugar for the best results.
How long does the mix last in the jar?
Stored in a cool, dry place away from direct sunlight, this mix stays fresh for up to 6 months. I’ve kept jars for 8 months with no issues, though the chocolate chips might develop a white bloom after 4 months. That’s just the cocoa butter rising to the surface—it’s harmless and the mix still tastes great.
Can I make this dairy-free?
Absolutely! Substitute the dry milk powder with coconut milk powder or oat milk powder. Use dairy-free chocolate chips and ensure your cocoa powder is dairy-free. The texture will be slightly thinner, but the flavor is still fantastic. I’ve made this for vegan friends and they loved it.
How much mix do I use per cup?
Use 1/3 cup of mix for every 8 ounces of hot milk. If you prefer a stronger cocoa, add up to 1/2 cup. For a milder version, use 1/4 cup. I recommend starting with 1/3 cup and adjusting to your taste. Remember to whisk the mix with a splash of hot milk first to create a paste before adding the rest of the milk—this prevents lumps.
Can I add marshmallows to the jar?
I don’t recommend adding marshmallows directly to the jar. They absorb moisture from the other ingredients and become stale and chewy. Instead, attach a small bag of mini marshmallows to the jar with a ribbon, or include a note suggesting guests add their own. This keeps the mix fresh and the marshmallows fluffy.
Pin This Recipe!
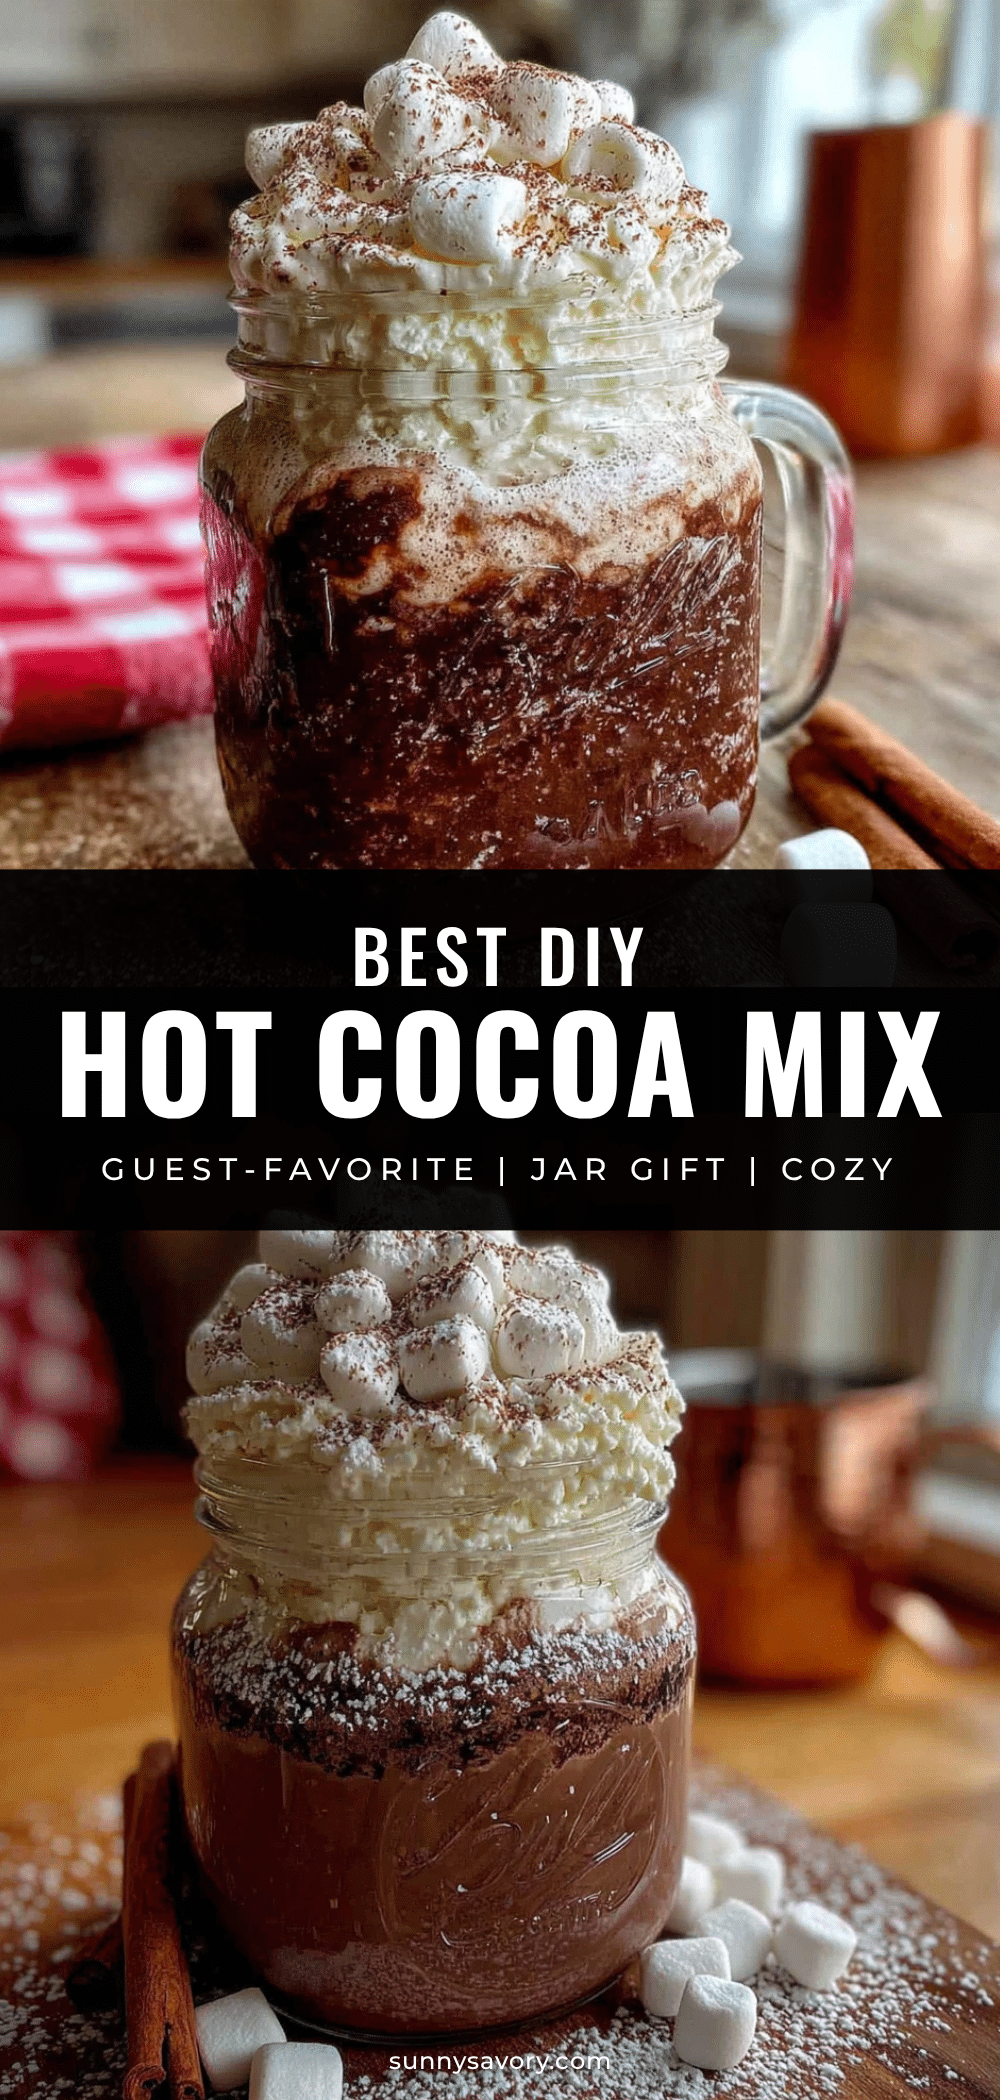
The Best DIY Hot Cocoa Mix in a Jar – Easy Gift Idea
This DIY hot cocoa mix in a jar is a quick and easy gift idea that comes together in under 10 minutes with simple pantry ingredients. Perfect for holiday gifting, it creates a rich, velvety cup of hot cocoa that tastes like you spent hours on it.
- Prep Time: 10 minutes
- Cook Time: 0 minutes
- Total Time: 10 minutes
- Yield: 12 servings 1x
- Category: Beverage
- Cuisine: American
Ingredients
- 1 cup unsweetened cocoa powder
- 2 cups powdered sugar
- 2 cups dry milk powder
- 1/2 teaspoon fine sea salt
- 1/4 cup mini chocolate chips (optional)
- 1 teaspoon vanilla bean powder (or 2 teaspoons vanilla extract mixed into milk when serving)
- 1 quart-sized mason jar (wide-mouth)
- Twine or ribbon for decoration
- Gift tag with instructions
Instructions
- Prepare your workspace: Clear your counter and gather all ingredients. Sift the cocoa powder and powdered sugar separately into bowls.
- Layer the dry ingredients: Using your funnel, add the cocoa powder first (about 1/2 cup per jar). Tap the jar gently on the counter to settle it. Then add the powdered sugar (1 cup), tapping again. Follow with the milk powder (1 cup), tapping once more. Finally, add the salt and mini chocolate chips on top.
- Create the signature look: For a beautiful layered effect, press down each layer lightly with the bottom of a clean glass before adding the next.
- Seal and decorate: Screw the lid on tightly. Cut a square of fabric and place it over the lid before screwing on the band. Tie with twine or ribbon and attach a gift tag.
- Write the instructions: On the tag, write: ‘Add 1/3 cup mix to 8 oz hot milk. Stir well. Top with marshmallows if desired. Makes about 12 servings.’
- Store properly: Keep jars in a cool, dry place for up to 6 months. Do not refrigerate.
Notes
Sift cocoa powder and powdered sugar before layering to prevent lumps. For best results, use whole milk or oat milk when preparing the cocoa. Flavors improve after about a week. Do not add marshmallows to the jar as they will become stale.
Nutrition
- Serving Size: 1/3 cup mix prepared
- Calories: 280
- Sugar: 38
- Sodium: 200
- Fat: 8
- Saturated Fat: 5
- Carbohydrates: 45
- Fiber: 3
- Protein: 10
Keywords: hot cocoa mix, DIY gift, jar gift, homemade hot chocolate, easy holiday gift, cocoa mix in a jar



