Love this? Save it for later!
Share the inspiration with your friends
I was standing in the frozen foods aisle of our local grocery store last Tuesday when the smell hit me. Not from the freezer section, obviously, but from somewhere deep in my memory bank. Roasted garlic. That sweet, mellow, almost nutty aroma that somehow smells like comfort and Sunday afternoons and my Aunt Margie’s tiny yellow kitchen all at once. And just like that, I was seven years old again, standing on a step stool at her counter, watching her smash roasted garlic cloves into softened butter with the back of a fork.
Aunt Margie wasn’t really my aunt, you know. She was our next-door neighbor, a retired school teacher with arthritic hands and the patience of a saint when it came to cooking with a kid who asked too many questions. Every summer, she’d call me over when she was making her famous corn casserole for the church potluck. I’d watch her roast whole heads of garlic, then squeeze the softened cloves into a bowl while she shucked corn and told me stories about growing up on a farm in Iowa. She passed away about five years ago, and honestly, I haven’t been to a church potluck since.
But that moment in the grocery store? It sparked something. I grabbed a bag of frozen corn, a head of garlic, and pretty much sprinted home to try and recreate that feeling. Not just the dish, but the warmth of standing in her kitchen, the way she’d let me lick the spoon, the smell of roasted garlic mixing with sweet corn in the summer heat. This Wholesome Cheesy Roasted Garlic Corn Casserole is my attempt to bottle that memory. It took me four tries to get it right, and I may have cried a little when I finally nailed the flavor. Maybe you’ve been there, chasing a taste from your past that you can almost but not quite hold onto. This one’s for all of us trying to bring a little warmth back into our kitchens.
Why You’ll Love This Recipe
Let me tell you why this particular casserole is different from every other corn casserole you’ve tried. I’ve tested this recipe at least a dozen times, tweaking the ratios, swapping ingredients, and serving it to everyone from my picky nephew to my nutritionist friend. The feedback has been overwhelmingly positive, and here’s what makes it stand out.
- Quick & Easy: Comes together in about 45 minutes, with only 10 minutes of active prep. Perfect for those weeknights when you want something that feels special but don’t have the energy for a complicated recipe.
- Simple Ingredients: No hunting down obscure ingredients at specialty stores. You probably have most of this stuff in your kitchen right now.
- Perfect for Gatherings: Great for potlucks, holiday dinners, Sunday suppers, or just a cozy night in. It travels well and stays warm for a good while.
- Crowd-Pleaser: Kids love the cheesy, creamy texture, and adults appreciate the sophisticated roasted garlic flavor. It’s the dish that disappears first every single time.
- Unbelievably Delicious: The combination of sweet corn, mellow roasted garlic, and melty cheese is pure comfort food magic. It’s the kind of dish that makes you close your eyes after the first bite.
What makes this recipe different from the rest? It’s the roasted garlic. Most corn casseroles rely on canned creamed corn and a ton of sugar for sweetness. This one uses roasted garlic to add depth and a subtle savory sweetness that balances the corn perfectly. Plus, I’ve swapped out some of the heavy cream for Greek yogurt, which adds protein and a lovely tang without making it taste like a health food. It’s comfort food reimagined — healthier, faster, but with the same soul-soothing satisfaction. Perfect for impressing guests without stress, or turning a simple meal into something memorable.
What Ingredients You Will Need
This recipe uses simple, wholesome ingredients to deliver bold flavor and satisfying texture without the fuss. Most of these are pantry staples, and I’ve included some substitution notes to make it work for different dietary needs.
- 2 heads of garlic — Look for firm, plump heads with tight skins. The roasting process transforms sharp raw garlic into something sweet and buttery. I prefer using organic garlic when I can find it; the flavor is a bit more mellow.
- 1 tablespoon olive oil — For roasting the garlic. Use a good quality extra virgin olive oil for the best flavor.
- 4 cups frozen corn kernels (about 20 ounces) — Thawed and drained. Frozen corn works beautifully here and is actually sweeter than fresh corn that’s out of season. If you have fresh corn on the cob in summer, by all means use that (about 6 ears, kernels cut off).
- 1 cup shredded cheddar cheese — I recommend sharp cheddar for the most flavor. Pre-shredded cheese works in a pinch, but freshly shredded melts much smoother. I like Tillamook or Cabot brands.
- 1/2 cup shredded mozzarella cheese — Adds that lovely stretchy texture. Low-moisture mozzarella is best here.
- 1/2 cup plain Greek yogurt (full-fat or 2%) — This replaces some of the heavy cream and adds protein and tang. Sour cream also works great if that’s what you have on hand.
- 1/4 cup unsalted butter — Melted. Adds richness and helps bind everything together.
- 2 large eggs — Room temperature is best. They help the casserole set up properly.
- 1/4 cup all-purpose flour — For structure. You can use a gluten-free all-purpose blend if needed.
- 1 tablespoon granulated sugar — Just a touch to enhance the natural sweetness of the corn. You can omit this if you prefer a less sweet casserole.
- 1 teaspoon salt — I use fine sea salt. Adjust to taste.
- 1/2 teaspoon black pepper — Freshly ground is always better.
- 1/4 teaspoon smoked paprika — Optional, but it adds a lovely subtle smokiness that pairs beautifully with the roasted garlic.
- 2 tablespoons chopped fresh chives or parsley — For garnish. Adds a pop of color and freshness.
Substitution Notes: For a dairy-free version, use dairy-free shredded cheese and a dairy-free yogurt alternative. For a gluten-free option, swap the all-purpose flour with a 1:1 gluten-free baking blend. You can also add a can of diced green chiles or some cooked bacon bits for extra flavor.
Equipment Needed
You don’t need a ton of fancy equipment for this recipe, which is part of why I love it. Here’s what you’ll need:
- 8×8-inch baking dish (or similar 2-quart casserole dish) — Glass or ceramic works best. I’ve used my trusty Pyrex dish for years and it’s never let me down.
- Small baking sheet or piece of aluminum foil — For roasting the garlic. A small rimmed baking sheet is ideal, but foil works perfectly fine too.
- Large mixing bowl — For combining all the ingredients. A standard 4-quart bowl is plenty big.
- Whisk — For beating the eggs and mixing everything together smoothly.
- Chef’s knife and cutting board — For chopping the chives or parsley.
- Measuring cups and spoons — Standard set will do the job.
- Small knife or garlic roaster — To cut the tops off the garlic heads. A garlic roaster is a nice tool to have, but not necessary.
Budget-Friendly Tip: If you don’t have an 8×8 dish, you can use a 9-inch pie plate or even a cast iron skillet. The baking time might vary slightly, so just keep an eye on it. I once made this in a disposable aluminum pan when I was taking it to a friend’s house, and it worked perfectly.
Preparation Method
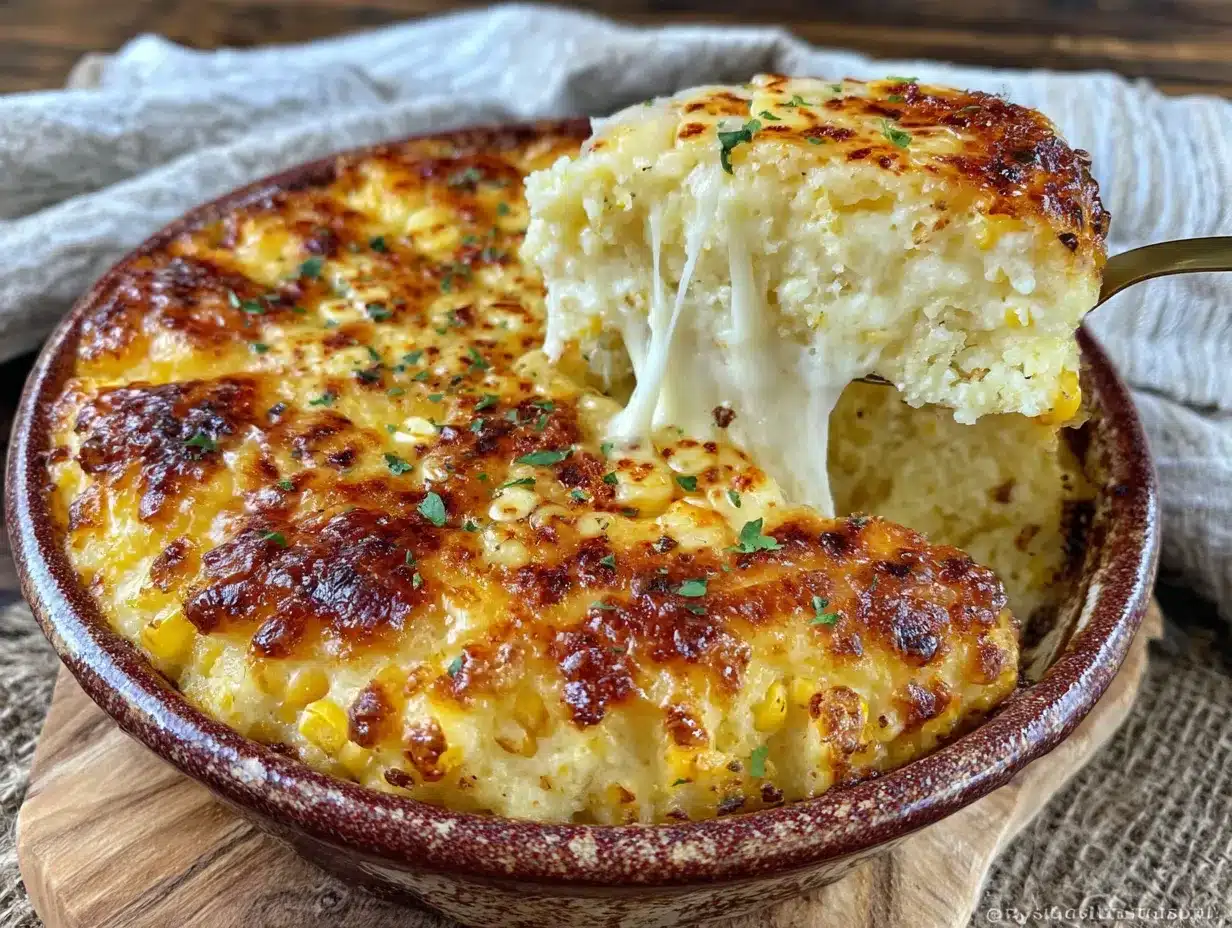
Alright, let’s get cooking! This recipe comes together in stages, but don’t let that intimidate you. The active work is minimal, and the oven does most of the heavy lifting.
- Preheat your oven to 400°F (200°C). This is the temperature for roasting the garlic. You’ll lower it later for baking the casserole.
- Roast the garlic. Take your two heads of garlic and slice off the top quarter-inch to expose the cloves. Place each head on a square of aluminum foil, drizzle with the olive oil, and sprinkle with a tiny pinch of salt. Wrap the foil tightly around each head and place them on a small baking sheet. Roast for 35-40 minutes, until the cloves are soft and golden. You’ll know they’re done when you can easily pierce them with a knife. Let them cool for about 10 minutes — they’ll be hot!
- While the garlic roasts, prep your other ingredients. Thaw the frozen corn if you haven’t already. I just run it under warm water in a colander for a minute, then shake off the excess water. Grate your cheeses if you’re using blocks. Crack the eggs into a small bowl and give them a quick whisk.
- Reduce the oven temperature to 350°F (175°C). Once the garlic is done, lower the heat. Grease your 8×8 baking dish with a little butter or non-stick spray.
- Squeeze the roasted garlic. Once the garlic is cool enough to handle, squeeze each clove from the bottom. The softened garlic should slide right out. Mash it with a fork until it forms a smooth paste. It should look like soft butter — that’s exactly what you want.
- Mix the wet ingredients. In your large mixing bowl, combine the mashed roasted garlic, melted butter, Greek yogurt, and whisked eggs. Whisk until everything is smooth and well combined. The mixture should be pale yellow and smell incredible already.
- Add the dry ingredients. Sprinkle in the flour, sugar, salt, pepper, and smoked paprika (if using). Whisk again until no lumps remain. The batter will be fairly thin at this point, and that’s okay.
- Fold in the corn and cheese. Add the thawed corn, 3/4 cup of the cheddar cheese, and all of the mozzarella cheese. Stir with a spatula until everything is evenly distributed. The mixture will look thick and chunky. This is where I always sneak a taste of the raw mixture — it’s already delicious.
- Pour into the prepared dish. Spread the mixture evenly in your greased baking dish. Sprinkle the remaining 1/4 cup of cheddar cheese on top. This will create a beautiful golden crust.
- Bake for 30-35 minutes. The casserole is done when the edges are golden brown and the center is set but still slightly jiggly. A toothpick inserted in the center should come out clean. The top should be bubbly and lightly browned. Let it cool for at least 10 minutes before serving — this helps it set up properly.
Sensory Cue: When it’s done, your kitchen will smell like roasted garlic and melted cheese and happiness. The top should be golden with darker spots around the edges. Give it a gentle shake — the center should have just a slight wobble, like a firm custard.
Cooking Tips & Techniques
I’ve made this casserole enough times to learn a few things the hard way. Here are my best tips to ensure success every time.
Don’t skip roasting the garlic. I know it adds an extra step, but this is non-negotiable. Raw garlic will be harsh and overpowering. Roasted garlic is sweet, mellow, and completely transforms the dish. Trust me on this one. I once tried using jarred roasted garlic in a pinch, and it just wasn’t the same. The flavor was flat and almost metallic. Fresh roasted is worth the 40 minutes.
Let the casserole rest. I know it’s hard to wait when your kitchen smells this good, but letting it sit for 10-15 minutes after baking is crucial. It allows the custard to set, making it easier to slice and serve. If you cut into it right away, you’ll end up with a soupy mess. I learned this lesson when I served it to guests after only 5 minutes of resting. It still tasted great, but it looked like a casserole that had been through a hurricane.
Drain your corn well. If you’re using frozen corn, make sure to thaw it and drain off any excess liquid. Too much water will make your casserole watery and prevent it from setting properly. I usually let it sit in a colander for about 10 minutes while the garlic roasts.
Use room temperature eggs. Cold eggs can cause the butter to seize up and create lumps in your batter. Just let them sit on the counter for 15 minutes before you start. Or, if you’re in a hurry, place them in a bowl of warm water for 5 minutes.
Watch the bake time. Every oven is different. Start checking your casserole at the 25-minute mark. If the top is browning too quickly, tent it loosely with foil for the last 10 minutes of baking.
Variations & Adaptations
One of the best things about this casserole is how adaptable it is. Here are some variations I’ve tried and loved.
Spicy Southwest Version: Add a can of drained diced green chiles and a chopped jalapeño (seeds removed if you want less heat). Swap the cheddar for pepper jack cheese. Top with fresh cilantro instead of chives. This version is incredible with grilled chicken or fish.
Bacon Lover’s Dream: Cook 6 strips of bacon until crispy, then crumble them. Fold half into the casserole and sprinkle the rest on top before baking. The smoky, salty flavor pairs beautifully with the sweet corn and roasted garlic. I made this for a Super Bowl party and it was gone in 10 minutes.
Herb Garden Version: Add 2 tablespoons of fresh herbs to the batter. I love a combination of thyme, rosemary, and chives. The herbs add a lovely freshness that cuts through the richness. This version is perfect for spring and summer gatherings.
Dairy-Free Adaptation: Use dairy-free shredded cheese (I like Violife or Daiya brands), dairy-free yogurt (coconut or soy based), and vegan butter. The texture will be slightly less creamy, but the flavor is still fantastic.
Gluten-Free Version: Substitute the all-purpose flour with a 1:1 gluten-free baking blend. I’ve used Bob’s Red Mill and King Arthur Measure for Measure with great results. No other adjustments needed.
Serving & Storage Suggestions
This casserole is incredibly versatile when it comes to serving. Here’s how to make the most of it.
Serving Temperature: Serve it warm, straight from the oven. It’s at its best within the first hour after baking. The texture is creamy, the cheese is melty, and the roasted garlic flavor is front and center. It’s also delicious at room temperature, making it perfect for potlucks and picnics.
What to Serve With It: This casserole is a fantastic side dish. It pairs beautifully with grilled or roasted chicken, pork chops, or even a simple green salad. For a complete meal, serve it alongside some black beans and avocado. It’s also a great addition to any holiday table — Thanksgiving, Easter, or Christmas dinner.
Storage Instructions: Leftovers can be stored in an airtight container in the refrigerator for up to 4 days. The flavors actually deepen and meld together overnight, so it might taste even better the next day. To reheat, place individual portions in the microwave for 1-2 minutes, or reheat the entire dish in a 350°F oven for about 15 minutes, covered with foil.
Freezer Instructions: This casserole freezes beautifully. Bake it as directed, let it cool completely, then wrap it tightly in plastic wrap and foil. Freeze for up to 3 months. To serve, thaw overnight in the refrigerator, then reheat in a 350°F oven until warmed through. I like to make a double batch and freeze one for busy weeknights.
Nutritional Information & Benefits
Here’s the nutritional breakdown for one serving (based on 8 servings). Please note these are estimates and will vary based on specific ingredients used.
Per Serving: Approximately 280 calories, 14g fat, 8g saturated fat, 95mg cholesterol, 480mg sodium, 30g carbohydrates, 3g fiber, 8g sugar, 12g protein.
Health Benefits: This casserole actually packs some nutritional punches. Corn is a good source of fiber, vitamin C, and antioxidants called carotenoids. Garlic, especially roasted, contains allicin, which has been shown to support immune function and heart health. The Greek yogurt adds protein and probiotics, while the eggs provide high-quality protein and essential vitamins. Plus, using yogurt instead of heavy cream reduces the saturated fat content without sacrificing creaminess.
Dietary Considerations: This recipe can be made gluten-free and dairy-free with simple substitutions. It’s naturally vegetarian. If you’re watching your sodium, you can reduce the salt or use a low-sodium cheese.
Conclusion
This Wholesome Cheesy Roasted Garlic Corn Casserole is more than just a side dish. It’s comfort in a baking dish, the kind of food that makes you slow down and actually taste what you’re eating. It’s the recipe I turn to when I’m missing Aunt Margie, when I need something warm and familiar, or when I just want to make a weeknight dinner feel a little more special. The roasted garlic does something magical here, turning a simple corn casserole into something you’ll crave.
I’d love for you to try this recipe and make it your own. Maybe you’ll add bacon, or go the spicy route, or keep it exactly as written. Whatever you choose, I hope it brings a little warmth to your kitchen and your table. If you make it, drop a comment below and let me know how it turned out. Did you add your own twist? Did it remind you of someone special? I’d honestly love to hear about it.
Happy cooking, friends. Here’s to chasing flavors that feel like home.
Frequently Asked Questions
Can I use fresh corn instead of frozen?
Absolutely! Fresh corn on the cob works beautifully. You’ll need about 6 ears of corn. Cut the kernels off and use them exactly as you would frozen corn. In summer, fresh corn is even sweeter and adds a wonderful texture.
Can I make this casserole ahead of time?
Yes, you can assemble the casserole up to 24 hours in advance. Just prepare the mixture, pour it into the greased dish, cover it, and refrigerate. When you’re ready to bake, let it sit at room temperature for 20 minutes, then bake as directed. You may need to add 5-10 minutes to the baking time since it’s starting from cold.
How do I know when the roasted garlic is done?
The garlic is ready when the cloves are soft and golden, and you can easily pierce them with a small knife. They should feel like softened butter when you squeeze them. If they’re still firm, give them another 5-10 minutes in the oven.
Can I use low-fat or non-fat Greek yogurt?
You can, but I recommend using at least 2% Greek yogurt for the best texture. Non-fat yogurt can make the casserole slightly less creamy and may separate a bit during baking. Full-fat Greek yogurt gives the richest, most luxurious result.
My casserole came out watery. What went wrong?
This usually happens for one of two reasons: either the corn wasn’t drained well enough, or the casserole wasn’t baked long enough. Make sure to thaw and drain your frozen corn thoroughly. Also, be sure to bake until the center is set and a toothpick comes out clean. Letting it rest for 10-15 minutes after baking also helps it firm up.
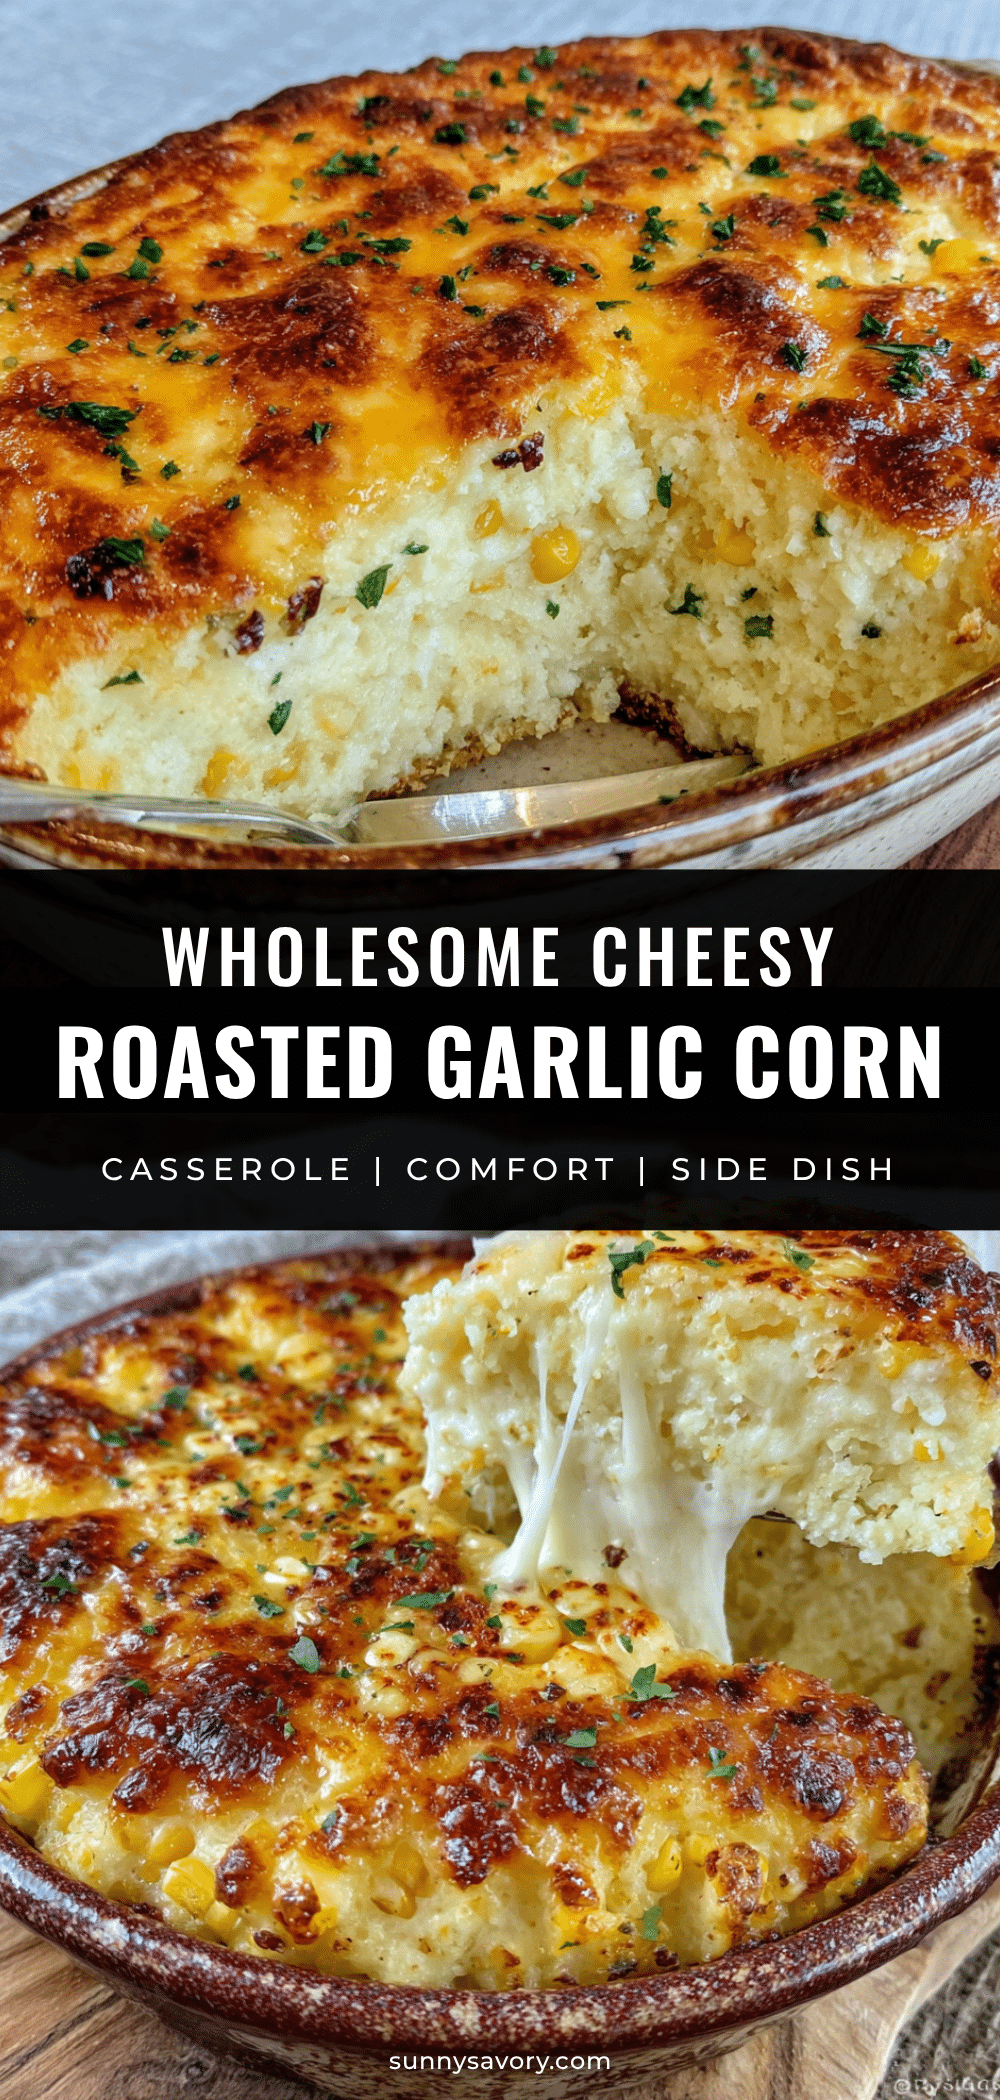
Pin This Recipe!
Wholesome Cheesy Roasted Garlic Corn Casserole
A comforting corn casserole with sweet roasted garlic, melty cheese, and a creamy texture. Perfect for potlucks, holiday dinners, or a cozy weeknight meal.
- Prep Time: 10 minutes
- Cook Time: 35 minutes
- Total Time: 45 minutes
- Yield: 8 servings 1x
- Category: Side Dish
- Cuisine: American
Ingredients
- 2 heads of garlic
- 1 tablespoon olive oil
- 4 cups frozen corn kernels (about 20 ounces), thawed and drained
- 1 cup shredded cheddar cheese
- 1/2 cup shredded mozzarella cheese
- 1/2 cup plain Greek yogurt (full-fat or 2%)
- 1/4 cup unsalted butter, melted
- 2 large eggs, room temperature
- 1/4 cup all-purpose flour
- 1 tablespoon granulated sugar
- 1 teaspoon salt
- 1/2 teaspoon black pepper
- 1/4 teaspoon smoked paprika (optional)
- 2 tablespoons chopped fresh chives or parsley (for garnish)
Instructions
- Preheat your oven to 400°F (200°C).
- Roast the garlic: Slice off the top quarter-inch of each garlic head to expose the cloves. Place each head on a square of aluminum foil, drizzle with olive oil, and sprinkle with a tiny pinch of salt. Wrap the foil tightly around each head and place on a small baking sheet. Roast for 35-40 minutes, until the cloves are soft and golden. Let cool for about 10 minutes.
- While the garlic roasts, prep other ingredients: Thaw and drain the frozen corn. Grate cheeses if using blocks. Crack eggs into a small bowl and whisk.
- Reduce oven temperature to 350°F (175°C). Grease an 8×8-inch baking dish with butter or non-stick spray.
- Squeeze the roasted garlic: Once cool enough to handle, squeeze each clove from the bottom to release the softened garlic. Mash with a fork until smooth.
- Mix wet ingredients: In a large mixing bowl, combine mashed roasted garlic, melted butter, Greek yogurt, and whisked eggs. Whisk until smooth.
- Add dry ingredients: Sprinkle in flour, sugar, salt, pepper, and smoked paprika (if using). Whisk until no lumps remain.
- Fold in corn and cheese: Add thawed corn, 3/4 cup cheddar cheese, and all of the mozzarella cheese. Stir with a spatula until evenly distributed.
- Pour into prepared dish: Spread mixture evenly in the greased dish. Sprinkle remaining 1/4 cup cheddar cheese on top.
- Bake for 30-35 minutes, until edges are golden brown and center is set but slightly jiggly. A toothpick inserted in the center should come out clean. Let cool for at least 10 minutes before serving.
Notes
Don’t skip roasting the garlic; it’s essential for the sweet, mellow flavor. Let the casserole rest for 10-15 minutes after baking to set properly. Drain frozen corn well to avoid a watery casserole. Use room temperature eggs to prevent lumps. Check for doneness at 25 minutes; if top browns too quickly, tent with foil.
Nutrition
- Serving Size: 1 serving
- Calories: 280
- Sugar: 8
- Sodium: 480
- Fat: 14
- Saturated Fat: 8
- Carbohydrates: 30
- Fiber: 3
- Protein: 12
Keywords: corn casserole, roasted garlic, cheesy casserole, side dish, comfort food, potluck, holiday



