Love this? Save it for later!
Share the inspiration with your friends
My friend Jen asked why I couldn’t just dump everything into one bowl and call it a day. I was mid-lecture—something about the proper order of wet and dry ingredients, the importance of not overmixing, the sacred ritual of banana bread. I had my whole spiel ready. I started to explain why that wouldn’t work—then stopped. Honestly, I was tired. It was a Tuesday. The bananas on my counter were practically begging for mercy. So I shrugged, handed her the bowl, and said, “Fine. You do it.”
She mashed the bananas with a fork—chunky, not smooth. Tossed in the eggs without separating anything. Dumped the flour right on top of the wet stuff. I winced. I actually turned away because I couldn’t watch. But you know what? Twenty minutes later, that batter looked exactly like my usual batch. And the loaf that came out of the oven? Better. More tender. Less fussy. I had to sit with that for a minute—the fact that my carefully curated technique was, apparently, optional. That moment changed how I bake. Now this one-bowl banana bread with walnuts is the only version I make. Especially when guests are coming over and I need something that looks like I tried way harder than I actually did.
Why You’ll Love This Recipe
Let me be real with you—I’ve tested a lot of banana bread recipes. Some were too dry. Some were too dense. Some required three bowls and a degree in pastry arts. This one? It’s the Goldilocks of banana bread. And it all started because my friend wouldn’t listen to me.
- One Bowl, No Drama: You don’t need a stand mixer, a sifter, or a separate bowl for dry ingredients. Everything goes into one bowl. You can even use a fork. I mean it.
- Perfect for Hosting: This is the bread you make when friends are coming over and you want the kitchen to smell like you’ve been baking all day—when really it took you ten minutes of active work.
- Walnuts Add Crunch: The texture contrast between the soft, moist crumb and the toasted walnuts is what makes people go back for a second slice. Every single time.
- Always Moist: The ratio of banana to fat to flour is dialed in. Not gummy. Not dry. Just that perfect, melt-in-your-mouth tenderness.
- Guest-Approved: I’ve brought this to potlucks, brunches, and casual dinners. It disappears. People ask for the recipe. Then they’re surprised when I tell them it’s one bowl.
This isn’t just another banana bread recipe. It’s the one that makes you look like a hero with almost zero effort. The walnuts aren’t just tossed in—they’re toasted first, which brings out this deep, buttery flavor that regular banana bread just doesn’t have. And because it’s all mixed in one bowl, there’s less cleanup, which means more time actually enjoying your company.
What Ingredients You Will Need
This recipe uses simple, pantry-friendly ingredients that come together to create something genuinely impressive. Most of these are things you probably already have—which is exactly the point when you’re hosting and need a reliable, crowd-pleasing dessert.
- Overripe Bananas (3 large, mashed): The darker the better. Seriously—those spotty, almost-black bananas are what give this bread its intense sweetness and moisture. I’ve frozen bananas that got too ripe and thawed them later with great results.
- Unsalted Butter (1/2 cup, melted): Melted butter gives a richer flavor than oil, but you can use neutral oil if that’s what you have. I prefer unsalted so I can control the salt level myself.
- Granulated Sugar (3/4 cup): Just enough sweetness without being cloying. You can reduce it to 1/2 cup if your bananas are very ripe and sweet.
- Large Eggs (2, at room temperature): Room temperature eggs blend more smoothly into the batter. If you forgot to take them out, place them in a bowl of warm water for 5 minutes.
- Vanilla Extract (1 teaspoon): Pure vanilla extract makes a difference here. Imitation works in a pinch, but pure adds a warmth that really complements the banana.
- All-Purpose Flour (1 1/2 cups): Spoon and level your flour—don’t scoop directly from the bag, or you’ll end up with too much and dry bread.
- Baking Soda (1 teaspoon): This is your leavening agent. Make sure it’s fresh—test it by dropping a little into vinegar; it should bubble vigorously.
- Salt (1/2 teaspoon): Balances the sweetness and enhances the banana flavor. Don’t skip it.
- Ground Cinnamon (1 teaspoon): Optional, but I never skip it. Cinnamon and banana are a classic pairing, and it adds a warmth that makes the bread feel cozier.
- Walnuts (1 cup, chopped and toasted): Toast them first—spread on a baking sheet at 350°F for 5-7 minutes until fragrant. It makes a huge difference in flavor.
Equipment Needed
The beauty of this recipe is how little equipment it requires. You don’t need a fancy stand mixer or a food processor. Here’s what you’ll need:
- One Large Mixing Bowl: Any bowl will do, but a wide, shallow bowl makes mashing and mixing easier.
- A Fork or Potato Masher: For mashing the bananas. A fork works perfectly, but a potato masher speeds things up.
- A 9×5-Inch Loaf Pan: This is the standard size. If you use an 8×4 pan, your bread will be taller and可能需要 a few extra minutes of baking time.
- Parchment Paper (optional but helpful): Lining the pan makes lifting the bread out effortless. I do it every time now after one too many stuck loaves.
- Cooling Rack: Crucial for even cooling. If you let the bread cool in the pan, the bottom can get soggy.
- Measuring Cups and Spoons: For accuracy. I have a set I trust, and I always level off dry ingredients with a knife.
If you don’t have a loaf pan, you can bake this in an 8×8 square pan and reduce the baking time to about 30-35 minutes. I’ve done it in a pinch, and it works beautifully—just keep an eye on it.
Preparation Method
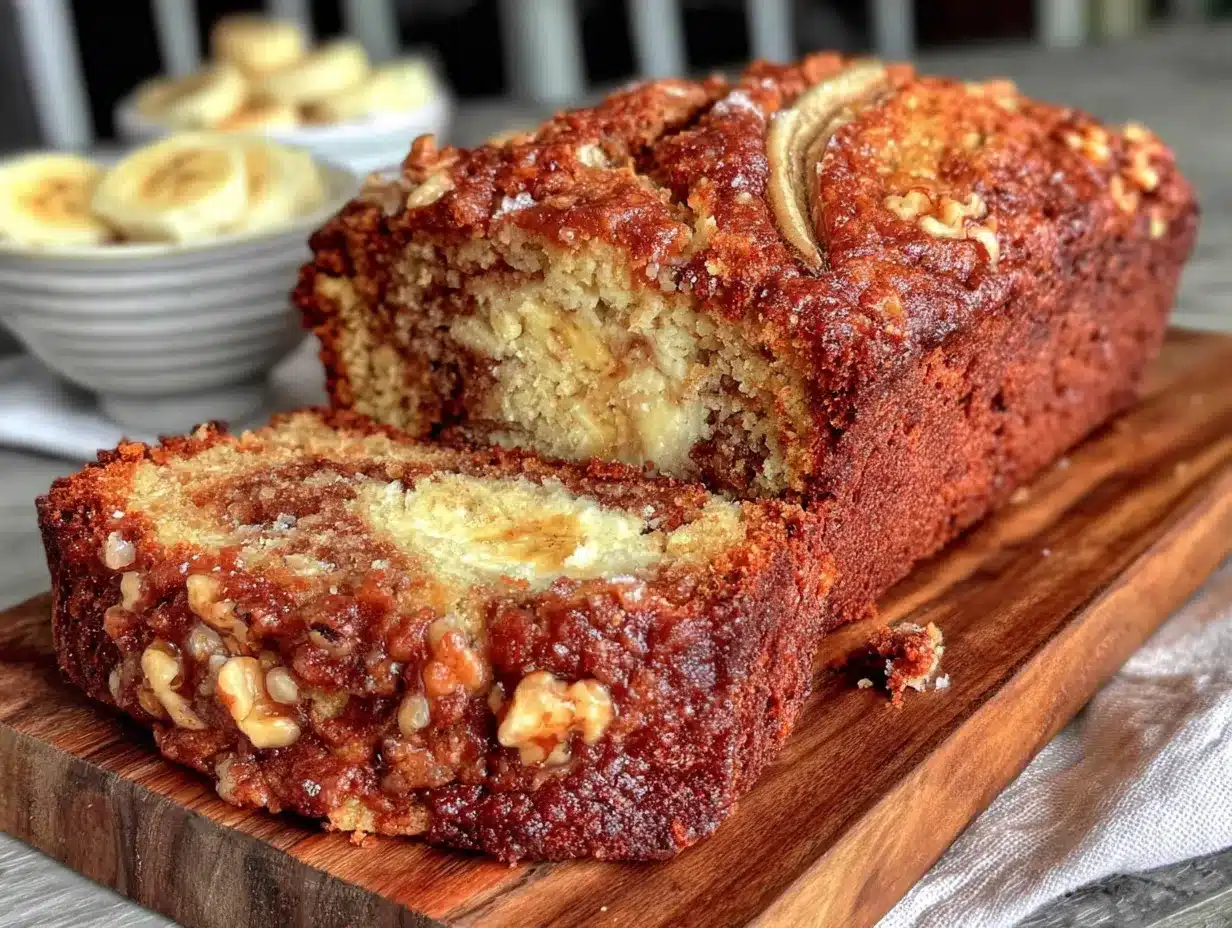
This is the part where you get to relax. I promise—if you can mash a banana, you can make this bread. Let’s walk through it step by step.
- Preheat Your Oven to 350°F (175°C). Do this first so the oven is hot and ready. Line your loaf pan with parchment paper, leaving some overhang on the long sides for easy lifting. Or just grease it well with butter or non-stick spray.
- Toast the Walnuts. Spread the chopped walnuts on a baking sheet in a single layer. Toast for 5-7 minutes, until they smell nutty and look slightly darker. Watch them—they burn fast. Set aside to cool while you prepare the batter.
- Mash the Bananas. In your large mixing bowl, mash the bananas with a fork or potato masher until mostly smooth with a few small chunks. You want some texture—don’t turn it into baby food. Aim for a consistency where you can still see small banana pieces.
- Add the Wet Ingredients. Add the melted butter, granulated sugar, eggs, and vanilla extract to the mashed bananas. Stir with a wooden spoon or spatula until everything is combined. Don’t worry if it looks a little separated—that’s normal. The mixture should be smooth and glossy.
- Add the Dry Ingredients. Sprinkle the flour, baking soda, salt, and cinnamon over the wet mixture. Stir gently until just combined. A few streaks of flour are okay—overmixing will make the bread tough. I usually stop when I can’t see any more dry flour.
- Fold in the Walnuts. Add the toasted walnuts and fold them in with a few gentle strokes. Make sure they’re evenly distributed. Reserve a handful to sprinkle on top if you want a prettier presentation.
- Pour the Batter into the Pan. Scrape the batter into your prepared loaf pan and spread it evenly. If you reserved some walnuts, sprinkle them on top now and press them in gently.
- Bake for 55-65 Minutes. Place the pan in the center of the oven. Bake until a toothpick inserted into the center comes out clean or with just a few moist crumbs. The top should be golden brown and cracked. Every oven is different—mine takes exactly 58 minutes, but start checking at 50 minutes.
- Cool in the Pan for 10 Minutes. Let the bread rest in the pan on a cooling rack. This helps it set and makes it easier to remove without falling apart.
- Transfer to a Cooling Rack. Lift the bread out using the parchment paper and place it directly on the rack. Let it cool completely before slicing—about 1 hour. I know it’s hard to wait, but warm banana bread tends to crumble when sliced.
Cooking Tips & Techniques
After making this recipe more times than I can count, I’ve picked up a few tricks that make a real difference. Here’s what I’ve learned the hard way so you don’t have to.
Don’t Overmix the Batter. This is the number one mistake people make. Once you add the flour, mix only until it disappears. Overmixing develops gluten, which makes the bread tough and dense. You want it tender, not chewy. I’ve ruined a batch by getting distracted and mixing too enthusiastically—it came out like a brick.
Use a Kitchen Scale for Flour. If you have one, weigh your flour. A cup of all-purpose flour should weigh about 120 grams. Scooping directly from the bag can pack in up to 150 grams, which will dry out your bread. I learned this after a string of disappointing loaves that were more crumb than bread.
Toast Your Walnuts. I cannot stress this enough. Raw walnuts are fine, but toasted walnuts are transformative. The heat releases their natural oils and deepens their flavor. It takes five minutes and makes your banana bread taste like it came from a fancy bakery.
Check for Doneness with a Thermometer. If you have an instant-read thermometer, the internal temperature of the bread should be around 200-205°F (93-96°C) when it’s done. This is more reliable than the toothpick test, especially if you’re new to baking.
Let It Cool Completely. I know the smell is intoxicating. I know you want a slice immediately. But cutting into warm banana bread is a recipe for a crumbly mess. The starches need time to set. Trust me—I’ve burned my tongue and ended up with a plate of crumbs more times than I’d like to admit.
Variations & Adaptations
One of the best things about this recipe is how easily it adapts. Here are a few variations I’ve tried and loved.
Chocolate Chip Banana Bread: Swap the walnuts for 1 cup of semi-sweet chocolate chips. The combination of banana and chocolate is classic for a reason. I’ve made this for kids’ birthday parties, and it’s always a hit.
Gluten-Free Version: Use a 1:1 gluten-free flour blend that contains xanthan gum. I’ve tested this with Bob’s Red Mill 1-to-1 Baking Flour, and it works perfectly. The texture is slightly more tender, but nobody will notice.
Vegan Adaptation: Replace the butter with melted coconut oil or vegan butter. Use two flax eggs (2 tablespoons ground flaxseed mixed with 5 tablespoons water, let sit for 5 minutes). The bread will be slightly denser but still delicious. I made this for a vegan friend’s brunch, and she asked for the recipe twice.
Add a Streusel Topping: Mix together 1/4 cup flour, 1/4 cup brown sugar, 2 tablespoons cold butter, and 1/2 teaspoon cinnamon. Sprinkle over the batter before baking. It adds a crunchy, buttery crust that makes the bread feel extra special.
Spiced Banana Bread: Add 1/2 teaspoon nutmeg and 1/4 teaspoon cloves along with the cinnamon. This gives the bread a warm, holiday-like flavor. I make this version in the fall, and it pairs beautifully with a cup of spiced tea.
Serving & Storage Suggestions
This banana bread is incredibly versatile when it comes to serving. Here’s how I like to present it and keep it fresh.
Serving Temperature: Serve at room temperature or slightly warm. If you want to warm it up, pop slices in a 300°F oven for 5 minutes or microwave for 10-15 seconds. A warm slice with a pat of butter melting on top is pure comfort.
Presentation Tips for Guests: Slice the bread evenly and arrange on a wooden board or cake stand. Dust with powdered sugar for a pretty finish. Serve with a small bowl of honey butter or mascarpone on the side. It looks intentional and elegant, even though it took almost no effort.
What to Serve Alongside: This bread is perfect on its own, but it also pairs beautifully with fresh fruit, a dollop of Greek yogurt, or a drizzle of caramel sauce. For brunch, serve it alongside scrambled eggs and fresh orange juice.
Storage Instructions: Store leftover banana bread wrapped tightly in plastic wrap or in an airtight container at room temperature for up to 3 days. The flavor actually improves after a day—the banana flavor becomes more pronounced.
Freezing Instructions: This bread freezes beautifully. Wrap the cooled loaf tightly in plastic wrap, then in aluminum foil. Freeze for up to 3 months. To thaw, leave it at room temperature for a few hours or overnight. You can also freeze individual slices for quick breakfasts or snacks.
Reheating from Frozen: Toast frozen slices directly from the freezer in a toaster or toaster oven. It takes about 3-4 minutes and gives the edges a nice crispness while keeping the inside soft.
Nutritional Information & Benefits
While banana bread is certainly a treat, it does offer some nutritional benefits, especially when made with wholesome ingredients.
Estimated Nutritional Values (per slice, based on 10 slices):
- Calories: 280
- Fat: 14g
- Carbohydrates: 36g
- Fiber: 2g
- Sugar: 18g
- Protein: 5g
Health Benefits: Bananas are rich in potassium, vitamin B6, and vitamin C. They also contain resistant starch, which can support digestive health. Walnuts are an excellent source of omega-3 fatty acids, which are beneficial for heart and brain health.
Dietary Considerations: This recipe is vegetarian. For a lower-sugar option, reduce the sugar to 1/2 cup and use very ripe bananas. For a dairy-free version, use melted coconut oil instead of butter. As mentioned, a gluten-free version works well with a quality flour blend.
Potential Allergens: This recipe contains gluten, dairy, eggs, and tree nuts. Adjust accordingly for your guests’ needs.
I personally love that this bread feels indulgent but isn’t loaded with processed ingredients. It’s the kind of treat you can feel good about serving to your family and friends.
Conclusion
This one-bowl banana bread with walnuts has become my go-to for a reason. It’s forgiving, it’s delicious, and it makes me look like I have my life together when I really just mashed some bananas and called it a day. The walnuts add that little something extra that makes people pause and say, “Wait, what’s in this?” And the fact that it all comes together in one bowl means less time cleaning and more time actually enjoying your guests.
I hope you give this recipe a try—and I hope you make it your own. Maybe you’ll swap the walnuts for pecans, or add a handful of chocolate chips, or forget to toast the walnuts and it’ll still be amazing. That’s the beauty of banana bread. It’s hard to mess up, and even when you do, it’s usually still pretty good.
If you make this, I’d love to hear about it. Drop a comment below and let me know how it turned out. Did you make any substitutions? Did your guests fight over the last slice? Share your stories—I read every single one. And if you’re looking for more easy, crowd-pleasing recipes, check out my classic banana bread or chocolate chip banana muffins for another one-bowl wonder.
Happy baking, friends. Your kitchen is about to smell incredible.
Frequently Asked Questions
Can I use frozen bananas for this recipe?
Absolutely. Thaw them first and drain off any excess liquid. The texture will be softer, but they work perfectly. In fact, frozen bananas often have an even more intense banana flavor.
Why did my banana bread turn out dry?
This usually happens from overmixing the batter or using too much flour. Make sure to spoon and level your flour, and stop mixing as soon as the dry ingredients are incorporated. Also, check your oven temperature—an oven that runs hot can dry out the bread.
Can I make this without walnuts?
Of course. You can leave them out entirely for a plain banana bread, or substitute with pecans, chocolate chips, dried fruit, or even shredded coconut. The recipe is very forgiving.
How do I know when the banana bread is fully baked?
Insert a toothpick into the center of the loaf. If it comes out clean or with just a few moist crumbs, it’s done. The internal temperature should be around 200-205°F if you’re using a thermometer. The top should be golden brown and cracked.
Can I double this recipe?
Yes, this recipe doubles beautifully. Use a larger bowl and bake in two loaf pans. You may need to add a few minutes to the baking time. I’ve made a double batch for holiday gatherings, and it’s always a hit.
Pin This Recipe!
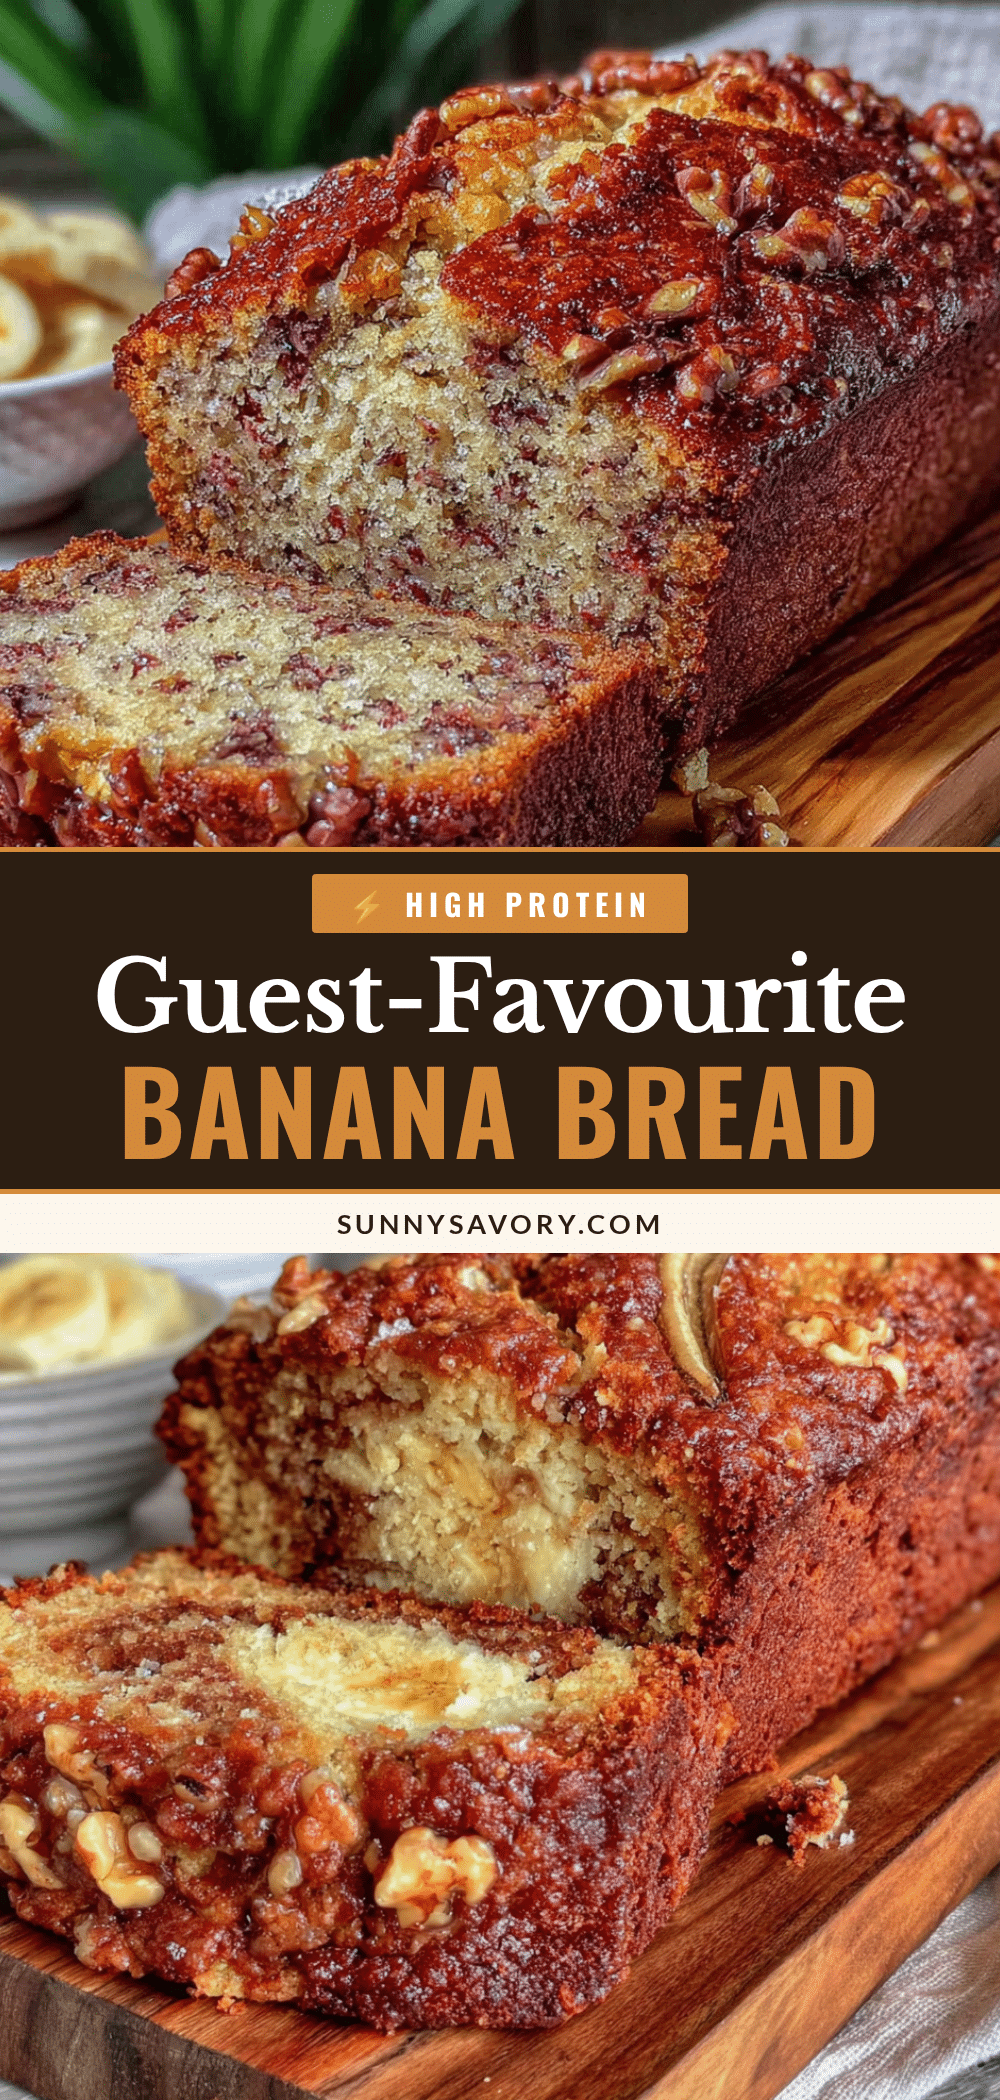
Best One-Bowl Banana Bread with Walnuts Recipe
This one-bowl banana bread with walnuts is incredibly moist, tender, and packed with flavor. Toasted walnuts add a delightful crunch, and the simple method makes it perfect for hosting or a quick, impressive treat.
- Prep Time: 10 minutes
- Cook Time: 55-65 minutes
- Total Time: 1 hour 15 minutes
- Yield: 10 servings 1x
- Category: Dessert
- Cuisine: American
Ingredients
- 3 large overripe bananas, mashed
- 1/2 cup unsalted butter, melted
- 3/4 cup granulated sugar
- 2 large eggs, at room temperature
- 1 teaspoon vanilla extract
- 1 1/2 cups all-purpose flour, spooned and leveled
- 1 teaspoon baking soda
- 1/2 teaspoon salt
- 1 teaspoon ground cinnamon
- 1 cup walnuts, chopped and toasted
Instructions
- Preheat your oven to 350°F (175°C). Line a 9×5-inch loaf pan with parchment paper, leaving overhang on the long sides, or grease it well.
- Toast the walnuts: Spread chopped walnuts on a baking sheet in a single layer. Toast for 5-7 minutes until fragrant. Set aside to cool.
- In a large mixing bowl, mash the bananas with a fork or potato masher until mostly smooth with a few small chunks.
- Add melted butter, granulated sugar, eggs, and vanilla extract to the mashed bananas. Stir until combined.
- Sprinkle flour, baking soda, salt, and cinnamon over the wet mixture. Stir gently until just combined; a few streaks of flour are okay.
- Fold in the toasted walnuts with a few gentle strokes. Reserve a handful for topping if desired.
- Pour the batter into the prepared loaf pan and spread evenly. Sprinkle reserved walnuts on top and press in gently.
- Bake for 55-65 minutes, or until a toothpick inserted into the center comes out clean or with a few moist crumbs. The top should be golden brown and cracked.
- Cool in the pan for 10 minutes, then transfer to a cooling rack using the parchment paper. Let cool completely before slicing, about 1 hour.
Notes
Do not overmix the batter to avoid tough bread. Use a kitchen scale for flour if possible (1 cup = 120g). Toast walnuts for best flavor. Let bread cool completely before slicing to prevent crumbling. For a prettier presentation, reserve some walnuts to sprinkle on top before baking.
Nutrition
- Serving Size: 1 slice
- Calories: 280
- Sugar: 18
- Sodium: 220
- Fat: 14
- Saturated Fat: 6
- Carbohydrates: 36
- Fiber: 2
- Protein: 5
Keywords: banana bread, one-bowl banana bread, walnut banana bread, easy banana bread, moist banana bread, homemade banana bread



