Love this? Save it for later!
Share the inspiration with your friends
It was 11:47 PM on a damp Tuesday in late October, and I had a very specific, almost aggressive craving for a bakery-style chocolate chip cookie. You know the one—thick, chewy, with those crispy, rippled edges and a center so soft it practically melts. The problem? Every recipe I found online called for bread flour, or cake flour, or a trip to the store for a specific brand of butter. I didn’t have any of that. I had all-purpose flour, two sticks of slightly too-soft butter (left out from breakfast), and a bag of semi-sweet chips that was down to its last half-cup.
I was tired. Honestly, I was also a little grumpy. But the craving was louder than my common sense, so I decided to just go for it. I figured, what’s the worst that could happen? A flat, greasy mess? I’ve had those before. I started pulling things out of the pantry, and that’s when the idea arrived: what if I used an extra egg yolk for richness and a tiny bit more brown sugar than the recipe called for? It felt reckless, but the late-night quiet made me bold. I didn’t have an audience, no one was watching, so I just did my weirdest work.
The smell of butter and vanilla filled the kitchen at midnight. I mean, it was ridiculous. I pulled the first tray out, let them cool for exactly two minutes on the pan (a hard-earned lesson from a past cookie disaster), and took a bite. The edges were perfectly crisp, the center was gooey, and they had that undeniable, almost caramelized flavor you only get from a bakery. I stood there in my pajamas, eating a cookie at midnight, and felt this ridiculous wave of satisfaction. Maybe you’ve been there—when a kitchen gamble pays off in the most delicious way. That’s the story of how this recipe came to be, and honestly, it’s the only one I’ve used since.
Why You’ll Love This Recipe
This isn’t just another chocolate chip cookie recipe. It’s the result of a late-night experiment that accidentally solved every problem I’d ever had with homemade cookies. After dozens of batches (and a few sad, flat discs), I can tell you this one is different.
- Thick and Chewy Perfection: These cookies don’t spread into thin, crispy pancakes. They bake up tall, with a soft, almost doughy center and beautifully crinkled tops.
- Simple Pantry Ingredients: No need for bread flour or weird specialty items. You probably have everything you need right now. I used all-purpose flour and standard butter.
- Perfect for a Cozy Night In: This is the cookie you make when the weather is cold, or you’ve had a rough day, or you just need a hug in edible form. They pair perfectly with a glass of milk or a hot cup of coffee.
- Crowd-Pleaser Guaranteed: I’ve brought these to potlucks, family dinners, and office parties. They disappear fast. Kids and adults both go back for seconds (and thirds).
- Unbelievably Delicious Texture: The secret is in the technique—chilling the dough and using an extra egg yolk. It creates a texture that is next-level comfort food. You’ll close your eyes after the first bite.
What makes this recipe different from the rest? It’s the balance. It’s not too sweet, not too buttery. It’s that perfect intersection of a crisp edge and a cloud-soft center. It’s comfort food reimagined—faster than a bakery run, but with the same soul-soothing satisfaction. Perfect for impressing guests without stress, or turning a simple Tuesday night into something memorable.
What Ingredients You Will Need
This recipe uses simple, wholesome ingredients to deliver that signature bakery flavor and texture. Most of these are pantry staples, which is exactly why I love it. Here is everything you need to get started.
- All-Purpose Flour: 2 ¼ cups (280g) – Spoon and level it into your measuring cup. Don’t scoop directly from the bag, or you’ll pack in too much flour and get dry cookies.
- Unsalted Butter: 1 cup (2 sticks / 226g), softened to room temperature – I prefer using a high-fat European-style butter like Kerrygold for extra richness, but any standard unsalted butter works perfectly.
- Granulated Sugar: ¾ cup (150g) – Adds sweetness and helps create those crispy edges.
- Light Brown Sugar: ¾ cup (150g), packed – This is the key to chewiness. The molasses in brown sugar adds moisture and depth of flavor.
- Large Egg + 1 Large Egg Yolk: The whole egg provides structure, while the extra yolk adds fat and richness, making the cookies incredibly tender.
- Vanilla Extract: 2 teaspoons – Use pure vanilla extract if you can. It makes a real difference in the overall flavor profile.
- Baking Soda: 1 teaspoon – This helps the cookies spread just enough and gives them a nice lift.
- Salt: 1 teaspoon – I use fine sea salt. Don’t skip it! Salt balances the sweetness and enhances the chocolate flavor.
- Semi-Sweet Chocolate Chips: 2 cups (340g) – I love Ghirardelli or Guittard chips. You can also chop up a high-quality chocolate bar for bigger puddles of chocolate.
Ingredient Selection Tip: For the best texture, make sure your butter is truly softened—it should give slightly when you press it with your finger, but not be melty or greasy. If you only have salted butter, reduce the added salt to ½ teaspoon.
Equipment Needed
You don’t need a fancy bakery setup to make these cookies. Here is the basic equipment that will make the process smooth and easy.
- Mixing Bowls: One large bowl for the wet ingredients and one medium bowl for the dry ingredients. I use glass or stainless steel.
- Electric Hand Mixer or Stand Mixer: A hand mixer works great for creaming the butter and sugars. A stand mixer with the paddle attachment is even easier, but not necessary.
- Rubber Spatula: For scraping down the sides of the bowl and folding in the chocolate chips. A sturdy silicone spatula is my go-to.
- Baking Sheets: Two large, light-colored baking sheets. Dark sheets can cause the bottoms to burn. If you only have one, let it cool completely between batches.
- Parchment Paper or Silicone Baking Mat: This is non-negotiable. It prevents sticking and helps the cookies bake evenly. I prefer parchment for easy cleanup.
- Cookie Scoop (3-tablespoon size): This ensures all your cookies are the same size, so they bake evenly. A ¼-cup measure works in a pinch.
- Wire Cooling Rack: Essential for letting the cookies cool properly so they don’t get soggy on the bottom.
Budget-Friendly Tip: If you don’t have a cookie scoop, just use two spoons to portion the dough. It’s a little messier, but it works just fine.
Preparation Method
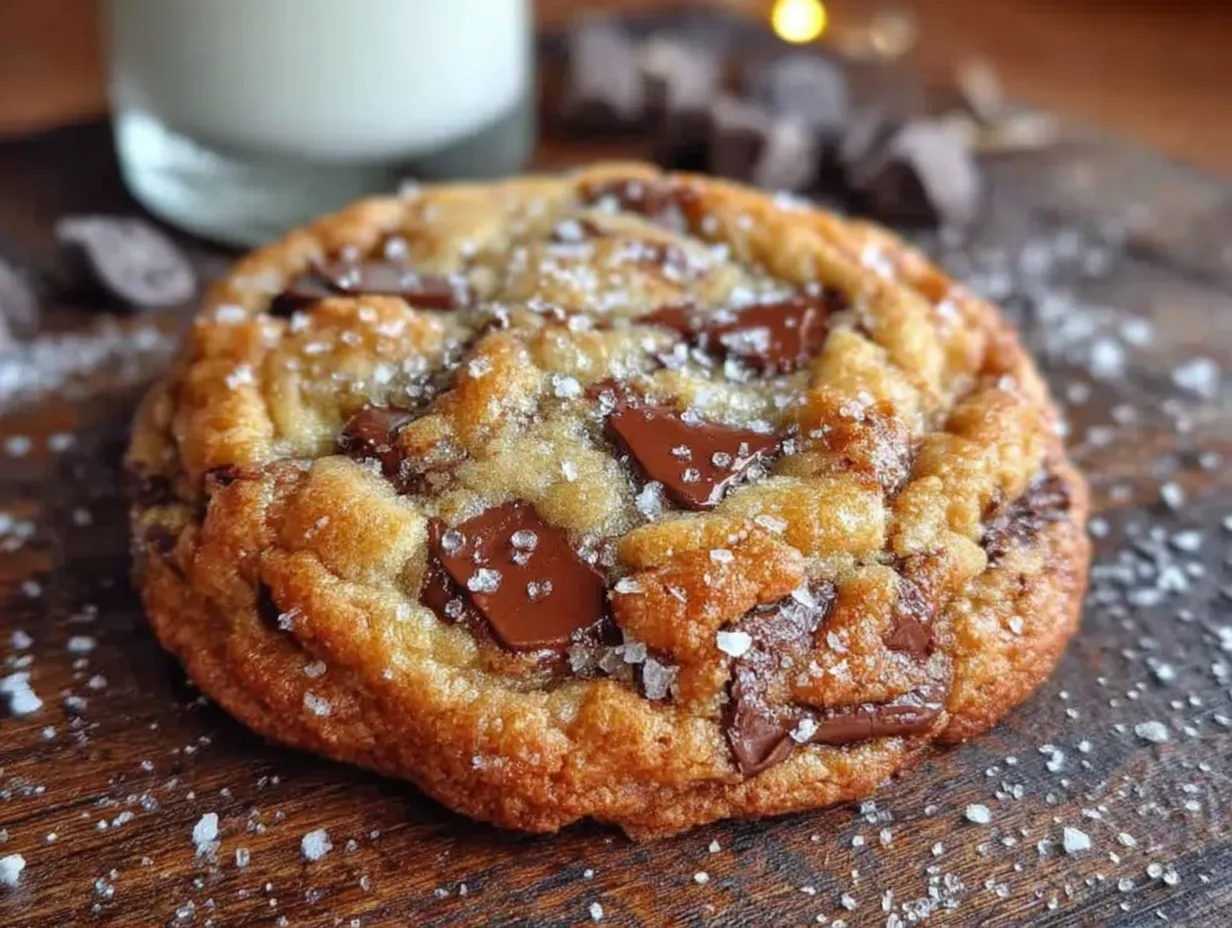
Follow these steps closely, and you’ll have perfect bakery-style cookies every time. The key is patience—especially with the chilling step.
- Whisk Dry Ingredients: In a medium bowl, whisk together the 2 ¼ cups all-purpose flour, 1 teaspoon baking soda, and 1 teaspoon salt. Set this aside. This ensures the leavening agent is evenly distributed.
- Cream Butter and Sugars: In a large bowl, beat the 1 cup softened butter, ¾ cup granulated sugar, and ¾ cup packed light brown sugar together on medium speed for about 2-3 minutes. You want it to look light, fluffy, and pale in color. Don’t skip this—it’s where the texture starts.
- Add Egg, Yolk, and Vanilla: Add the 1 large egg, 1 extra egg yolk, and 2 teaspoons vanilla extract. Beat on medium speed until just combined. It might look a little curdled at this point, but that’s okay. Scrape down the sides of the bowl with your spatula.
- Combine Wet and Dry: With the mixer on low speed, gradually add the flour mixture to the butter mixture. Mix only until you no longer see streaks of flour. Over-mixing at this stage will make the cookies tough.
- Fold in Chocolate Chips: Switch to your rubber spatula. Gently fold in the 2 cups of semi-sweet chocolate chips until they are evenly distributed throughout the dough. The dough will be thick and slightly sticky.
- Chill the Dough (Crucial Step!): Cover the bowl with plastic wrap and refrigerate for at least 30 minutes, or up to 72 hours. This is the secret to thick cookies. Chilling solidifies the butter, preventing the cookies from spreading too much in the oven. I know it’s hard to wait, but trust me on this one. For the best flavor, I often chill mine overnight.
- Preheat and Prepare: When you’re ready to bake, preheat your oven to 375°F (190°C). Line two large baking sheets with parchment paper.
- Portion the Dough: Use a 3-tablespoon cookie scoop to portion the dough into balls. Place them about 3 inches apart on the prepared baking sheets. For that extra-tall bakery look, roll each ball between your palms to make it tall rather than wide.
- Bake: Bake for 11-13 minutes, or until the edges are golden brown and the centers still look slightly soft and underdone. The cookies will continue to bake on the hot pan. For softer cookies, bake for 11 minutes. For crispier edges, go for 13 minutes.
- Cool on Pan: Let the cookies cool on the baking sheet for exactly 5 minutes. This is critical! They are very fragile right out of the oven. After 5 minutes, transfer them to a wire cooling rack to cool completely. Or, you know, eat one warm immediately. I won’t judge.
Cooking Tips & Techniques
Over the years, I’ve made every mistake in the book with cookies. Here are the lessons I learned so you don’t have to repeat them.
- Don’t Over-Bake: This is the number one mistake. Cookies continue to cook from the residual heat of the baking sheet. If they look fully done in the oven, they will be over-baked and hard on the counter. Pull them out when the centers are just barely set.
- The Chilling Rule: I once skipped the chilling step because I was in a hurry. The result was a flat, greasy puddle of a cookie. Don’t be like me. Chilling for at least 30 minutes is non-negotiable for thick cookies.
- Room Temperature Ingredients: Make sure your egg and butter are at room temperature. Cold eggs can seize the butter mixture, leading to a dense dough. If you forget, place the egg in a bowl of warm water for 5 minutes.
- Use a Kitchen Scale: For the most consistent results, I highly recommend weighing your flour. A cup of flour can weigh anywhere from 120g to 150g depending on how you scoop it. 280g is the sweet spot for this recipe.
- Bang the Pan: About halfway through the baking time, take the pan out of the oven and gently bang it on the counter a couple of times. This deflates the cookies slightly, creating those beautiful rippled edges and a denser, chewier center.
Variations & Adaptations
This recipe is a fantastic base for customization. Here are a few ways I’ve adapted it over the years.
- Double Chocolate Chip: Replace ¼ cup of the all-purpose flour with ¼ cup of unsweetened cocoa powder. You’ll get a rich, dark chocolate cookie that pairs beautifully with white chocolate chips or dark chocolate chunks.
- Nutty Delight: Fold in 1 cup of toasted, chopped walnuts or pecans along with the chocolate chips. Toasting the nuts first (in a dry pan for 3-4 minutes) really brings out their flavor.
- Gluten-Free Adaptation: I’ve tested this with a 1:1 gluten-free baking flour blend (like King Arthur Measure for Measure) and it worked beautifully. Just make sure to chill the dough for a full hour, as gluten-free dough tends to be stickier.
- Sea Salt Finish: Right after the cookies come out of the oven, sprinkle a tiny pinch of flaky sea salt (like Maldon) on top of each one. It sounds fancy, but it takes 10 seconds and adds a gorgeous, professional touch that balances the sweetness.
- Mint Chocolate Chip: Add ½ teaspoon of peppermint extract along with the vanilla extract. Use dark chocolate chips for a cool, refreshing twist. This is my go-to during the holiday season.
Serving & Storage Suggestions
These cookies are best enjoyed warm, but they store surprisingly well too. Here is how to handle them from the oven to the cookie jar.
- Serving Temperature: Serve them slightly warm for the ultimate gooey experience. If they have cooled, pop them in the microwave for 10-15 seconds to bring back that fresh-from-the-oven softness.
- Presentation: Stack them on a rustic wooden board or a pretty plate. A glass of cold milk or a hot latte is the perfect companion.
- Storing Baked Cookies: Store completely cooled cookies in an airtight container at room temperature. They will stay fresh and chewy for up to 5 days. Place a slice of white bread in the container to keep them extra soft—the cookies absorb moisture from the bread.
- Freezing Baked Cookies: You can freeze the baked cookies for up to 3 months. Wrap them individually in plastic wrap, then place them in a freezer bag. Thaw at room temperature or reheat directly from frozen in a 300°F oven for 5 minutes.
- Freezing Cookie Dough: This is my favorite meal-prep trick. Scoop the dough into balls, place them on a baking sheet, and freeze until solid. Transfer the frozen dough balls to a freezer bag. You can bake them directly from frozen—just add 2-3 minutes to the bake time.
Nutritional Information & Benefits
Look, I’m not going to pretend these are health food. They are a treat, and that’s okay. But knowing what’s in them helps you enjoy them mindfully.
Per cookie (based on 24 cookies):
- Calories: Approximately 220 kcal
- Fat: 12g
- Carbohydrates: 28g
- Protein: 3g
- Sugar: 17g
Health Benefits of Key Ingredients: Dark chocolate is rich in antioxidants and can improve heart health. The butter provides fat-soluble vitamins like A, D, and E. While this isn’t a low-carb or gluten-free recipe by default, you can easily adapt it (see variations above).
Dietary Considerations: This recipe contains gluten, dairy, and eggs. For a dairy-free version, substitute the butter with a high-quality vegan butter stick (like Miyoko’s) and use dairy-free chocolate chips.
Conclusion
So there you have it—my late-night, slightly unhinged, accidentally perfect recipe for thick and chewy bakery-style chocolate chip cookies. It started as a whim at 11:47 PM, and now it’s the only cookie recipe I trust. The combination of a crisp edge, a soft center, and melty pools of chocolate is something special. It’s the kind of cookie that makes you close your eyes after the first bite.
I really hope you give these a try. Don’t be afraid to make them your own—add some nuts, a sprinkle of sea salt, or double the chocolate chips. The kitchen is your playground. And honestly, the best recipes often come from a little bit of improvisation and a lot of heart.
If you make these, I’d love to hear about it! Leave a comment below and tell me how they turned out. Did you add any fun twists? Did you manage to wait the full 30 minutes for the dough to chill? Share your baking wins (or hilarious fails) with me. And if you loved them, please share this recipe with a friend who needs a little cozy comfort in their life. Happy baking!
Frequently Asked Questions
Why did my cookies turn out flat?
This usually happens for one of two reasons: your butter was too soft or melted, or you skipped the chilling step. Make sure your butter is softened but still cool to the touch, and always chill the dough for at least 30 minutes.
Can I use margarine instead of butter?
I don’t recommend it. Butter provides the rich flavor and proper texture. Margarine has a higher water content, which can lead to flat, greasy cookies. Stick with real butter for the best results.
How do I make my cookies softer?
To make softer cookies, slightly underbake them. Pull them out of the oven when the centers are still puffy and look a little underdone. Also, try using an extra tablespoon of brown sugar and reducing the white sugar by a tablespoon.
Can I make this recipe without an electric mixer?
Absolutely! You can cream the butter and sugar by hand using a sturdy wooden spoon and a lot of elbow grease. It will take about 5-7 minutes of vigorous stirring, but it works perfectly. Just make sure your butter is very soft.
How long can I keep the cookie dough in the fridge?
You can chill the dough for up to 72 hours (3 days) before baking. In fact, the flavor improves over time as the ingredients meld together. If chilling for more than a few hours, wrap the dough tightly in plastic wrap to prevent it from drying out or picking up fridge odors.
Pin This Recipe!
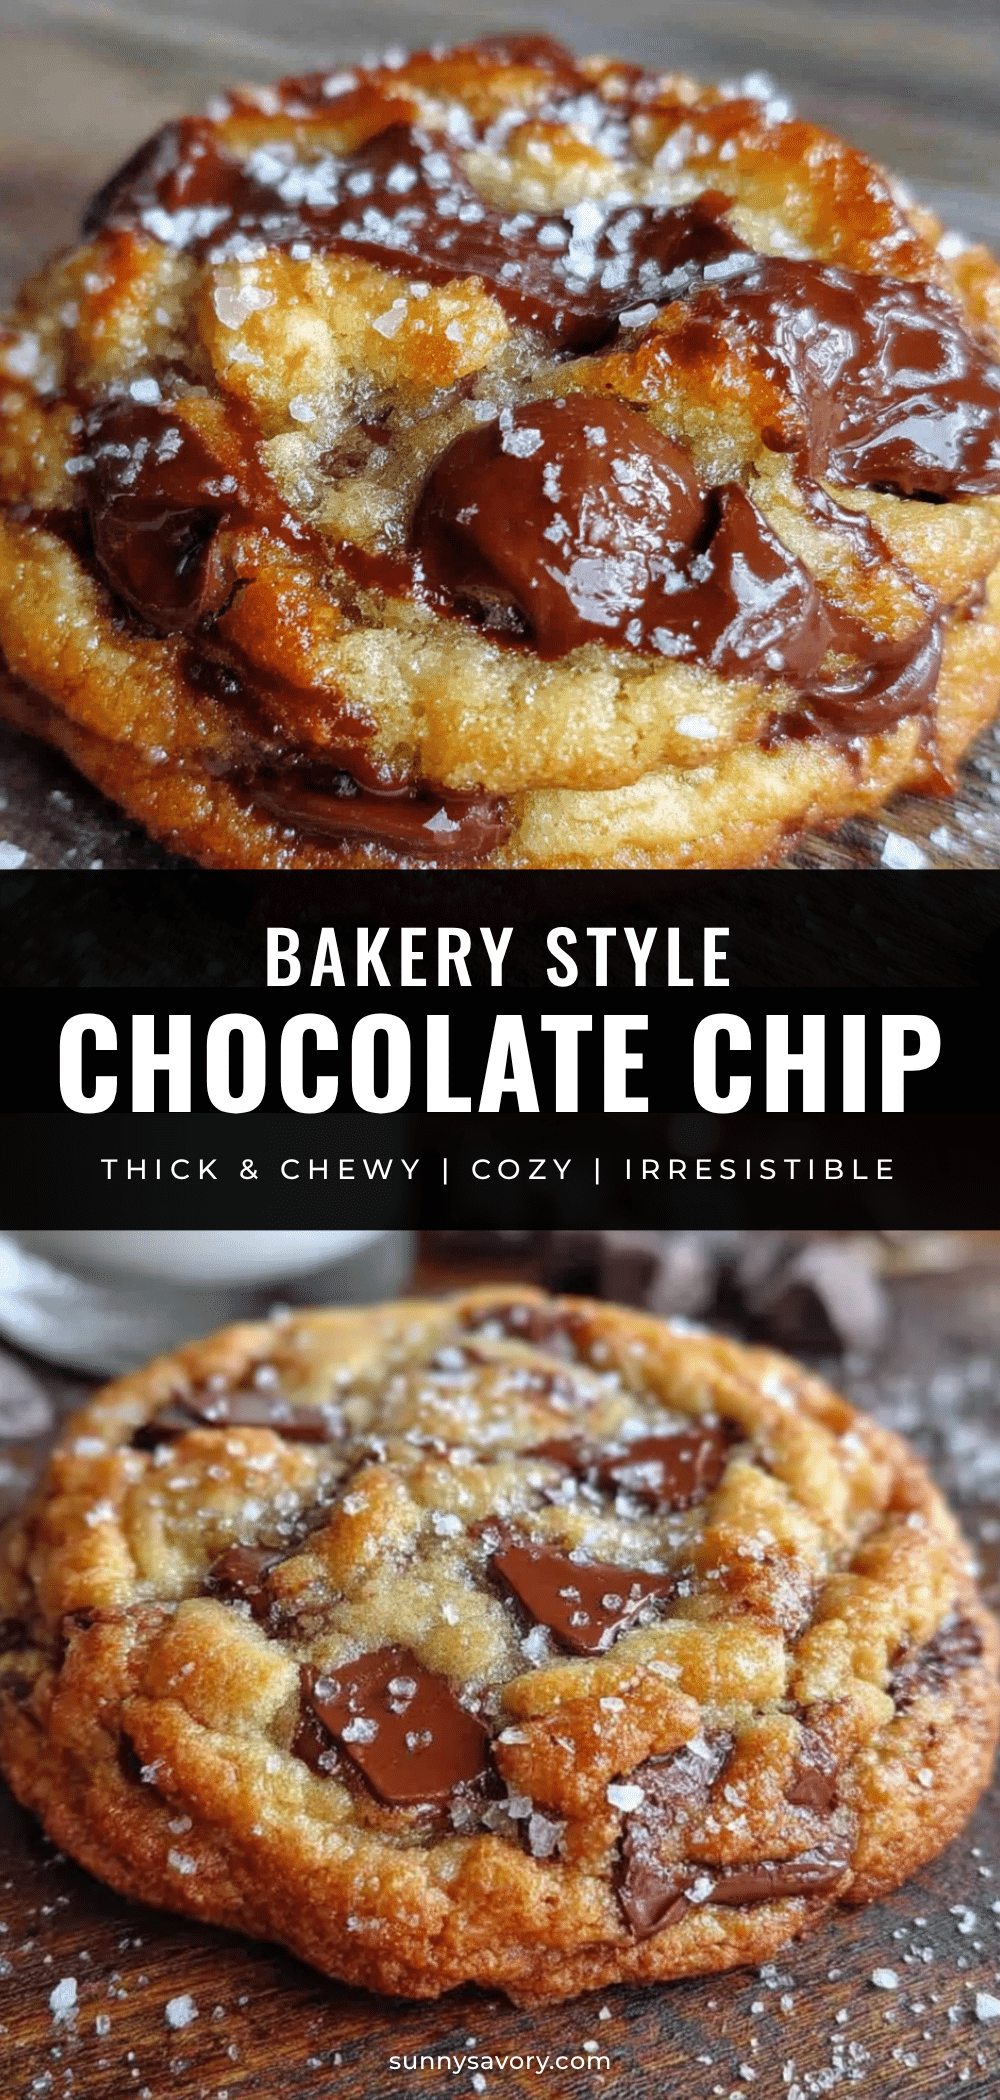
Cozy Bakery-Style Chocolate Chip Cookies: Thick & Chewy

Thick, chewy chocolate chip cookies with crispy edges and a soft, gooey center. Made with simple pantry ingredients, this recipe delivers bakery-quality results every time.
- Prep Time: 15 minutes
- Cook Time: 12 minutes
- Total Time: 57 minutes
- Yield: 24 cookies 1x
- Category: Dessert
- Cuisine: American
Ingredients
- 2 ¼ cups (280g) all-purpose flour
- 1 cup (2 sticks / 226g) unsalted butter, softened to room temperature
- ¾ cup (150g) granulated sugar
- ¾ cup (150g) packed light brown sugar
- 1 large egg + 1 large egg yolk
- 2 teaspoons vanilla extract
- 1 teaspoon baking soda
- 1 teaspoon fine sea salt
- 2 cups (340g) semi-sweet chocolate chips
Instructions
- Whisk dry ingredients: In a medium bowl, whisk together the 2 ¼ cups all-purpose flour, 1 teaspoon baking soda, and 1 teaspoon salt. Set aside.
- Cream butter and sugars: In a large bowl, beat the 1 cup softened butter, ¾ cup granulated sugar, and ¾ cup packed light brown sugar together on medium speed for about 2-3 minutes until light, fluffy, and pale in color.
- Add egg, yolk, and vanilla: Add the 1 large egg, 1 extra egg yolk, and 2 teaspoons vanilla extract. Beat on medium speed until just combined. Scrape down the sides of the bowl.
- Combine wet and dry: With the mixer on low speed, gradually add the flour mixture to the butter mixture. Mix only until no streaks of flour remain.
- Fold in chocolate chips: Switch to a rubber spatula and gently fold in the 2 cups of semi-sweet chocolate chips until evenly distributed.
- Chill the dough: Cover the bowl with plastic wrap and refrigerate for at least 30 minutes, or up to 72 hours.
- Preheat and prepare: When ready to bake, preheat oven to 375°F (190°C). Line two large baking sheets with parchment paper.
- Portion the dough: Use a 3-tablespoon cookie scoop to portion the dough into balls. Place them about 3 inches apart on the prepared baking sheets. Roll each ball between your palms to make it tall rather than wide.
- Bake: Bake for 11-13 minutes, until the edges are golden brown and the centers still look slightly soft and underdone.
- Cool on pan: Let the cookies cool on the baking sheet for exactly 5 minutes, then transfer to a wire cooling rack to cool completely.
Notes
Chilling the dough is crucial for thick cookies. For softer cookies, bake for 11 minutes; for crispier edges, bake for 13 minutes. Use a kitchen scale for the most consistent results.
Nutrition
- Serving Size: 1 cookie
- Calories: 220
- Sugar: 17
- Sodium: 150
- Fat: 12
- Saturated Fat: 7
- Carbohydrates: 28
- Fiber: 1
- Protein: 3
Keywords: chocolate chip cookies, thick cookies, chewy cookies, bakery-style cookies, easy cookie recipe



