Love this? Save it for later!
Share the inspiration with your friends
Introduction
“I wasn’t really planning to make dessert that night,” I remember telling myself as the clock ticked past 7 PM. It was a Tuesday, and honestly, the last thing I wanted was to spend hours in the kitchen after a long day. But then my friend Jess popped by unexpectedly, and she had this craving for something chocolatey, creamy, and quick. I rummaged through my pantry, grabbed a few staples, and whipped up what I now call my Creamy No-Bake Chocolate Mousse Cups. The best part? It took less than 20 minutes, and no oven was involved!
Let me tell you, the first spoonful was a little messy (I may have forgotten the serving cups at first and ended up scooping it straight from the bowl), but that rich chocolate flavor and velvety texture immediately made me realize this was a keeper. Maybe you’ve been there—needing a fuss-free dessert that feels special but doesn’t steal your evening. That night sparked a recipe that’s been my go-to for last-minute guests, cozy nights in, or whenever I just need a chocolate fix without the hassle.
This creamy, dreamy mousse is proof that you don’t need complex ingredients or hours of chilling to enjoy a luxurious treat. I’ll walk you through how to make these luscious cups, perfect for any chocolate lover who wants something homemade, quick, and totally satisfying.
Why You’ll Love This Recipe
Honestly, this Creamy No-Bake Chocolate Mousse Cups recipe has been tested and tweaked so many times in my kitchen, I feel confident calling it foolproof. Whether you’re a busy parent, a novice cook, or just someone who appreciates a fast dessert, this recipe checks all the boxes.
- Quick & Easy: Ready in under 20 minutes, no oven or fancy equipment needed—ideal for those busy weeknights or unexpected guests.
- Simple Ingredients: Uses pantry staples like cocoa powder, cream, and sugar. You probably have everything on hand already.
- Perfect for Any Occasion: Great for dinner parties, date nights, or just a cozy treat after a long day.
- Crowd-Pleaser: Always gets compliments—even from folks who claim they’re “not really into mousse.”
- Unbelievably Delicious: The silky texture combined with just the right balance of sweetness and rich chocolate makes this mousse utterly irresistible.
What sets this recipe apart is the way I blend the heavy cream just right to get that airy, melt-in-your-mouth feel without overwhipping or making it too dense. Plus, using good-quality cocoa powder (I swear by Valrhona for that deep chocolate flavor) makes all the difference. It’s a no-fuss version that doesn’t sacrifice taste or elegance.
Honestly, a few spoonfuls of this mousse can feel like a mini celebration. You might find yourself closing your eyes after the first bite, just savoring the moment. That’s why I keep making these cups again and again—they bring that little bit of joy when you need it most.
What Ingredients You Will Need
This recipe relies on a handful of simple, wholesome ingredients to deliver that rich chocolate flavor and creamy texture. Nothing complicated, just good stuff that works together perfectly. Here’s what you’ll need:
- Heavy Cream (1 cup / 240 ml): The star for the mousse’s creamy texture. Use cold cream for best whipping results.
- Unsweetened Cocoa Powder (½ cup / 50 g): Choose a high-quality brand like Valrhona or Ghirardelli for deep, intense chocolate flavor.
- Powdered Sugar (⅓ cup / 40 g): Adds sweetness without graininess. Sift it if it’s clumpy.
- Vanilla Extract (1 tsp / 5 ml): Gives a subtle warmth and rounds out the chocolate notes.
- Salt (a pinch): Just enough to balance the sweetness and bring out flavors.
- Optional Garnishes:
- Whipped cream dollops
- Chocolate shavings or curls
- Fresh berries like raspberries or strawberries (in season, they add a nice tart contrast)
- Chopped nuts (toasted almonds or hazelnuts)
For substitutions: If you need a dairy-free version, swap heavy cream for canned coconut cream—chill the can overnight and scoop out the thick cream on top. Also, if you prefer a little less sugar, you can reduce the powdered sugar slightly without losing the mousse’s charm.
One tip from experience: measuring your cocoa powder by weight makes the texture more consistent—too much can make the mousse dry, too little and it lacks punch. And don’t skip the pinch of salt; it transforms the flavor completely.
Equipment Needed
Don’t worry; this recipe doesn’t require anything fancy. Here’s what you’ll need:
- Mixing bowl: A large, chilled bowl helps the cream whip better.
- Electric mixer or hand whisk: An electric hand mixer is a huge time-saver, but if you’re up for a workout, a sturdy whisk works fine too.
- Measuring cups and spoons: Accuracy helps keep the mousse smooth.
- Serving cups or ramekins: Small glasses, jars, or dessert bowls work great—something pretty to show off those layers.
- Spatula: For folding ingredients gently without deflating the mousse.
If you don’t have an electric mixer, chilling the bowl and whisk in the freezer for 10 minutes beforehand can make hand-whisking easier. I’ve made this mousse in everything from fancy glass cups to simple mason jars, and honestly, it all tastes the same—presentation just adds a little flair.
Preparation Method
- Chill your mixing bowl and beaters for about 10 minutes in the fridge. Cold equipment helps the cream whip up faster and fluffier.
- Pour 1 cup (240 ml) of cold heavy cream into the chilled bowl. Using an electric mixer, start whipping on medium speed.
- After about 2 minutes, when the cream starts to thicken, gradually add ⅓ cup (40 g) powdered sugar, ½ cup (50 g) unsweetened cocoa powder, 1 tsp (5 ml) vanilla extract, and a pinch of salt.
- Continue whipping until soft peaks form. This means when you lift the beaters, the cream holds a peak but the tip gently folds over—avoid overwhipping or it will turn grainy and start to separate.
- Use a spatula to fold the mixture gently just once or twice to ensure everything is combined evenly without losing airiness.
- Divide the mousse evenly into 4 to 6 serving cups or ramekins. Smooth the tops with the back of a spoon or an offset spatula.
- Chill for at least 15 minutes if you have the time—it firms up beautifully—but if you’re in a hurry, you can serve right away for a softer texture.
- Optional: Garnish with whipped cream, berries, chocolate shavings, or nuts before serving.
A quick heads-up: if your cocoa powder is too coarse or clumpy, sift it before adding to avoid lumps. Also, keep an eye on the cream while whipping; once you see soft peaks, it’s easy to go too far. I’ve learned the hard way—there’s nothing like accidentally making chocolate butter!
This method is straightforward but delivers a mousse with a light, creamy texture that melts on your tongue. It’s honestly one of the quickest chocolate desserts I’ve made that doesn’t feel rushed or compromise on flavor.
Cooking Tips & Techniques
Whipping cream to the perfect consistency can seem tricky, but here’s what I’ve learned over countless mousse sessions:
- Keep everything cold: Cold cream, cold bowl, and cold beaters make whipping faster and more stable.
- Don’t rush adding cocoa and sugar: Add them gradually as the cream thickens to avoid deflating the mixture.
- Watch the peaks carefully: Soft peaks hold their shape but still look smooth and fluffy. Stop whipping before stiff peaks form or the cream will become grainy.
- Use good cocoa powder: I’ve found that high-quality Dutch-processed cocoa powders yield a smoother, less bitter mousse.
- Folding gently: Once all ingredients are combined, fold only a couple of times to keep air trapped inside for that luscious texture.
Common mistakes include overwhipping the cream, which can cause separation, or underwhipping, leading to a runny mousse. I recommend setting a timer and checking frequently. Multitasking helps too—while the mousse chills, you can prep some garnish or set the table.
One time, I left the mixer running a bit too long, and my mousse looked more like chocolate butter. Lesson learned: slow and steady wins the race here.
Variations & Adaptations
Feel free to tweak this recipe to suit your taste or dietary needs. Here are some of my favorite variations:
- Dairy-free Version: Use chilled coconut cream instead of heavy cream. It whips up similarly and adds a subtle coconut flavor.
- Mocha Mousse: Add 1 tsp of instant espresso powder with the cocoa powder to give a coffee kick.
- Mint Chocolate: Stir in a few drops of peppermint extract for a refreshing twist.
- Berry Layered Cups: Add a layer of fresh mashed raspberries or strawberry compote at the bottom before spooning in the mousse.
- Healthier Option: Substitute half the powdered sugar with a natural sweetener like maple syrup or honey, adjusting to taste.
I once made a batch with a swirl of peanut butter folded in—totally indulgent and surprisingly good. You can also experiment with different toppings like crushed cookies or toasted coconut flakes to keep things interesting.
Serving & Storage Suggestions
These mousse cups are best served chilled for that perfect creamy, silky texture. I usually take them out of the fridge about 10 minutes before serving so they soften just a bit.
For presentation, try layering the mousse with fresh berries or adding a sprig of mint on top. Pair it with a cup of strong espresso or a glass of dessert wine to make the moment even more special.
If you have leftovers (though rare!), store them covered in the fridge for up to 2 days. The mousse firms up when chilled but will soften slightly at room temperature. To reawaken the texture, just let them sit out for a few minutes before digging in.
Freezing is possible but not recommended as the texture changes upon thawing, becoming a bit grainy. I find the mousse tastes best fresh or within a day or two of making.
Nutritional Information & Benefits
Each serving of these Creamy No-Bake Chocolate Mousse Cups provides a satisfying treat with approximately:
| Calories | 220 |
|---|---|
| Fat | 18g |
| Saturated Fat | 11g |
| Sugar | 15g |
| Protein | 2g |
The heavy cream supplies healthy fats and contributes to the mousse’s rich mouthfeel, while cocoa powder offers antioxidants that support overall wellness. This recipe is naturally gluten-free and can be made dairy-free by swapping in coconut cream, accommodating various dietary needs.
While it’s an indulgent dessert, the portion size keeps it balanced, so you get that satisfying chocolate fix without feeling overstuffed. I like to think of it as a little self-care moment, especially on busy days.
Conclusion
To wrap things up, this Creamy No-Bake Chocolate Mousse Cups recipe is a simple, quick way to enjoy a luscious dessert any day of the week. It’s perfect when you want something homemade but don’t want to fuss with baking or complicated steps.
Feel free to personalize it with your favorite flavors or toppings—this mousse is a great base that invites creativity. I keep coming back to this recipe because it’s reliable, delicious, and makes me feel like I’m treating myself without the stress.
Give it a try, and let me know how you like to make it your own. Drop a comment or share your variations—I love hearing what works in your kitchen. Here’s to many more sweet moments with this easy chocolate mousse!
FAQs
Can I make these mousse cups ahead of time?
Yes! You can prepare the mousse a few hours in advance and keep it chilled in the fridge. Just add any fresh toppings right before serving for the best texture.
What if I don’t have an electric mixer?
No problem! You can whisk the cream by hand, but make sure your bowl and whisk are chilled. It will take longer, but the mousse will still be delicious.
Can I use sweetened cocoa powder?
I recommend using unsweetened cocoa powder to control the sweetness, but if you only have sweetened cocoa, reduce the powdered sugar accordingly.
How do I prevent the mousse from becoming grainy?
Stop whipping as soon as you see soft peaks. Overwhipping causes the fat to separate, leading to a grainy texture. Also, sift your cocoa powder to avoid lumps.
Is there a way to make this mousse vegan?
Yes, use coconut cream instead of heavy cream and substitute powdered sugar with a vegan-friendly sweetener. Keep in mind the texture might be slightly different but still tasty.
Pin This Recipe!
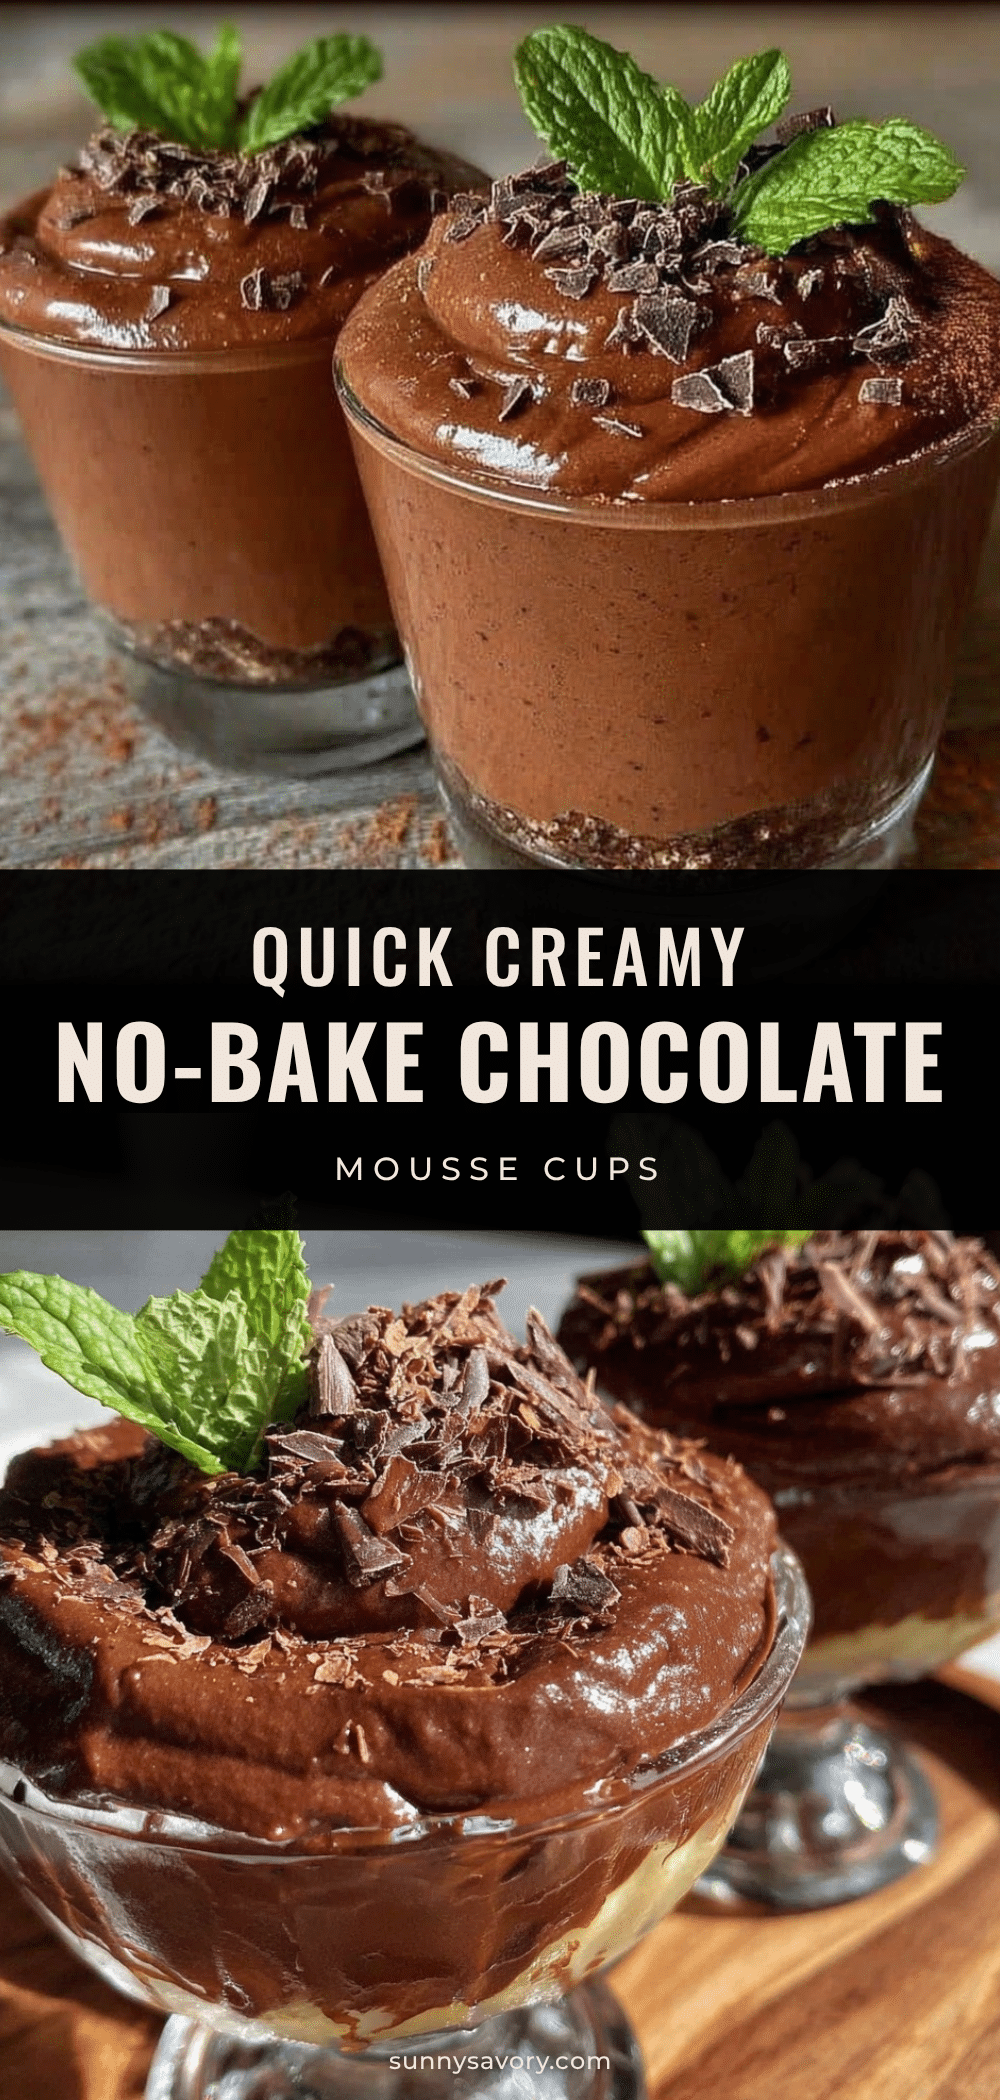
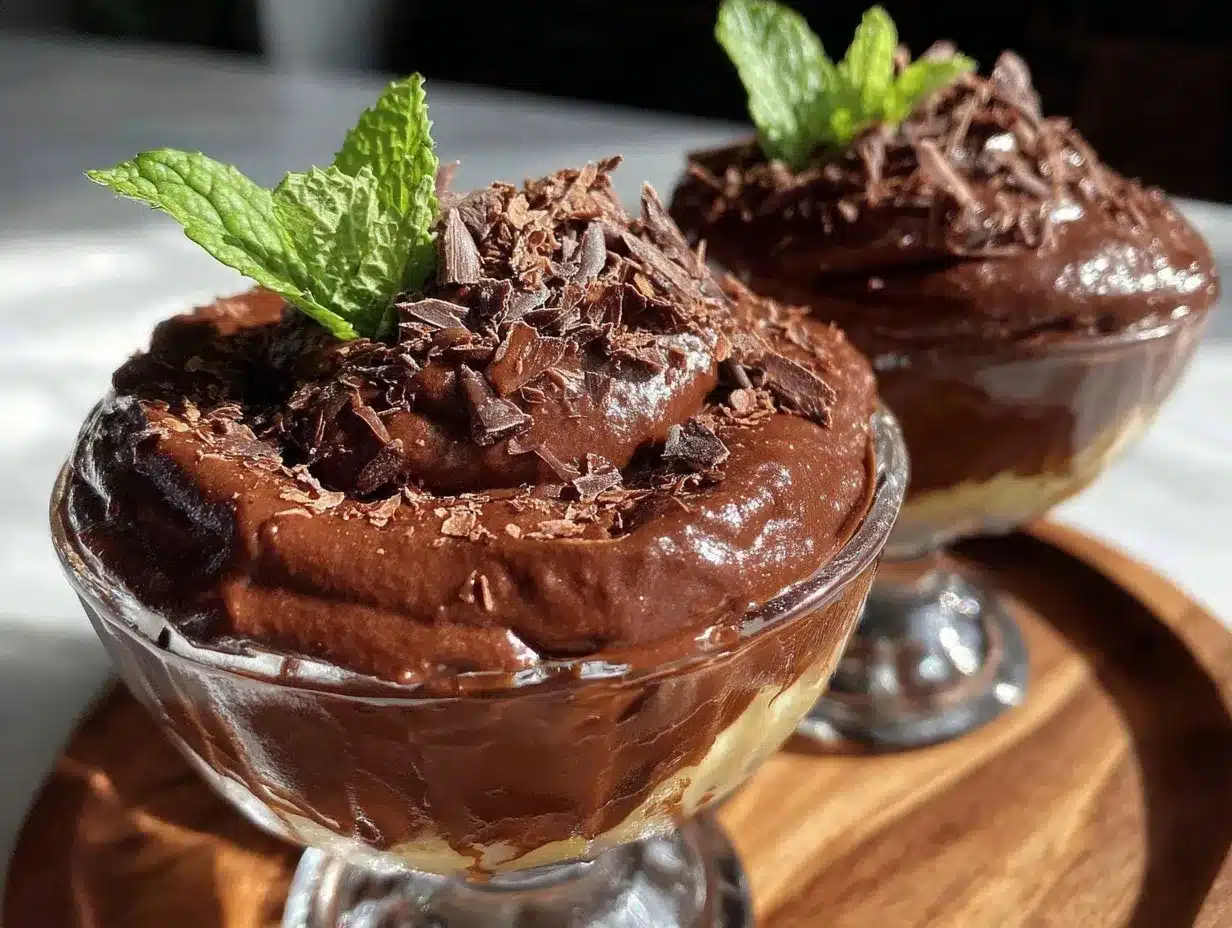
Creamy No-Bake Chocolate Mousse Cups

A quick and easy no-bake chocolate mousse dessert that takes less than 20 minutes to prepare, perfect for last-minute guests or a cozy treat.
- Prep Time: 10 minutes
- Cook Time: 10 minutes
- Total Time: 20 minutes
- Yield: 4 to 6 servings 1x
- Category: Dessert
- Cuisine: American
Ingredients
- 1 cup (240 ml) cold heavy cream
- ½ cup (50 g) unsweetened cocoa powder
- ⅓ cup (40 g) powdered sugar
- 1 tsp (5 ml) vanilla extract
- Pinch of salt
- Optional garnishes: whipped cream dollops, chocolate shavings or curls, fresh berries (raspberries or strawberries), chopped toasted almonds or hazelnuts
Instructions
- Chill your mixing bowl and beaters for about 10 minutes in the fridge.
- Pour 1 cup (240 ml) of cold heavy cream into the chilled bowl. Using an electric mixer, start whipping on medium speed.
- After about 2 minutes, when the cream starts to thicken, gradually add ⅓ cup (40 g) powdered sugar, ½ cup (50 g) unsweetened cocoa powder, 1 tsp (5 ml) vanilla extract, and a pinch of salt.
- Continue whipping until soft peaks form. Avoid overwhipping to prevent graininess.
- Use a spatula to fold the mixture gently just once or twice to combine evenly without losing airiness.
- Divide the mousse evenly into 4 to 6 serving cups or ramekins. Smooth the tops with the back of a spoon or an offset spatula.
- Chill for at least 15 minutes if possible, or serve immediately for a softer texture.
- Optional: Garnish with whipped cream, berries, chocolate shavings, or nuts before serving.
Notes
Keep all equipment and ingredients cold for best whipping results. Add cocoa powder and sugar gradually to avoid deflating the cream. Stop whipping at soft peaks to prevent grainy texture. Sift cocoa powder if clumpy. For dairy-free version, use chilled coconut cream instead of heavy cream.
Nutrition
- Serving Size: Approximately 1 mous
- Calories: 220
- Sugar: 15
- Fat: 18
- Saturated Fat: 11
- Protein: 2
Keywords: no-bake, chocolate mousse, quick dessert, easy mousse, creamy chocolate dessert, no oven dessert, last-minute dessert