Love this? Save it for later!
Share the inspiration with your friends
My neighbor, Mrs. Chen, watched me struggle with a giant, slippery pumpkin one October afternoon. I was trying to carve it, and honestly, I was making a mess—seeds and stringy guts were everywhere. She didn’t say anything at first. Then she just smiled, handed me a colander, and said, “Don’t throw those away. They’re the best part.” I thought she was crazy. I mean, who gets excited about pumpkin seeds? But she took a handful, rinsed them, and showed me her simple method. That was years ago, and her little trick has turned into my most-requested party snack. I’ve tweaked it a lot since then—adding heat, a pop of citrus, and a serious crunch—but the spirit of that moment in my messy kitchen is still in every batch. This recipe for Crispy Chili Lime Pumpkin Seeds is the result of that conversation, a few burnt batches (let’s just say I learned about smoke points the hard way), and a whole lot of happy snacking.
You know that feeling when you bring a bowl of something to a party, and it just disappears? People hover around it, grabbing handfuls, and someone always asks, “Where did you get these?” That’s this snack. It’s the one that makes you look like a kitchen wizard, but it’s almost embarrassingly easy. The secret is in the technique—getting them perfectly dry and roasted so they shatter with a crunch, then coating them in a buttery, spicy, tangy glaze that clings to every crevice. Honestly, once you make these, you’ll never buy another bag of bland, stale seeds again.
This isn’t just a way to use up pumpkin guts. It’s a celebration of a humble ingredient, transformed into something addictive. I keep making them because they remind me that the best recipes often come from unexpected places—and that a simple act of sharing can change how you see something forever.
Why You’ll Love This Recipe
This isn’t just another roasted seed recipe. I’ve tested this dozens of times—burnt some, under-seasoned others, and finally landed on a version that my family and friends fight over. Here’s why this one is a keeper:
- Incredibly Crunchy: No chewy or burnt seeds here. The boiling and drying method guarantees a shatteringly crisp texture that stays for days.
- Big Flavor, Little Effort: The chili-lime combo is bold, tangy, and just the right amount of spicy. It’s a flavor bomb that requires only pantry staples.
- Perfect for Parties: It’s the ultimate crowd-pleaser. Set out a bowl at your next gathering, and watch it vanish. It’s a conversation starter, too—people always want the recipe.
- Easy to Scale: Hosting a big party? Double or triple the batch. It roasts up beautifully in larger quantities.
- Guilt-Free Snacking: Packed with protein, healthy fats, and fiber, these seeds are a snack you can feel good about.
What makes this recipe different from all the others is the two-step process. First, you boil the seeds in salted water. This plumps them up and seasons them from the inside out, ensuring every seed is flavorful, not just the shell. Then, you dry them thoroughly before roasting. This is the crucial step that guarantees crunch, not chew. The final toss in a chili-lime butter mixture is where the magic happens—it creates a glaze that’s both spicy and refreshing, coating every seed in pure deliciousness. This is the kind of snack that makes you close your eyes after the first bite. It’s perfect for impressing guests without stress, or turning a simple movie night into something memorable.
What Ingredients You Will Need
This recipe uses simple, wholesome ingredients to deliver a bold, addictive snack. Most of these are likely already in your pantry, making this a perfect last-minute party project.
- Fresh Pumpkin Seeds (1 ½ cups / about 180g): Straight from the pumpkin is best. You can use seeds from sugar pumpkins or carving pumpkins. Rinse them well to remove the pulp. No fresh pumpkin? Look for raw, unsalted pepitas (hulled pumpkin seeds) at the store—they work great too.
- Water (4 cups / 960ml): For boiling the seeds. This is a key step for texture and flavor.
- Salt (2 tablespoons / 30g, plus more to taste): Use kosher salt or sea salt. The boiling water is heavily salted to season the seeds from the inside out. You’ll also add a pinch at the end.
- Unsalted Butter (3 tablespoons / 42g): This is the base for our flavor coating. It helps the spices stick and adds a rich, toasty flavor. You can substitute with coconut oil or ghee for a dairy-free version.
- Chili Powder (1 ½ teaspoons / 4g): Use a good-quality chili powder blend. I prefer one that has a mild heat and a little smokiness. Ancho chili powder would be amazing here.
- Ground Cumin (½ teaspoon / 1g): Adds a warm, earthy note that complements the chili and lime beautifully.
- Garlic Powder (½ teaspoon / 1.5g): For a subtle savory depth. Don’t skip it; it ties the flavors together.
- Lime Zest (from 1 medium lime): This is non-negotiable for that fresh, vibrant citrus kick. Zest the lime before you juice it!
- Fresh Lime Juice (2 tablespoons / 30ml): Adds the tangy punch that makes this snack so addictive.
- Pinch of Cayenne Pepper (optional, ⅛ teaspoon): For those who like a little more heat. I add it when I’m making this for myself.
Equipment Needed
You don’t need any fancy gadgets for this recipe, which is part of its charm. Here’s what you’ll need:
- Large Pot: For boiling the seeds. Any standard 4-quart pot will do.
- Colander: For rinsing and draining the seeds.
- Clean Kitchen Towel or Paper Towels: For drying the seeds thoroughly. This is a crucial step, so don’t skip it.
- Baking Sheet: A rimmed baking sheet is best to prevent seeds from rolling off. Line it with parchment paper for easy cleanup.
- Small Saucepan or Microwave-Safe Bowl: For melting the butter and mixing the glaze.
- Mixing Bowls: One large for the seeds and one small for the glaze.
- Spatula or Wooden Spoon: For stirring the seeds.
- Microplane or Zester: For getting that fine lime zest. A box grater works in a pinch.
- Citrus Juicer (optional): Makes juicing the lime a breeze.
I’ve made these with just a pot and a baking sheet before, and they turned out perfect. The most important tool is patience—especially when drying the seeds. A salad spinner can help speed up the initial drying, but a towel works just fine.
Preparation Method
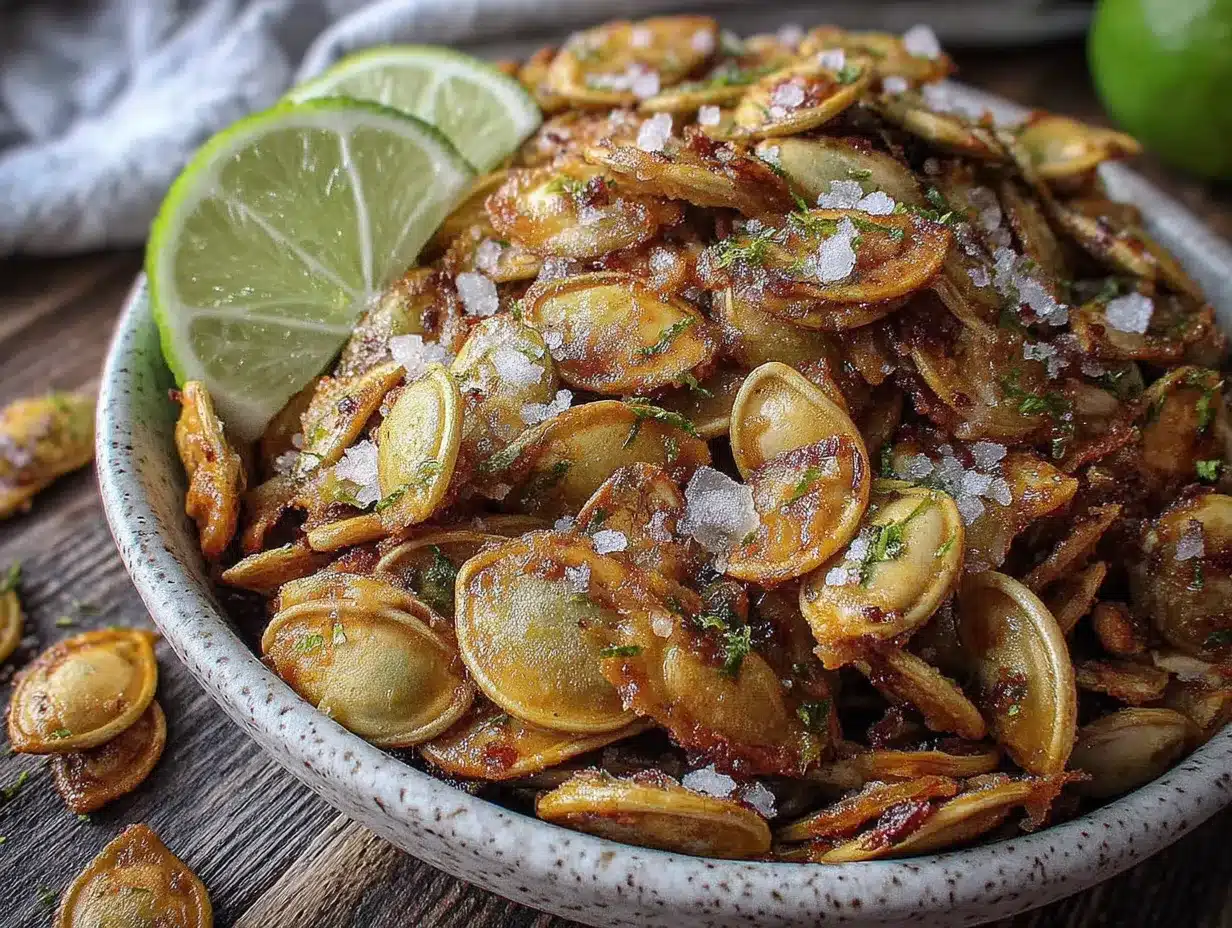
Follow these steps carefully, and you’ll be rewarded with the crunchiest, most flavorful pumpkin seeds you’ve ever had. Trust the process, especially the boiling and drying steps.
- Preheat and Prep: Preheat your oven to 350°F (175°C). Line a large, rimmed baking sheet with parchment paper. This makes cleanup a dream.
- Clean the Seeds: Place your 1 ½ cups of fresh pumpkin seeds in a colander. Rinse them under cold running water, using your fingers to rub off any stringy pumpkin pulp. It doesn’t have to be perfect—a little bit of fiber is fine, but try to remove the big chunks. This should take about 2-3 minutes.
- Boil the Seeds: In a large pot, bring 4 cups of water and 2 tablespoons of salt to a rolling boil. Add the cleaned pumpkin seeds. Boil for exactly 10 minutes. This step is crucial—it seasons the seeds from the inside out and helps them get perfectly crunchy when roasted. Don’t skip it!
- Drain and Dry (The Most Important Step!): Drain the seeds in a colander. Let them cool for a minute or two so you can handle them. Then, spread them out on a clean kitchen towel or a double layer of paper towels. Pat them very, very dry. You want them to feel almost dry to the touch. Any remaining moisture will steam the seeds in the oven, making them chewy instead of crunchy. Let them air-dry on the towel for another 5-10 minutes while you make the glaze.
- Make the Chili-Lime Glaze: In a small saucepan over low heat, melt the 3 tablespoons of unsalted butter. Once melted, remove from the heat. Stir in the 1 ½ teaspoons chili powder, ½ teaspoon ground cumin, ½ teaspoon garlic powder, the zest of 1 lime, 2 tablespoons of fresh lime juice, and a pinch of cayenne (if using). Whisk until smooth and fragrant.
- Coat the Seeds: Place the dried pumpkin seeds in a large mixing bowl. Pour the chili-lime butter mixture over them. Toss well with a spatula until every seed is evenly coated. Make sure to scrape the bowl to get all that flavorful glaze onto the seeds.
- Roast to Perfection: Spread the coated seeds in a single, even layer on your prepared baking sheet. Try not to overcrowd them—they need space to crisp up. Roast for 20-25 minutes, stirring halfway through (at the 10-12 minute mark). The seeds are done when they are golden brown and fragrant. Keep a close eye on them in the last 5 minutes, as they can go from perfect to burnt very quickly.
- Cool and Crisp: Remove the baking sheet from the oven. Let the seeds cool completely on the sheet. They will continue to crisp up as they cool. This is the hardest part—resisting the urge to eat them right away! It takes about 20-30 minutes.
- Final Seasoning: Once completely cool, taste a seed. Sprinkle with a little extra salt if needed. The salt from the boiling process is usually enough, but it depends on your taste.
Cooking Tips & Techniques
I’ve made a lot of mistakes with pumpkin seeds so you don’t have to. Here are my best tips for guaranteed success:
- Don’t Skip the Boil: I once tried to skip this step to save time. The result was a bland, unevenly cooked batch of seeds. The boil seasons them from the inside out and is the secret to that all-over crunch. It’s non-negotiable.
- Dry, Dry, Dry: This is where most people fail. If your seeds are even slightly damp when they go into the oven, they will steam rather than roast. Use a towel and really pat them dry. Letting them air-dry for a bit after patting is a game-changer.
- Watch the Heat: Ovens vary, so start checking your seeds at the 18-minute mark. You’re looking for a deep golden brown and a nutty aroma. The seeds will also sound a bit “hollow” when you stir them. Burnt seeds are bitter, so err on the side of caution.
- Scale Up with Care: If you’re making a big batch for a party, don’t overcrowd the baking sheet. Use two sheets if you need to, and rotate them halfway through. Overcrowding traps steam and prevents crisping.
- Make-Ahead Magic: These seeds are perfect for prepping ahead of time. They stay crunchy for up to two weeks in an airtight container. That means you can make them the day before your party and cross one thing off your to-do list.
Variations & Adaptations
This base recipe is fantastic, but it’s also a great starting point for your own creations. Here are a few ways to switch it up:
- Sweet & Spicy: Add 1 tablespoon of brown sugar or maple syrup to the butter mixture before coating the seeds. The sweetness balances the heat and creates a slightly candied crust.
- Smoky Chipotle: Replace the chili powder with 1 teaspoon of chipotle powder (or more to taste). This adds a deep, smoky heat that’s incredible with the lime.
- Everything Bagel: After tossing the seeds in the butter mixture, sprinkle them with 2 tablespoons of everything bagel seasoning before roasting. It’s a savory, salty twist that’s dangerously addictive.
- Herb & Garlic: Skip the chili and cumin. Add 1 teaspoon of dried rosemary, 1 teaspoon of dried thyme, and an extra ½ teaspoon of garlic powder to the melted butter. This is a fantastic, aromatic variation for fall.
- Dairy-Free & Vegan: Simply substitute the butter with an equal amount of coconut oil or a high-quality vegan butter. The flavor will be slightly different but still delicious.
My personal favorite variation is the Sweet & Spicy. I made it for a Halloween party last year, and a friend asked me for the recipe three times before the night was over. It’s that good.
Serving & Storage Suggestions
These seeds are incredibly versatile. Here’s how to serve and store them for the best experience:
- Serving Temperature: They are best served at room temperature. After they’ve cooled completely from roasting, transfer them to a serving bowl.
- Presentation: For a party, I love serving them in a wide, shallow bowl. It makes it easy for guests to grab a handful. Garnish with a few extra lime wedges and a sprinkle of flaky sea salt for a beautiful, professional look.
- What to Serve Alongside: These seeds are a fantastic addition to a snack board alongside cheeses, cured meats, and dried fruits. They also pair perfectly with cocktails—try them with a margarita or a cold beer. For a non-alcoholic option, serve them with sparkling water and lime.
- Storage: Store completely cooled seeds in an airtight container at room temperature. They will stay perfectly crunchy for up to 2 weeks. Do not refrigerate them, as the moisture in the fridge will make them soft.
- Re-Crisping: If they somehow lose their crunch (it’s rare, but it can happen in humid weather), spread them on a baking sheet and pop them in a 300°F (150°C) oven for 3-5 minutes. Let them cool completely before serving again.
Nutritional Information & Benefits
This snack is not just delicious; it’s also packed with nutrients. Here’s a quick breakdown per ¼ cup serving (approximate):
- Calories: 180-200
- Protein: 8-10g
- Fat: 14-16g (mostly healthy unsaturated fats)
- Fiber: 5-6g
- Carbohydrates: 6-8g
Pumpkin seeds are a fantastic source of magnesium, zinc, and healthy fats. Magnesium is great for muscle function and sleep, while zinc supports your immune system—perfect for the cold and flu season. The fiber helps keep you full and satisfied. This is a snack you can feel genuinely good about eating and sharing. Just be mindful of the portion size, as they are calorie-dense. For a party, I like to set out a small bowl and refill it as needed. It’s a great way to offer a wholesome option alongside other treats.
Conclusion
Honestly, this Crispy Chili Lime Pumpkin Seeds recipe is the definition of a winner. It takes a humble, often-discarded ingredient and turns it into the star of the party. It’s easy enough for a beginner but impressive enough to make you look like a pro. The combination of spicy, tangy, salty, and buttery is just impossible to resist.
I hope you give these a try for your next gathering. Don’t be afraid to play with the spice level or try one of the variations I mentioned. The best recipes are the ones you make your own. I’d love to hear how they turn out! Leave a comment below and tell me about your party—did the seeds disappear? Did anyone ask for the recipe? I’m always excited to hear your stories. Happy snacking, and remember: the best things often come from the simplest beginnings.
Frequently Asked Questions
Can I use store-bought, raw pumpkin seeds (pepitas) for this recipe?
Absolutely! Raw, unsalted pepitas work perfectly. You can skip the step of cleaning them, but do not skip the boiling step. Boiling them for 10 minutes in salted water is still essential for achieving that perfect, crunchy texture and seasoning them from the inside out.
My seeds came out chewy, not crunchy. What went wrong?
This is the most common issue, and it’s almost always due to not drying the seeds thoroughly enough after boiling. Any residual moisture will steam the seeds in the oven, creating a chewy texture. Make sure to pat them very dry with a towel and let them air-dry for a few minutes before tossing them in the glaze and roasting.
Can I make this recipe in an air fryer?
Yes, you can! After boiling and drying the seeds, toss them in the glaze. Preheat your air fryer to 300°F (150°C). Cook the seeds in a single layer in the air fryer basket for 10-12 minutes, shaking the basket halfway through. Keep a close eye on them, as air fryers can vary. They are done when golden and fragrant.
How can I make these seeds less spicy for kids?
Easily! Simply reduce or omit the chili powder and cayenne pepper. You can replace the chili powder with sweet paprika for a similar color without the heat. The lime and garlic will still give them plenty of delicious flavor that kids will love.
How long do these seeds stay fresh, and can I freeze them?
Stored in an airtight container at room temperature, these seeds will stay perfectly crunchy for up to 2 weeks. I do not recommend freezing them, as the moisture from the freezer can make them soft and ruin their texture. They are best enjoyed at room temperature within that two-week window.
Pin This Recipe!
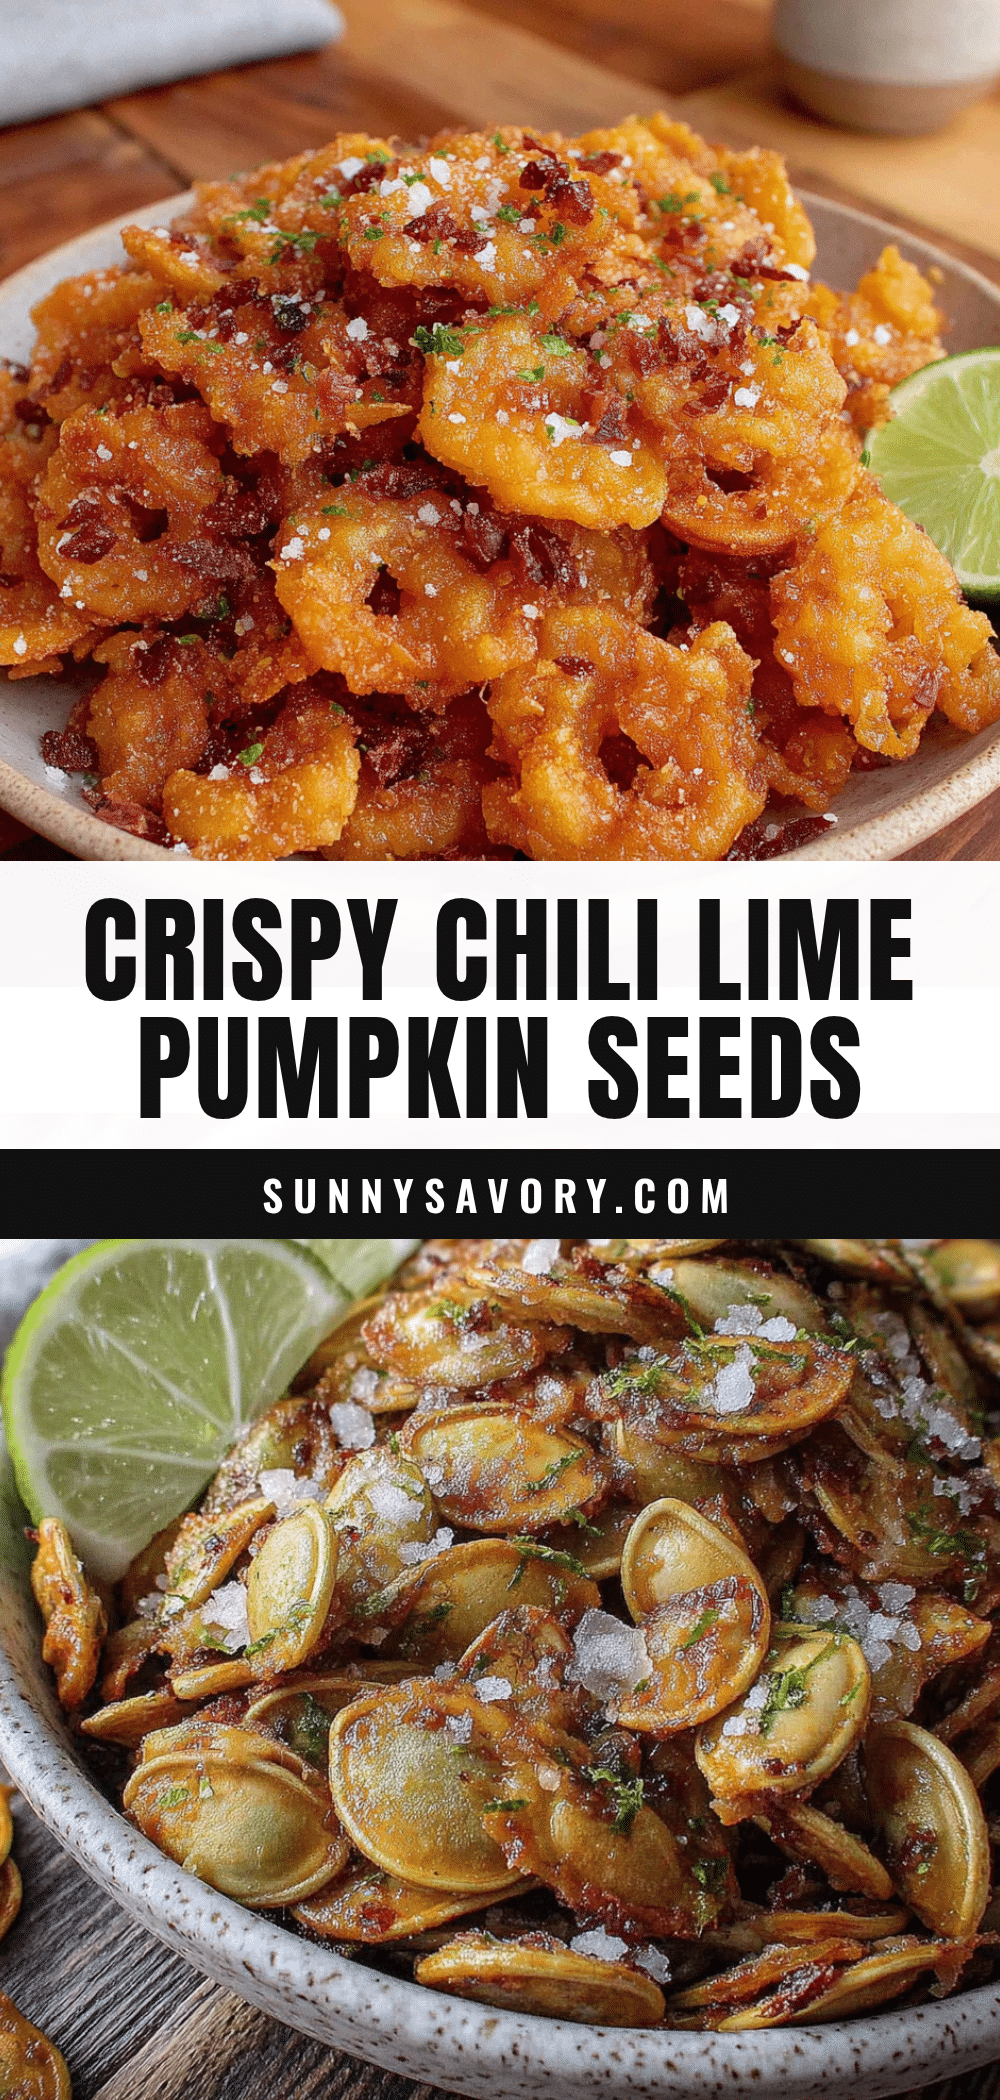
Crispy Chili Lime Pumpkin Seeds Recipe

This recipe transforms humble pumpkin seeds into an addictive, crunchy snack with a bold chili-lime flavor. Perfect for parties, it’s easy to make and packed with protein and healthy fats.
- Prep Time: 15 minutes
- Cook Time: 25 minutes
- Total Time: 40 minutes
- Yield: 4 servings 1x
- Category: Snack
- Cuisine: American
Ingredients
- 1 ½ cups fresh pumpkin seeds (about 180g)
- 4 cups water (960ml)
- 2 tablespoons kosher salt (30g), plus more to taste
- 3 tablespoons unsalted butter (42g)
- 1 ½ teaspoons chili powder (4g)
- ½ teaspoon ground cumin (1g)
- ½ teaspoon garlic powder (1.5g)
- Zest of 1 medium lime
- 2 tablespoons fresh lime juice (30ml)
- ⅛ teaspoon cayenne pepper (optional)
Instructions
- Preheat oven to 350°F (175°C). Line a large, rimmed baking sheet with parchment paper.
- Place 1 ½ cups fresh pumpkin seeds in a colander and rinse under cold water, removing stringy pulp. Pat dry.
- In a large pot, bring 4 cups water and 2 tablespoons salt to a rolling boil. Add seeds and boil for exactly 10 minutes.
- Drain seeds in a colander. Let cool slightly, then spread on a clean kitchen towel or paper towels. Pat very dry and let air-dry for 5-10 minutes.
- In a small saucepan over low heat, melt 3 tablespoons butter. Remove from heat and stir in chili powder, cumin, garlic powder, lime zest, lime juice, and cayenne (if using). Whisk until smooth.
- Place dried seeds in a large bowl. Pour butter mixture over them and toss until evenly coated.
- Spread seeds in a single layer on prepared baking sheet. Roast for 20-25 minutes, stirring halfway through, until golden brown and fragrant.
- Let seeds cool completely on the baking sheet (about 20-30 minutes). They will crisp up as they cool.
- Taste and sprinkle with additional salt if needed.
Notes
The boiling step is crucial for seasoning seeds from the inside out and ensuring crunch. Drying seeds thoroughly after boiling is essential to avoid chewiness. Watch seeds closely in the last 5 minutes of roasting to prevent burning. For dairy-free, substitute butter with coconut oil or vegan butter.
Nutrition
- Serving Size: ¼ cup
- Calories: 190
- Sugar: 1
- Sodium: 350
- Fat: 15
- Saturated Fat: 5
- Carbohydrates: 7
- Fiber: 5.5
- Protein: 9
Keywords: pumpkin seeds, chili lime, crispy, snack, party snack, roasted pumpkin seeds



