Love this? Save it for later!
Share the inspiration with your friends
It was 11:47 PM on a particularly damp Tuesday in February, and I was staring at the back of a bottle of store-bought immune gummies. You know that feeling when you’re convinced you can *taste* the artificial coloring? I was just about to give up and choke one down when my eyes landed on a jar of homemade elderberry syrup I’d made the weekend before. I didn’t have fancy gummy molds or any of that cute kitchen gear you see on Instagram, but I had the syrup, a saucepan, and a crazy idea that just might work.
Honestly, I was tired. It had been a long week of chasing a sick toddler through the house, and my usual “preventative wellness” routine had gone right out the window. I’d been meaning to make these gummies for months, but the thought of another complicated kitchen project felt overwhelming. But that night, something clicked. I grabbed a box of gelatin from the back of the pantry and just went for it. The result? A batch of the most satisfying, deeply purple, and surprisingly delicious gummies I’d ever tasted. No more chalky, suspiciously orange chews for me.
This recipe has become my little secret weapon. It’s the one I make on a Sunday afternoon when I’m meal-prepping for the week, and it’s the one I reach for when I feel that first little tickle in my throat. It’s proof that you don’t need a perfect kitchen or a ton of time to make something genuinely good for you. Maybe you’ve been there too, standing in your kitchen, looking for a better way to do things. Let me show you how easy this is.
Why You’ll Love This Recipe
Let’s be real for a second. Most “healthy” gummies taste like a compromise. They’re either too tart, too sweet, or they have that weird, artificial aftertaste that lingers for hours. These homemade elderberry gummies are none of those things. They are a total game-changer for anyone who wants to support their immune system without feeling like they’re on a punishment diet.
- Quick & Easy: From start to finish, you’re looking at about 20 minutes of active work. The hardest part is waiting for them to set in the fridge!
- Simple, Real Ingredients: You only need three main ingredients: elderberry syrup, gelatin, and a little honey. No weird chemicals, no preservatives, no high-fructose corn syrup.
- Perfect for the Whole Family: My kids literally beg for these. They think they’re candy, and I get to feel like a superhero mom. It’s a win-win.
- Customizable: You can make them as tart or as sweet as you like. You can even add other immune-boosting ingredients like ginger or turmeric.
- Unbelievably Delicious: The flavor is deep, fruity, and complex. It’s like a little burst of berry goodness with every chew.
What makes this recipe different from the rest? It’s the technique. Most recipes have you boil the juice, which can destroy some of the delicate immune-supporting compounds in the elderberries. I use a gentle, low-heat method that preserves all that good stuff. Plus, I’ve perfected the ratio of gelatin to liquid so you get a perfect, bouncy texture every single time. This isn’t just another gummy recipe—it’s the one that finally works.
This is the kind of recipe that makes you feel good about what you’re putting in your body. It’s comfort food for your immune system—healthier, faster, and way more satisfying than anything you can buy at the store.
What Ingredients You Will Need
This recipe uses a short list of powerful, whole-food ingredients to create a gummy that’s as effective as it is delicious. You probably already have most of these in your pantry.
For the Gummies
- 1 cup Homemade Elderberry Syrup (or high-quality store-bought, like from St. Francis Herb Farm or Gaia Herbs) – This is the star of the show. It provides the deep berry flavor and all the immune-supporting goodness.
- 3 tablespoons Grass-Fed Gelatin (I like Vital Proteins or Great Lakes) – This is what gives the gummies their signature chewy texture. Grass-fed gelatin also provides protein and collagen, which is great for your skin and joints.
- 1-2 tablespoons Raw Honey or Maple Syrup (optional, to taste) – This adds a touch of sweetness to balance the tartness of the elderberries. Raw honey also has its own immune-supporting properties.
- 1-2 tablespoons Lemon Juice (freshly squeezed is best) – This brightens up the flavor and helps preserve the gummies naturally.
Ingredient Selection Tips
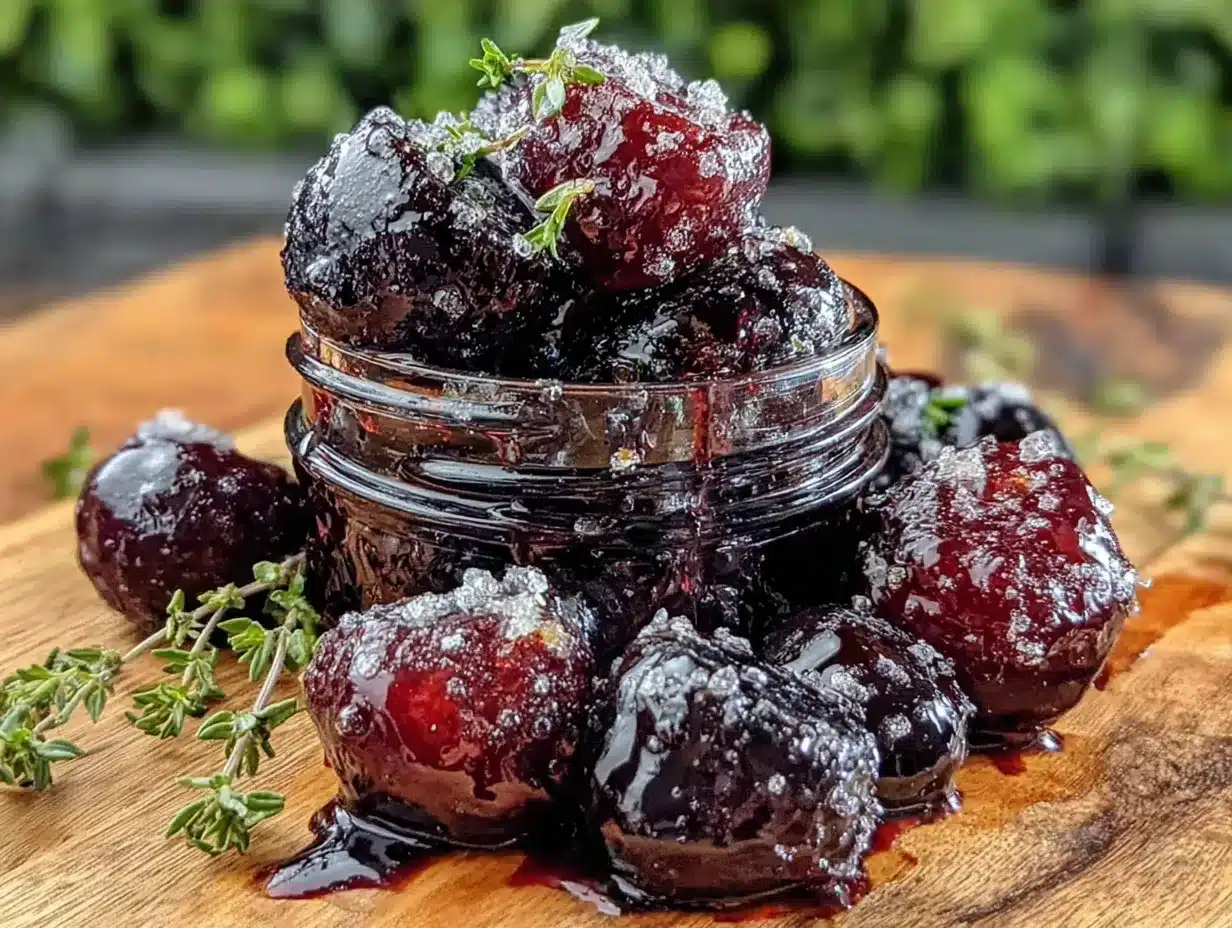
For the best results, I really recommend using a high-quality elderberry syrup that you’ve made yourself or one that’s free from added sugars and artificial ingredients. If you’re using store-bought, look for one that lists elderberry extract as the primary ingredient. I’ve found that the thicker, more concentrated syrups work best for getting a firm gummy texture.
When it comes to gelatin, please don’t skip the grass-fed part. It’s not just a marketing buzzword. Grass-fed gelatin has a cleaner flavor and sets up more reliably than conventional gelatin. Plus, it’s better for you. Trust me on this one.
Equipment Needed
You don’t need a ton of fancy tools for this, which is one of the reasons I love this recipe so much. Here’s what you’ll need:
- Silicone Gummy Molds: These are the easiest to use because the gummies pop right out. You can find them in all sorts of fun shapes (bears, worms, even little stars) on Amazon or at craft stores. I have a set of bear molds that my kids go crazy for.
- Small Saucepan: You’ll need this to gently warm the syrup. A heavy-bottomed saucepan works best to prevent scorching.
- Whisk: A small whisk is your best friend here. It helps you incorporate the gelatin smoothly without lumps.
- Liquid Dropper or Small Pitcher: A dropper is great for filling the tiny molds, but I’ve also used a small measuring cup with a spout in a pinch. A clean squeeze bottle works wonders too.
- Fine-Mesh Strainer: This is optional, but if you accidentally get a few gelatin lumps, you can pour the mixture through a strainer to get a perfectly smooth gummy.
If you don’t have silicone molds, you can pour the mixture into a small, greased glass baking dish (like an 8×8 inch pan). Once it’s set, you can cut the gummy sheet into little squares with a sharp knife or pizza cutter. It’s not as cute, but it works just as well!
Preparation Method
Alright, let’s get to the fun part. This is where the magic happens. Follow these steps closely, and you’ll have a perfect batch of gummies in no time.
- Gently Warm the Syrup (5 minutes): Pour your 1 cup of elderberry syrup into a small saucepan. Turn the heat to low. You want to warm it up, not boil it. If the syrup gets too hot, it can damage the beneficial compounds in the elderberries. Just heat it until it’s warm to the touch, like a nice cup of tea.
- Bloom the Gelatin (2 minutes): Once the syrup is warm, remove it from the heat. Sprinkle the 3 tablespoons of gelatin evenly over the surface of the warm syrup. Do not stir it yet! Let it sit for about 2 minutes. This is called “blooming,” and it allows the gelatin to absorb the liquid and hydrate properly. You’ll see it start to look like a funky, grainy layer on top. Don’t worry, that’s exactly what you want.
- Whisk Until Smooth (3 minutes): After the gelatin has bloomed, grab your whisk and start whisking gently. The gelatin will dissolve into the warm syrup, and the mixture will become smooth and glossy. If you see any little lumps, keep whisking. A little patience here goes a long way.
- Add Sweetener and Lemon Juice (1 minute): Now, add your honey or maple syrup (if using) and the lemon juice. Whisk again until everything is fully combined. Give it a little taste. Is it sweet enough? Tart enough? Adjust it now if you need to. This is your chance to make it perfect for your palate.
- Strain (Optional, 1 minute): If you see any stubborn lumps or foam on the surface, pour the mixture through a fine-mesh strainer into a clean liquid measuring cup with a spout. This will give you a perfectly clear, smooth gummy. I usually skip this step if I’m in a hurry, but it does make a difference in the final look.
- Fill the Molds (10 minutes): Carefully pour the liquid into your silicone molds. If you’re using a dropper or squeeze bottle, this is easy. If you’re using a measuring cup, just pour slowly to avoid spilling. Fill each little cavity almost to the top. Don’t worry if you get a few bubbles on the surface; they’ll usually pop on their own.
- Set in the Fridge (2-4 hours): Carefully transfer the filled molds to a baking sheet (this makes them easier to move) and place them in the refrigerator. Let them set for at least 2 hours, but 4 hours is even better. You’ll know they’re ready when they feel firm and bouncy to the touch.
- Pop Them Out (2 minutes): Once they’re fully set, gently push the gummies out of the molds from the bottom. They should pop right out with a satisfying little *plop*. If they’re sticking, pop the whole mold in the freezer for 5 minutes, and they’ll release easily.
Cooking Tips & Techniques
I’ve made this recipe more times than I can count, and I’ve learned a few things along the way. Here are my best tips to make sure your first batch is a total success.
- Don’t Boil the Syrup: This is the number one mistake I see people make. High heat can break down the beneficial compounds in elderberries, making your gummies less effective. Keep the heat low and gentle. Think of it like warming a baby’s bottle.
- How to Fix a Lumpy Mixture: If your gelatin isn’t dissolving properly, don’t panic. Just put the saucepan back on the lowest possible heat for a minute or two, whisking constantly. The gentle heat will help the gelatin melt. Just be careful not to let it get too hot!
- De-bubbling Your Gummies: A few tiny air bubbles are totally normal, but if you want perfectly clear gummies, let the mixture sit for a minute after whisking. The bubbles will rise to the surface, and you can gently pop them with a toothpick or a quick spritz of cooking spray.
- Timing is Everything: I like to make these on a Sunday afternoon. That way, they have plenty of time to set in the fridge overnight, and I have a whole week’s worth of immune support ready to go. Multitasking is key—whip up the mixture while you’re waiting for dinner to cook, and pop them in the fridge before you go to bed.
- My Biggest Failure: The first time I made these, I tried to use a “sugar-free” gelatin that was flavored with artificial sweetener. It was a disaster. The texture was all wrong, and the taste was… well, let’s just say it was not good. Stick with plain, unflavored gelatin. It’s the only way to get that perfect, clean flavor.
Variations & Adaptations
This recipe is a fantastic base for all sorts of creative variations. Don’t be afraid to experiment!
- Spiced Immune Booster: Add 1/2 teaspoon of ground ginger, 1/4 teaspoon of ground turmeric, and a pinch of black pepper to the syrup while it’s warming. This creates a powerful anti-inflammatory gummy that’s perfect for the winter months.
- Tropical Twist: Swap out 1/4 cup of the elderberry syrup for 1/4 cup of pineapple or mango juice. The tropical fruit flavor pairs surprisingly well with the earthy elderberries. This is a huge hit with my kids.
- Vegan Option: Gelatin is not vegan, but you can use agar agar powder as a substitute. Use 1 tablespoon of agar agar powder for every 1 cup of liquid. The texture will be a little different—more jelly-like and less bouncy—but it still works great. You’ll need to boil the mixture for a minute to activate the agar agar.
- Vitamin C Boost: After you remove the mixture from the heat, stir in 1/4 teaspoon of powdered vitamin C (ascorbic acid). This adds an extra immune punch and also acts as a natural preservative.
Serving & Storage Suggestions
These gummies are best enjoyed cold, straight from the fridge. The texture is firmer and more satisfying that way.
- How to Serve: I like to pop a few into a little bowl or a small glass jar for a quick and easy snack. They’re perfect for lunchboxes, after-school treats, or a mid-afternoon pick-me-up.
- What to Pair Them With: These gummies are great on their own, but they also pair wonderfully with a cup of herbal tea, like chamomile or peppermint. For a fun treat, you can even add a few to a glass of sparkling water for a homemade “soda.”
- Storage Instructions: Store your gummies in an airtight container in the refrigerator. They will last for up to 2-3 weeks. I like to use a glass jar with a tight-fitting lid.
- Can You Freeze Them? Yes! These gummies freeze beautifully. Place them in a single layer on a baking sheet lined with parchment paper and freeze for an hour. Then, transfer them to a freezer-safe bag or container. They’ll keep for up to 3 months. Thaw them in the fridge overnight before eating.
- How Flavors Develop: The flavor of these gummies actually gets a little more mellow and well-rounded after a day or two in the fridge. The tartness of the elderberries softens, and the sweetness becomes more balanced. They’re good on day one, but they’re even better on day three.
Nutritional Information & Benefits
These aren’t just tasty treats; they’re little powerhouses of nutrition. Here’s a quick look at what you’re getting in a serving (about 6-8 gummies).
| Nutrient | Approximate Amount |
|---|---|
| Calories | 40-60 |
| Protein | 5-7g (from the gelatin) |
| Carbohydrates | 8-12g (naturally occurring from berries and honey) |
| Sugar | 6-9g |
| Vitamin C | ~15% DV (from elderberries and lemon juice) |
Pin This Recipe!
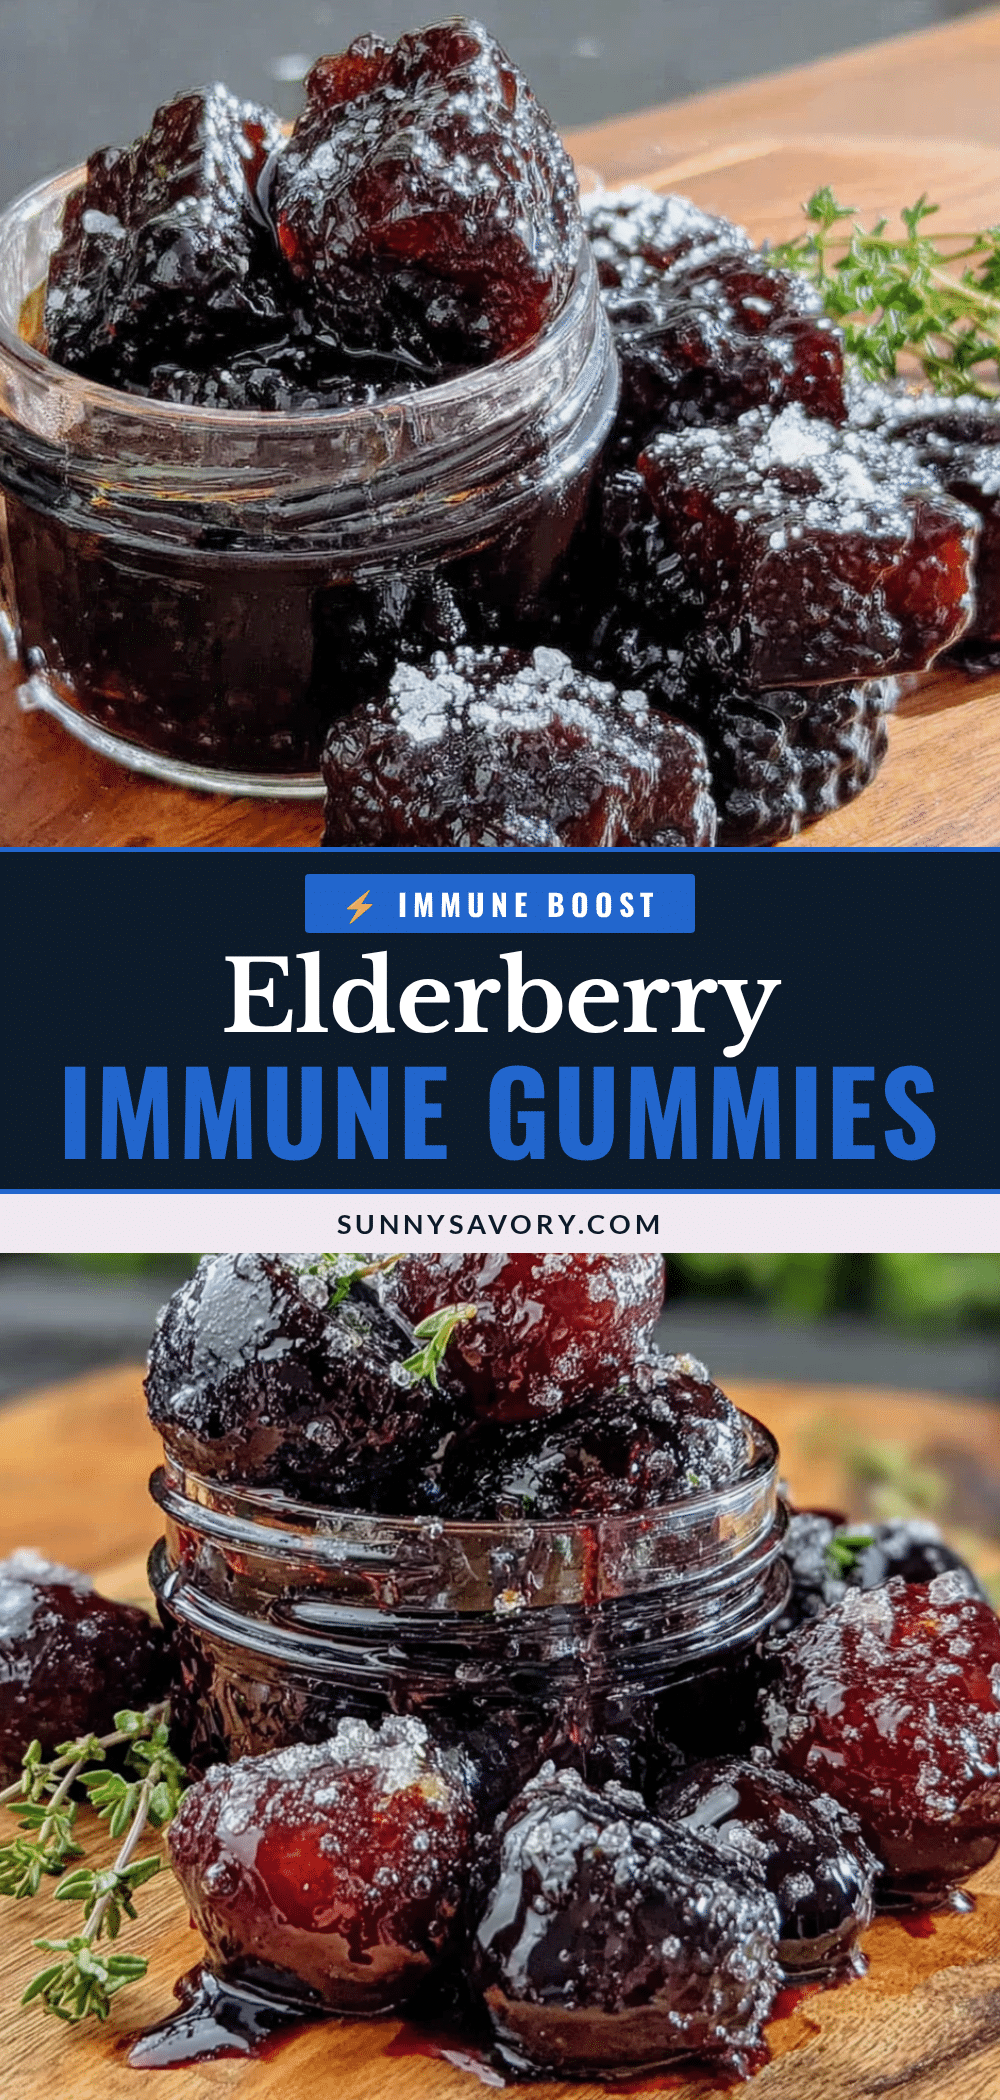
Homemade Elderberry Gummies: Easy Immune-Boosting Recipe
These homemade elderberry gummies are a quick and easy immune-boosting snack made with real ingredients. Perfect for the whole family, they’re a delicious alternative to store-bought gummies.
- Prep Time: 20 minutes
- Cook Time: 5 minutes
- Total Time: 2 hours 25 minutes (including setting time)
- Yield: 4 servings 1x
- Category: Snack
- Cuisine: American
Ingredients
- 1 cup Homemade Elderberry Syrup (or high-quality store-bought)
- 3 tablespoons Grass-Fed Gelatin (e.g., Vital Proteins or Great Lakes)
- 1–2 tablespoons Raw Honey or Maple Syrup (optional, to taste)
- 1–2 tablespoons Lemon Juice (freshly squeezed)
Instructions
- Gently warm the elderberry syrup in a small saucepan over low heat until warm to the touch (about 5 minutes). Do not boil.
- Remove from heat and sprinkle the gelatin evenly over the surface. Let it sit for 2 minutes to bloom.
- Whisk gently until the gelatin is fully dissolved and the mixture is smooth and glossy (about 3 minutes).
- Add honey or maple syrup (if using) and lemon juice. Whisk to combine. Taste and adjust sweetness or tartness as desired.
- Optional: Pour the mixture through a fine-mesh strainer into a liquid measuring cup with a spout to remove any lumps or foam.
- Carefully pour the liquid into silicone gummy molds using a dropper, squeeze bottle, or small pitcher. Fill each cavity almost to the top.
- Place the filled molds on a baking sheet and refrigerate for at least 2-4 hours, until firm and bouncy.
- Gently pop the gummies out of the molds. If they stick, place the molds in the freezer for 5 minutes to release.
Notes
Do not boil the syrup to preserve beneficial compounds. For a vegan option, substitute gelatin with 1 tablespoon agar agar powder per 1 cup liquid (boil to activate). Store in an airtight container in the refrigerator for up to 2-3 weeks. Freeze for up to 3 months.
Nutrition
- Serving Size: 6-8 gummies
- Calories: 4060
- Sugar: 69
- Sodium: 10
- Carbohydrates: 812
- Protein: 57
Keywords: elderberry gummies, immune-boosting, homemade gummies, healthy snack, elderberry recipe, gelatin gummies, natural immune support



